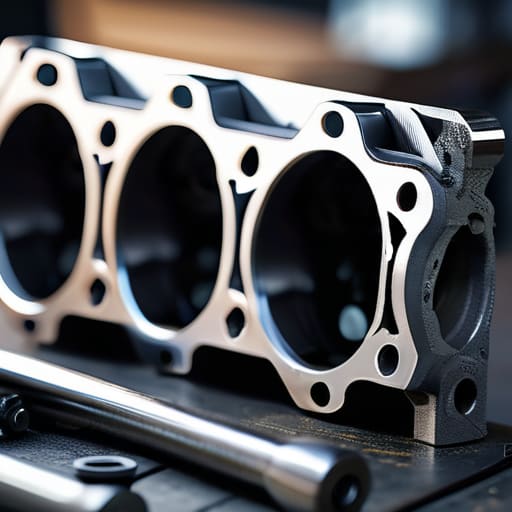
I remember sitting on my dad’s oil-stained garage floor when I was twelve, watching him stare at a milky-looking coolant reservoir with a look of pure dread. He told me back then that a blown head gasket was a “death sentence” for an engine and that we’d need to shell out thousands at a dealership just to get back on the road. That’s the biggest lie in this industry: that a head gasket replacement is some mystical, impossible task reserved only for master techs with specialized factory tools. Most shops will try to scare you into thinking your car is total scrap, but usually, they’re just looking for a massive payday.
I’m not here to give you a textbook lecture or sell you on some expensive, unnecessary diagnostic software. My goal is to walk you through the actual, greasy reality of a head gasket replacement so you can do it without getting fleeced. I’ll show you exactly which bolts to watch out for and where most people totally mess up the torque sequence. If you’ve got a decent socket set and a bit of grit, we’re going to get that compression back where it belongs.
Table of Contents
Spotting White Smoke From Exhaust Before Its Too Late
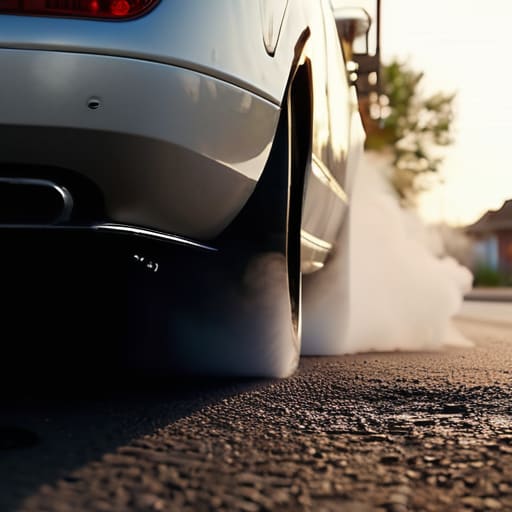
If you notice a thick, sweet-smelling cloud billowing out of your tailpipe, don’t just ignore it. That white smoke from exhaust is a massive red flag that coolant is leaking into your combustion chambers. It’s one of those things that feels minor when you’re just idling in a drive-thru, but it’s actually a sign that your engine’s internal seal is failing. If you keep pushing it, you aren’t just looking at a gasket issue anymore; you’re looking at serious engine block damage that’ll cost way more than a simple fix.
Keep a close eye on your fluids, too. If you pull your dipstick and see something that looks like a chocolate milkshake, that’s a classic sign of coolant mixing with oil. This happens when the seal between the passages breaks down, letting liquid where it absolutely shouldn’t be. Catching these symptoms early is the difference between a weekend project in your driveway and a massive, unexpected bill from a shop. Pay attention to the small stuff before it turns into a total engine meltdown.
Why Coolant Mixing With Oil Means Trouble
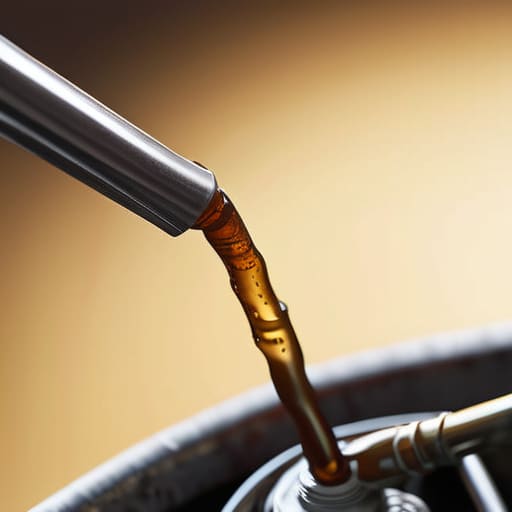
If you pull your oil dipstick and see something that looks more like a chocolate milkshake than actual lubricant, stop driving immediately. That milky, frothy mess is a dead giveaway that you have coolant mixing with oil, and it’s a massive red flag. The head gasket is supposed to act as a high-pressure seal between your coolant passages and your oil galleries. Once that seal fails, these two fluids start sharing space, and that’s where the real nightmare begins.
The reason this is such a disaster is that oil and coolant don’t play nice together. Coolant destroys the lubricating properties of your oil, meaning your moving parts aren’t getting the protection they need. If you keep pushing it, you aren’t just looking at a gasket issue; you’re looking at serious engine block damage or even a total seizure. I’ve seen guys try to ignore this to save a few bucks, only to end up facing astronomical automotive repair costs because they turned a manageable fix into a complete engine rebuild. Don’t let a little sludge turn into a dead car.
Don't Wing It: 5 Things You Need to Get Right
- Clean the mating surfaces until they’re spotless. If there’s even a tiny bit of old gasket material or carbon buildup left on the engine block or the head, that new gasket isn’t going to seal, and you’ll be right back where you started.
- Get a torque wrench and don’t skip the manual. You can’t just “feel” how tight those head bolts are. Every engine has a specific sequence and a specific torque spec; if you tighten them unevenly, you’ll warp the head and ruin the whole job.
- Check the head for cracks before you put it back together. Since your coolant was mixing with your oil, there’s a decent chance the head itself is warped or cracked. If you put a brand new gasket on a damaged head, you’re just wasting your money.
- Replace your bolts if the manual says so. A lot of modern engines use “stretch bolts” or TTY (Torque-to-Yield) bolts. Once they’ve been tightened once, they’re basically done. Trying to reuse them is a recipe for a blown engine.
- Double-check your cooling system after the fix. A head gasket failure usually trashes the fluids. Don’t just swap the gasket and go; make sure you flush the system and change your oil so you aren’t circulating old, contaminated gunk through your freshly repaired engine.
The Bottom Line on Your Head Gasket
If you notice milky oil or thick white smoke, don’t keep driving; catching it early is the difference between a gasket swap and a whole new engine.
You don’t need to be a master mechanic to tackle this, but you absolutely need a decent torque wrench and a lot of patience to get it right.
Don’t let shops scare you into thinking this is impossible; once you understand how the seal works, it’s just another job on the list.
## The Real Cost of Ignoring the Signs
“A head gasket failure isn’t just a ‘check engine light’ moment; it’s your engine telling you it’s drowning in its own fluids. You can either face the repair now with a decent socket set, or face a completely dead motor later that’ll cost three times as much.”
Nikolai·Osterman
The Bottom Line on Your Engine
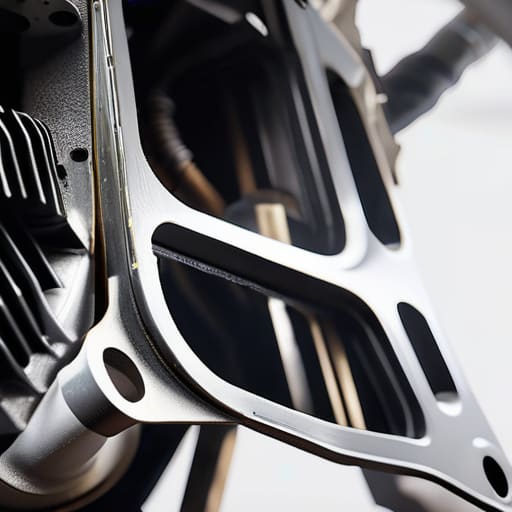
Look, if you’ve noticed that milky oil or that telltale cloud of white smoke, you can’t just keep driving and hope it goes away. A blown head gasket isn’t just a minor annoyance; it’s a direct threat to your entire engine block. We’ve covered how to spot the warning signs and why that coolant-oil mix is such a massive red flag. At the end of the day, catching these symptoms early is the difference between a manageable repair and having to buy a whole new engine. It’s about being proactive rather than just waiting for the car to die on the side of the highway.
I know seeing a massive job like this on your to-do list can feel overwhelming, especially when you’re staring at a disassembled top end. But don’t let the complexity scare you off. Most of the time, it just comes down to having the right torque specs and not rushing the process. You don’t need to be a master mechanic to get this done; you just need to be disciplined and willing to learn. Grab your socket set, keep your workspace clean, and remember that every big job is just a series of small, manageable steps. You’ve got this.
Frequently Asked Questions
Can I just patch the gasket with some sealant, or is that just throwing money away?
Look, I get the temptation. You’re staring at a massive repair bill and a bottle of sealant looks like a cheap miracle. But honestly? It’s just throwing money away. Those sealants are a temporary band-aid at best. They might plug a tiny leak for a week, but eventually, the pressure builds back up and the sealant fails—usually leaving you with a much bigger, much messier disaster. Do it once, do it right. Replace the gasket.
How long is my car actually going to be out of commission while I'm doing this?
Look, I’m not gonna sugarcoat it: this isn’t a quick oil change. If you’re doing this in your driveway, you’re looking at a solid weekend, maybe more. Between stripping the top end, cleaning the block, and waiting for everything to torque down properly, expect three to five days of your car sitting on jack stands. If you rush it to finish faster, you’re just asking for a leak later. Take your time.
Do I need to get the cylinder head resurfaced, or can I just swap the gasket and call it a day?
Look, I get the temptation to just slap a new gasket on and call it a day to save time, but honestly? That’s a gamble you probably don’t want to take. If your engine overheated enough to blow the gasket, there’s a huge chance the head warped even a tiny bit. If that surface isn’t perfectly flat, your new gasket won’t seal, and you’ll be right back in this same mess next week. Get it resurfaced.
