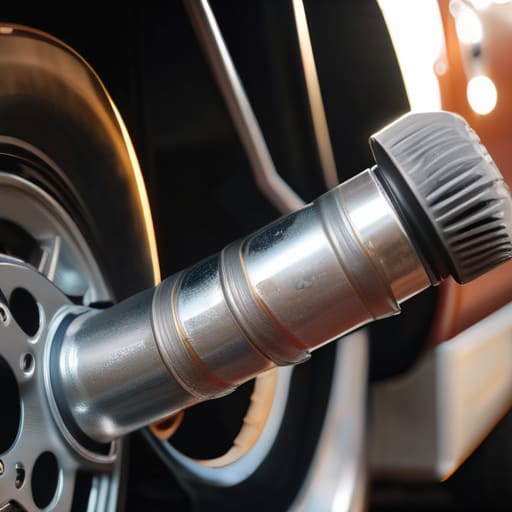
I remember pulling my dad’s old sedan into the driveway last summer and hearing this horrific, metal-on-metal screech every time we hit a tiny pebble. Most shops would’ve told you that you needed a whole new suspension setup, trying to hit you with a bill that costs more than the car is worth. But honestly? It wasn’t a mechanical failure; it was just a massive lack of chassis lubrication. People think modern cars are “maintenance-free,” but that’s a total lie designed to keep your wallet thin. If you ignore those grease fittings, you’re basically inviting your moving parts to grind themselves into dust.
I’m not here to give you some textbook lecture or sell you a specialized kit you don’t need. I just want to show you how to do this right so you don’t get ripped off. In this guide, I’m going to walk you through exactly where those grease zerks are hiding, what kind of grease actually works for your specific ride, and the proper technique to get the job done without making a mess. Let’s get under the hood and stop those squeaks before they turn into a nightmare.
Table of Contents
- Step-by-Step Instructions
- Picking the Right Chassis Grease Types for Your Ride
- Mastering Automotive Grease Application Without a Mechanic
- Pro Tips from the Shop Floor: Don't Screw This Up
- The Bottom Line on Keeping Your Chassis Healthy
- The Cost of Neglect
- Don't Leave It to Chance
- Frequently Asked Questions
Guide Overview
Tools & Supplies
- Pressure sprayer or spray bottle for even application
- Microfiber cloths for wiping excess residue
- Flashlight to inspect suspension components
- Chassis lubricant or lanolin-based spray (1 can)
- Degreaser or soap (1 bottle)
- Clean rags (3-5 pieces)
Step-by-Step Instructions
- 1. First things first, you gotta get the car up. Don’t even think about crawling under there with just a standard jack; you’ll end up pinned if something slips. Get your jack stands positioned under the frame rails and make sure the car is rock solid before you even reach for a wrench.
- 2. Once you’re safely underneath, grab a rag and some brake cleaner to wipe down all those grease fittings (we call ’em zerks). If they’re covered in a layer of road grime and old grit, you’re just going to pump dirt directly into your joints, which is the fastest way to turn a cheap maintenance job into a massive repair bill.
- 3. Now, grab your grease gun and a fresh tube of high-quality lithium grease. Check your owner’s manual or look online to make sure you’re using the right stuff for your specific vehicle, because using the wrong grease can actually chemically react and cause the seals to swell up and fail.
- 4. Start with the ball joints and tie rod ends. Line up the nozzle of the grease gun with the nipple on the fitting and give it a few firm pumps. You’ll feel some resistance, which is normal, but once you see a tiny bit of fresh grease starting to weep out of the edges of the boot, you know you’ve successfully displaced the old, crusty stuff.
- 5. Move on to the steering linkage and any other suspension components that have fittings. I always recommend doing this while the parts are slightly under load if you can, but even if you’re just working on it sitting still, just make sure you’re getting a consistent flow into every single point.
- 6. Don’t forget the U-joints if you’re working on an older rig or a truck. These are notorious for seizing up if they get neglected. Give them a few good squirts until you see that new grease pushing its way out of the seals, ensuring the movement stays smooth and quiet.
- 7. Finally, take a second to wipe away all that excess grease you just pumped out. If you leave big clumps of it sitting on your suspension, they’ll just act like a magnet for sand and debris on the road, which eventually grinds down your parts anyway. Keep it clean and tight, and you’re good to go.
Picking the Right Chassis Grease Types for Your Ride
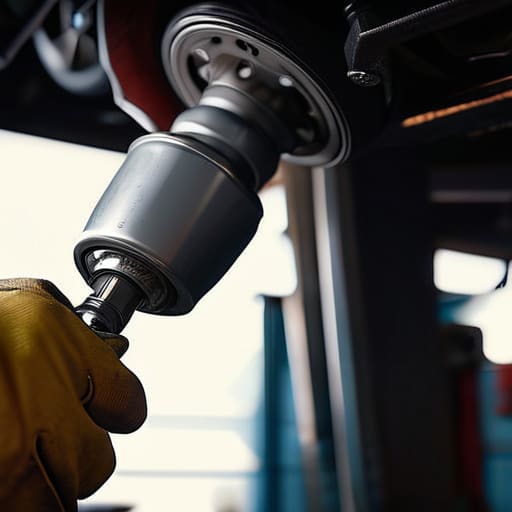
Don’t just grab the first tub of grease you see at the local parts store because it’s cheap. If you’re working on an older tuner or a daily driver, you need to actually look at what the manufacturer calls for. For most standard passenger cars, a high-quality lithium-based grease is your best bet, but if you’re messing with something more rugged, you might need a heavy duty vehicle lubrication setup that can handle higher heat and pressure. Using the wrong stuff is a quick way to end up with a mess that doesn’t actually protect your joints.
When you’re looking at different chassis grease types, pay attention to the NLGI consistency rating. Most of the stuff I use in the shop is a Grade 2, which is thick enough to stay where you put it but fluid enough to actually flow through the fittings. If you’re dealing with extreme weather or heavy loads, you want something that won’t just wash out the first time you hit a deep puddle. Getting the chemistry right is the real secret to preventing chassis wear before it turns into a loud, expensive headache.
Mastering Automotive Grease Application Without a Mechanic
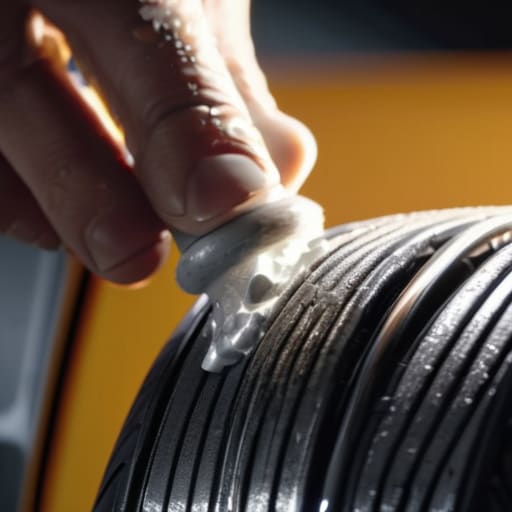
Look, once you’ve got the right grease in your hand, the actual process is pretty straightforward, but there are a few tricks I’ve learned in the shop that make a huge difference. First, always take a clean rag and wipe down the grease nipple before you even think about attaching the gun. If you pump old dirt and grit directly into the joint, you’re basically turning your lubricant into liquid sandpaper, which is the fastest way to ruin a component. I always double-check that the nipple isn’t clogged; sometimes a quick hit with a small pick is all it takes to get things flowing again.
When you’re working on the actual automotive grease application, don’t just pump until it feels tight. Keep an eye on the seals and look for the old, dirty grease to start oozing out of the edges. That’s your signal that the new stuff has pushed the contaminants out and you’ve successfully reached the core of the joint. Staying on top of your lubrication interval schedule is the real secret here—don’t wait for a squeak to tell you there’s a problem, because by then, the damage is usually already done.
Pro Tips from the Shop Floor: Don't Screw This Up
- Don’t just pump grease blindly; always wipe the grease nipple clean with a rag before you attach the gun. If you don’t, you’re just forcing dirt and grit straight into your joints, which basically turns your grease into sandpaper.
- Watch out for the “over-greasing” trap. I’ve seen guys pump so much grease into a joint that they blow out the actual seals. If you see old grease starting to ooze out of the edges, stop immediately. You’re done.
- Keep a close eye on your weather. If you’ve been driving through heavy rain or slush, your grease is going to wash out or get contaminated way faster than usual. Check your lubrication points more often during the wet seasons.
- Always listen to what the car is telling you. If you hear a squeak or a groan when you’re turning or hitting a bump, that’s your chassis screaming for help. Don’t wait for the noise to get louder before you grab the grease gun.
- Check your owner’s manual for the actual intervals. I know, it sounds boring, but every vehicle has different service schedules. Don’t just guess based on what your buddy does; follow the specs so you aren’t playing catch-up with a failing suspension.
The Bottom Line on Keeping Your Chassis Healthy
Don’t just eyeball it; using the wrong grease can actually do more harm than good, so always check your manual or the manufacturer’s specs before you start pumping.
Consistency beats intensity—it’s way better to spend ten minutes hitting your grease points every few months than to wait until you’re hearing metal-on-metal grinding.
You don’t need a massive shop setup to do this right, just a decent grease gun, the right lube, and enough patience to make sure you haven’t missed a single fitting.
The Cost of Neglect
Most people think a squeak is just an annoying noise, but in my shop, that sound is usually the sound of metal grinding itself into dust. A five-dollar tube of grease is a lot cheaper than a thousand-dollar suspension overhaul.
Nikolai·Osterman
Don't Leave It to Chance
Look, at the end of the day, keeping your chassis lubed isn’t some high-level engineering feat; it’s just about being proactive. You’ve learned how to pick the right grease for your specific setup and how to hit those grease points without making a massive mess in your driveway. Remember that skipping this step might save you twenty minutes today, but it’ll cost you a staggering amount of money in worn-out ball joints or dry bushings down the road. Just keep your grease gun ready, stay consistent with your intervals, and make sure you aren’t just spraying grease blindly without actually cleaning the old gunk out first.
I know it can feel intimidating when you’re staring under a car, wondering if you’re doing it right, but honestly, you’ve got this. Every time you take care of these small, greasy details yourself, you’re taking the power back from the shops that want to charge you a premium for basic maintenance. It’s about building that connection with your machine and knowing exactly what’s happening underneath you. Stick with it, keep your tools organized, and don’t let anyone tell you that you can’t handle your own repairs. Your car—and your wallet—will definitely thank you for it.
Frequently Asked Questions
How do I know if my car even has grease zerks, or if it's one of those modern ones that's supposed to be "maintenance-free"?
Honestly, it’s a bit of a guessing game if you don’t know what you’re looking for. Grab a flashlight and crawl under there. Look for small, nipple-like metal fittings—those are your zerks. If you see them on ball joints or tie rod ends, you’re in luck. If everything looks sealed up with heavy rubber boots or plastic caps, you’ve likely got a “maintenance-free” setup. Those are sealed for life, so don’t go hunting for grease points that aren’t there.
Is it actually okay to mix different types of grease if I'm just topping off an old fitting, or am I asking for trouble?
Look, I get why you’d want to just grab whatever’s on the shelf, but honestly? Don’t do it. Mixing different grease types is a recipe for a mess. If the thickeners don’t play nice, the grease can thin out and literally leak out of the fitting like water. You’ll end up with zero protection on those parts. Just stick to what’s already in there. It’s worth the extra five minutes to avoid a massive headache later.
How often should I actually be doing this—is once a year enough, or am I waiting too long if I drive a lot?
Honestly, “once a year” is a decent baseline for most people, but don’t just set it and forget it. If you’re hitting the trails or driving through heavy rain and salt, you’re washing that grease right off the joints. If you put high mileage on your car or live somewhere with nasty winters, I’d check those grease points every six months. Better to spend twenty minutes greasing it now than hundreds later on new ball joints.
