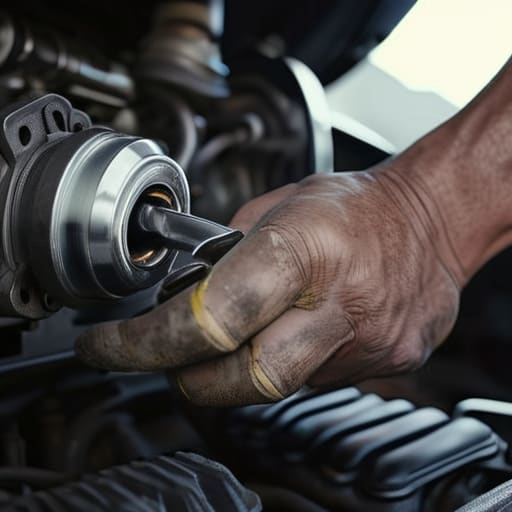
You’re sitting in your driveway, turning the key, and all you get is that pathetic, hollow click-click-click that tells you your car is officially dead. Most people hear that sound and immediately start sweating about a massive repair bill, thinking they need to tow the car straight to a dealership just to get a quote. But here’s the truth: a dead starter isn’t a death sentence for your car, and it definitely shouldn’t be a death sentence for your bank account. A starter motor replacement might feel intimidating when you’re staring at a silent engine, but once you realize it’s mostly just a few bolts and some basic wiring, that fear disappears.
I’ve spent enough time under grease-stained hoods to know that the “experts” love to make simple jobs sound like rocket science just to justify their labor rates. I’m not here to give you some polished, textbook lecture; I’m going to show you how to actually get this done with the tools you probably already have in your garage. We’re going to walk through the entire starter motor replacement process step-by-step, from disconnecting the battery to getting that new unit bolted in tight. No fluff, no unnecessary upsells—just the straight facts so you can get back on the road.
Table of Contents
- Step-by-Step Instructions
- Diagnosing a Dead Engine Without the Mechanics Guesswork
- Essential Automotive Tools for Starter Replacement You Already Own
- Pro-Tips to Keep Your Knuckles From Getting Battered
- The Bottom Line on Swapping Your Starter
- ## The Real Cost of a No-Start
- Getting Back on the Road
- Frequently Asked Questions
Guide Overview
Tools & Supplies
- Socket set and ratchet for removing bolts
- Wrench set for electrical connections
- Jack and jack stands for vehicle lifting
- Screwdriver for securing battery terminals
- New starter motor 1 unit
- Dielectric grease 1 small tube
Step-by-Step Instructions
- 1. First thing’s first, you gotta disconnect the battery. Don’t skip this part unless you want to see a shower of sparks when you touch that starter terminal. Use a wrench to loosen the negative terminal first, tuck it aside so it isn’t touching anything, and then you’re safe to work.
- 2. Get the car up and secure. If you’re working from underneath, don’t just trust a cheap jack; use proper jack stands to prop the car up. I’ve seen too many guys get hurt because they thought they were “good enough” with just the hydraulic lift. Once it’s stable, crawl underneath and get a clear view of where that starter is hiding.
- 3. Now, start by disconnecting the electrical connections. You’ll see a heavy-duty cable bolted to the starter and a smaller wire—usually the solenoid wire. Use your socket set to loosen them, and keep that magnetic tray handy to catch the small nuts and washers so they don’t roll into the abyss of your driveway.
- 4. It’s time to tackle the mounting bolts. These are usually the beefiest bolts holding the unit to the transmission housing. Depending on your engine layout, you might have to wiggle things around or move a heat shield out of the way. Just take your time and don’t force it if it feels stuck; sometimes a little bit of penetrating oil is your best friend here.
- 5. Once those bolts are out, physically pull the old starter out. It’s usually a bit heavy and might be covered in road grime and oil, so watch your grip. While it’s out, take a second to inspect the mounting surface on the engine to make sure there isn’t any junk or corrosion preventing a clean fit for the new one.
- 6. Grab your new starter and line it up with the mounting holes. It’s a bit of a puzzle sometimes, especially in tight engine bays, but once you get the first bolt started by hand, the rest usually follow. Hand-threading the bolts is crucial here so you don’t cross-thread them, which is a massive headache you definitely want to avoid.
- 7. Tighten everything back down, starting with the mounting bolts and then moving to the electrical wires. Make sure those connections are snug and clean so you don’t deal with intermittent starting issues later. Once it’s all bolted up, reconnect your battery, hop in the driver’s seat, and give it a turn to make sure you’re back in business.
Diagnosing a Dead Engine Without the Mechanics Guesswork
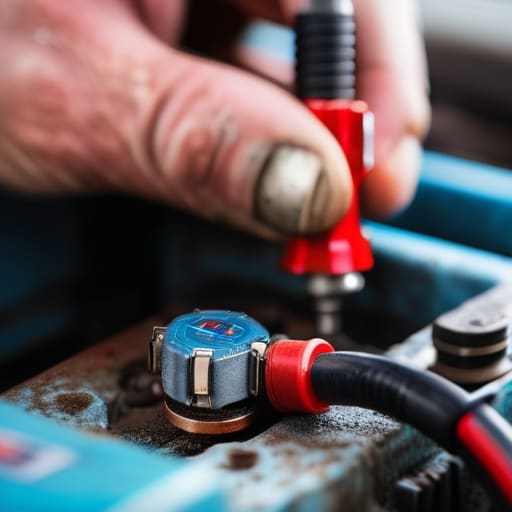
Before you go buying parts, you need to make sure it’s actually the starter and not just a bad connection. I’ve seen so many people waste money on a brand-new unit when the real culprit was just a crusty connection. Start with a quick battery terminal corrosion check; if you see that white, fuzzy buildup, your electricity isn’t flowing right, and no amount of new hardware will fix that. Grab a multimeter if you have one, because automotive electrical system troubleshooting is way more reliable than just listening to a clicking sound and guessing.
If the terminals are clean and the battery is holding a solid charge, then you’re likely looking at actual starter motor symptoms and causes. Listen closely when you turn the key. A single, loud “clack” usually means the solenoid is trying to engage but the motor itself is toast. If you get a rapid-fire clicking, it might still be low voltage. Don’t rush into diagnosing a dead engine by assuming the worst—check your ground wires first. Most of the time, it’s just a loose connection or a dying cell, not a total mechanical failure.
Essential Automotive Tools for Starter Replacement You Already Own
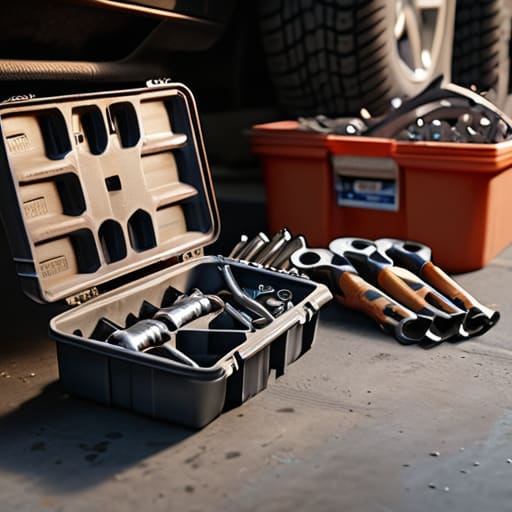
You don’t need to go out and drop a few hundred bucks on a professional rolling tool chest just to get this job done. Most of the stuff you’ll need is probably already sitting in a plastic bin in your garage. A solid set of sockets—specifically a deep socket set—and a decent ratchet are your bread and butter here. Since I’m usually working in tight spaces under the manifold, I can’t stress enough how much a small 1/4-inch drive ratchet helps when you’re fighting for clearance. Also, grab a good pair of work gloves; those starter housings can get pretty nasty and sharp.
Before you even touch a wrench, do a quick battery terminal corrosion check. I’ve seen way too many people tear their whole engine bay apart only to realize they just had a layer of white crust preventing a solid connection. While you’re at it, make sure you have a multimeter handy for some basic automotive electrical system troubleshooting. It’s a cheap tool that saves you from the headache of replacing a perfectly good part because you misdiagnosed a simple voltage drop.
Pro-Tips to Keep Your Knuckles From Getting Battered
- Disconnect the negative battery terminal before you even touch a wrench. I’ve seen too many guys accidentally bridge the connection and see a shower of sparks that’ll ruin their day—and their starter.
- Use a jack and jack stands to get some decent light, but don’t trust a hydraulic floor jack alone while you’re under there. You need a stable, solid base so you aren’t fighting the car and the bolt at the same time.
- Take a photo of the wiring before you unhook anything. Modern sensor-heavy engines can have some weirdly routed cables, and once those terminals are off, it’s easy to forget exactly how they were seated.
- Grab a can of penetrating oil and give those mounting bolts a good soak a few minutes before you start. If you’re working on an older car, those bolts are likely seized, and trying to force them without prep is a one-way ticket to snapping a stud.
- Don’t forget to check your battery terminals for corrosion while you’re in there. If you’re replacing a starter because the car won’t crank, you might just have a bad connection at the battery that’s making you do way more work than necessary.
The Bottom Line on Swapping Your Starter
Don’t jump the gun and buy a new starter until you’ve actually confirmed it’s the culprit—sometimes a loose battery terminal or a bad ground wire is playing tricks on you.
Most of the heavy lifting is just about getting to the unit and managing those heavy-duty cables; once you’ve got the bolts loose, the actual swap is pretty straightforward.
Save your cash by doing this yourself, but don’t skip the safety steps—always disconnect that negative battery terminal first so you aren’t dealing with accidental sparks while you work.
## The Real Cost of a No-Start
“Most shops will charge you three hours of labor just to diagnose a clicking sound, but once you realize a starter is just a bolt-on component, you realize you’re not just saving money—you’re taking your car back.”
Nikolai·Osterman
Getting Back on the Road
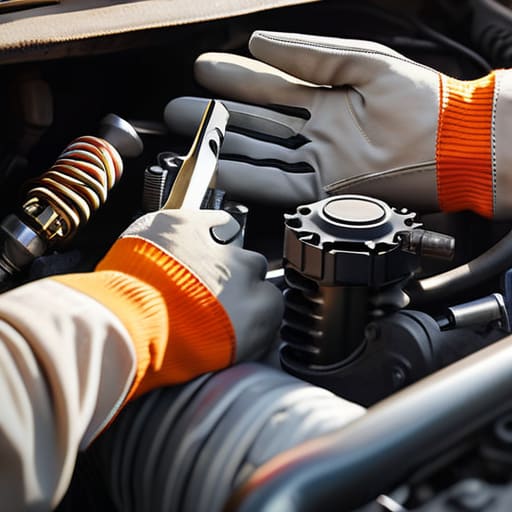
At the end of the day, swapping out a starter isn’t some mystical feat of engineering; it’s just a matter of staying organized and having the right gear. We went over how to narrow down the symptoms so you aren’t chasing ghosts, the specific tools you need to pull the job off, and the actual physical steps to get that old unit out and the new one in. If you kept your battery terminals clean and made sure you didn’t lose any of those small bolts in the driveway, you’ve already done the hard part. Just remember to double-check your connections before you try to crank it, because nothing kills the vibe faster than a job half-done.
I know it can feel intimidating when you’re staring down a greasy engine bay with a pile of parts staring back at you, but don’t let that stop you. Every time you turn a wrench and solve a problem yourself, you’re taking power back from the shops that want to charge you three hours of labor for a thirty-minute fix. You don’t need a fancy certification to take ownership of your machine. Keep your tools organized, keep your head level, and just keep turning. You’ve got this.
Frequently Asked Questions
Is it possible that my battery is actually dead and I'm just assuming it's the starter?
Look, I’ve seen this a thousand times at the shop. You’re convinced it’s the starter, but it’s actually just a lazy battery. Before you go tearing into the engine bay, check your lights or try a jump start. If the car cranks normally with a jump, your starter is fine and your battery’s just toast. Don’t waste money replacing a working starter when you really just need a fresh cell.
Do I need to drop the entire transmission to get to the starter, or can I reach it from the top?
Look, I get the anxiety—the idea of pulling a whole transmission sounds like a nightmare. But for most cars, you definitely don’t need to drop it. Usually, the starter is tucked away near the bottom where the engine meets the bellhousing. You’ll mostly be fighting for space and working around the frame or exhaust. Just grab a good flashlight and maybe a swivel socket; once you see the mounting bolts, you’ll realize it’s just a tight squeeze, not a transmission swap.
How do I know if I should just replace the solenoid instead of buying a whole new starter motor?
Look, it’s tempting to just swap the solenoid to save a few bucks, but it’s a gamble. If you hear a loud “click” but the engine won’t turn, it might just be the solenoid. But if you’re getting grinding noises or the starter smells burnt, the whole unit is toast. Honestly? On most modern cars, the solenoid is integrated into the starter anyway. Don’t waste your time chasing a cheap fix if the motor itself is dying.
