
Ever walk into a shop, tell them your check engine light is on, and watch the service advisor’s eyes light up like they just won the lottery? They’ll tell you it’s some massive, expensive engine issue, when in reality, a simple oxygen sensor replacement is usually all it takes to get your fuel economy back to normal. I learned that the hard way back when I was helping my dad in the garage; we spent three hours chasing a phantom vacuum leak only to realize a five-dollar sensor was just acting up. It’s frustrating how many people get talked into paying hundreds in labor for something you can do in your own driveway with a decent socket set.
I’m not here to give you some textbook lecture or sell you on fancy diagnostic computers you don’t need. I’m going to show you exactly how to identify a bad sensor, the specific tools you’ll need to keep from stripping those bolts, and the real-world tricks I use at the shop to get the job done without breaking a sweat. If you’ve got a bit of patience and a wrench, you’ve got everything you need to handle this oxygen sensor replacement yourself and keep your money where it belongs.
Table of Contents
- Step-by-Step Instructions
- Spotting Check Engine Light Symptoms Before They Cost You
- How to Test Oxygen Sensor Health Without a Mechanic
- Pro Tips to Keep You From Stripping Bolts and Losing Your Mind
- The Bottom Line on Oxygen Sensors
- ## The Real Cost of Ignoring the Light
- Don't Let Them Overcharge You
- Frequently Asked Questions
Guide Overview
Tools & Supplies
- Socket wrench and ratchet for loosening bolts
- Oxygen sensor socket (specialized slotted design)
- Penetrating oil (to loosen rusted threads)
- Extension bars (to reach recessed sensors)
- New oxygen sensor (1 unit)
- Anti-seize lubricant (small amount)
- Nitrile gloves (1 pair)
Step-by-Step Instructions
- 1. First things first, you gotta make sure the car is completely cool. Don’t even think about reaching near the exhaust manifold if you just pulled into the driveway; that metal stays hot long enough to give you a nasty surprise. Once it’s cold, jack the car up safely and get it on some sturdy jack stands. Never, and I mean never, trust a hydraulic jack alone while you’re crawling underneath.
- 2. Grab your tools, specifically an oxygen sensor socket. If you don’t have the specialized one with the slit cut out for the wire, a standard deep socket might work, but you’ll likely strip the housing and turn a simple job into a nightmare. Locate the sensor on the exhaust pipe—it’ll have a wire leading to a plug—and make sure you have a clear line of sight to the mounting point.
- 3. Before you even touch the wrench, hit that sensor with some penetrating oil like PB Blaster or WD-40 Specialist. These sensors get baked into the exhaust by heat cycles, and they don’t like being moved. Let it soak for at least fifteen or twenty minutes; if you try to force it too early, you’re just going to round off the edges of the sensor.
- 4. Now, get your socket on there and break it loose. You might need to put some real weight into it, so use a long breaker bar if you have one. Once it’s loose, unscrew it the rest of the way by hand so you don’t damage the threads on the exhaust pipe. While you’re at it, take a quick look at the old sensor to see if it looks caked in soot or oil—that’s usually a tell-tale sign of what’s going wrong in your engine.
- 5. Take your new sensor and check the O-ring or the thread sealant. Most new ones come pre-coated, but if yours looks bone dry, give it a tiny bit of high-temp anti-seize. Thread the new one in by hand first; you want to make sure it’s going in straight. If you feel any resistance right away, stop and back it out. You do not want to cross-thread this.
- 6. Once it’s hand-tight, give it a final snug with your wrench. You don’t need to go “gorilla mode” on it—just make sure it’s firmly seated so it doesn’t leak exhaust gases. Plug the electrical connector back in, making sure you hear that little click that tells you it’s locked in place.
- 7. Lower the car, clear your codes with an OBD-II scanner if you have one, and take it for a quick spin. If your check engine light stays off and the idle feels smooth, you just saved yourself a hundred bucks in labor costs. Stick that magnetic tray back in your pocket and call it a day.
Spotting Check Engine Light Symptoms Before They Cost You

Most people wait until their car starts sputtering or idling like a lawnmower before they even think about looking under the hood. By then, you’re usually already looking at a massive repair bill. If you want to stay ahead of the game, you need to pay attention to the subtle check engine light symptoms that pop up early. I’m talking about a sudden drop in your fuel economy or a slight hesitation when you hit the gas. If you notice you’re hitting the gas pedal harder just to maintain your usual speed, your car is likely struggling to balance the air and fuel mixture.
Instead of guessing, I always tell my buddies to grab a cheap oxygen sensor diagnostic tool—the kind you can plug into your OBD-II port. It’s a lifesaver for figuring out if you’re actually dealing with a bad sensor or if it’s something more complex, like an issue with your air-fuel ratio sensor. Taking ten minutes to scan the codes yourself can save you from a shady shop trying to sell you a whole new catalytic converter when all you really needed was a quick sensor swap.
How to Test Oxygen Sensor Health Without a Mechanic
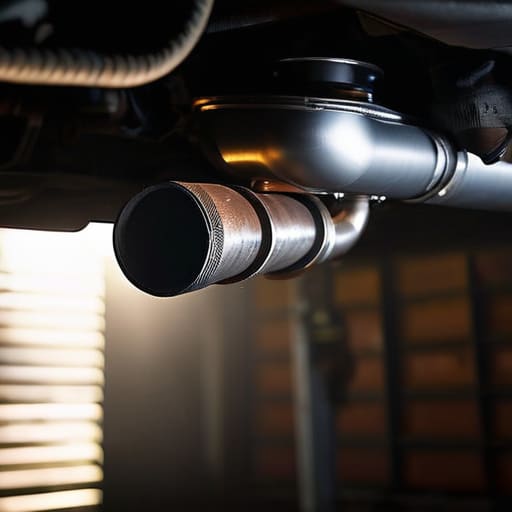
Before you go tearing into your exhaust system, you need to be sure it’s actually the sensor causing the headache. You don’t always need a high-end shop scanner to figure this out. If you’re feeling brave, you can start by checking your fuel economy. If you’re suddenly getting single-digit MPG on a commute that used to be easy, that’s a huge red flag. Another way to approach how to test oxygen sensor health is to look for a rough idle or a constant “rich” smell coming from the tailpipe. If the car feels like it’s stumbling under load, your sensor might just be sluggish instead of completely dead.
If you want to get a bit more technical without spending a fortune, grab a cheap OBD2 scanner. It’s not a professional-grade oxygen sensor diagnostic tool, but it’ll give you the live data you need to see if the voltage is actually fluctuating like it should. If the reading is stuck in one spot, you’ve found your culprit. Don’t let a shop tell you the whole catalytic converter is shot when it’s really just a lazy sensor needing a quick swap.
Pro Tips to Keep You From Stripping Bolts and Losing Your Mind
- Don’t even think about touching that sensor until you hit it with some penetrating oil. Spray it down a good amount and let it sit for at least twenty minutes; if you try to force a seized sensor cold, you’re probably going to snap it right off in the exhaust manifold, and then you’ve got a much bigger problem on your hands.
- Grab a dedicated oxygen sensor socket if you can. I know, it’s one more thing to add to your toolbox, but those slotted sockets make it way easier to get a solid grip without crushing the wires or slipping and bruising your knuckles.
- Keep your magnetic parts tray handy. Between the mounting bolts and any little clips you might come across, it’s way too easy to drop a fastener into the dark abyss of your engine bay. I’ve learned the hard way that “finding it later” usually means buying a new one.
- Always check the wiring harness before you even start unscrewing anything. Sometimes it’s not the sensor itself that’s shot, but a frayed wire or a melted connector from being too close to the exhaust. There’s no point in swapping the sensor if the plug is the actual culprit.
- Use a bit of high-temp anti-seize on the new sensor threads, but be careful not to get any on the sensor tip itself. If you get grease on that little sensor element, you’ll foul it immediately, and you’ll be right back where you started with a check engine light.
The Bottom Line on Oxygen Sensors
Don’t wait for a massive repair bill to hit; if your gas mileage tanks or the engine feels sluggish, your O2 sensor is probably the culprit.
You don’t need a shop full of expensive scanners to know something is wrong—trust your gut and the basic symptoms your car is throwing at you.
Swapping a sensor is one of those jobs that looks intimidating but is actually just a matter of getting the right wrench and not rushing the process.
## The Real Cost of Ignoring the Light
“A shop will charge you a premium to tell you what your dashboard already knows. An oxygen sensor isn’t some high-tech mystery; it’s just a part that’s done its time. Don’t pay for their convenience when you can just grab your wrench and do it yourself.”
Nikolai·Osterman
Don't Let Them Overcharge You
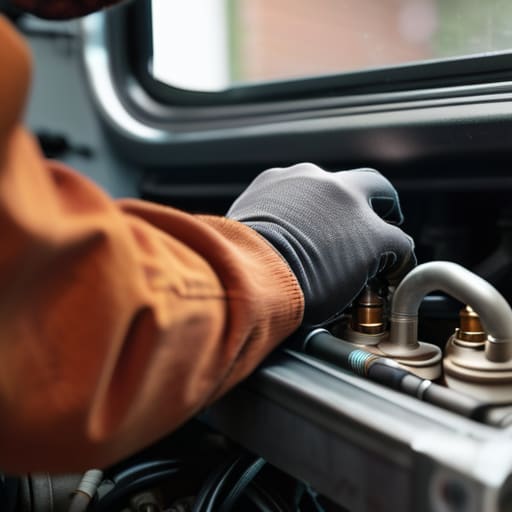
Look, replacing an oxygen sensor isn’t some high-level engineering feat that requires a master technician and a massive shop bill. We’ve covered everything from spotting those early warning signs like poor fuel economy and rough idling, to testing the sensor yourself so you aren’t just guessing. Once you’ve got the right wrench and a bit of patience, you’ve already done the hardest part. Just remember to double-check your connections and make sure everything is seated properly before you clear those codes and shut the hood. If you follow the steps and don’t rush the process, you’ll save yourself a massive headache and a much larger chunk of change at the dealership.
At the end of the day, my goal is to make sure you feel confident every time that check engine light pops up. There is a huge difference between being a victim of a bad repair estimate and being someone who actually understands their own machine. It might feel intimidating the first time you’re reaching into a tight engine bay, but that feeling goes away the moment you realize you actually fixed it yourself. Keep your tools organized, keep that magnetic tray handy, and don’t let anyone tell you that you aren’t capable of maintaining your own ride. You’ve got this.
Frequently Asked Questions
Is it worth replacing both sensors at once, or should I just stick to the one that's actually throwing the code?
Look, if you’re on a tight budget, just swap the one that’s actually acting up. There’s no law saying you have to do both. But honestly? If you’ve got the extra cash, I usually recommend doing both. They’re usually the same age and facing the same exhaust heat, so if one’s cooked, the other isn’t far behind. It saves you from crawling back under the car in three months for the same headache.
Can I use a regular wrench to get the old sensor out, or am I definitely going to need that specific oxygen sensor socket?
Look, you could try to muscle it with a regular wrench, but honestly? Don’t do that to yourself. These sensors get baked into the exhaust by years of heat cycles, and they love to seize up. If you use a standard wrench, you’re probably just going to round off those tiny flats and turn a simple job into a total nightmare. Grab the dedicated oxygen sensor socket; it’s worth the few bucks to avoid the headache.
How long does it usually take for the check engine light to actually go away after I've finished the swap?
Honestly, it’s not always instant. Most of the time, you’ll need to drive the car for a bit—usually a couple of drive cycles—before the ECU realizes the new sensor is actually doing its job and clears the light. If you don’t have a scanner to manually clear the code, just go for a normal mix of city and highway driving. If it’s still staring at you after a day or two, then we’ve got a different problem.
