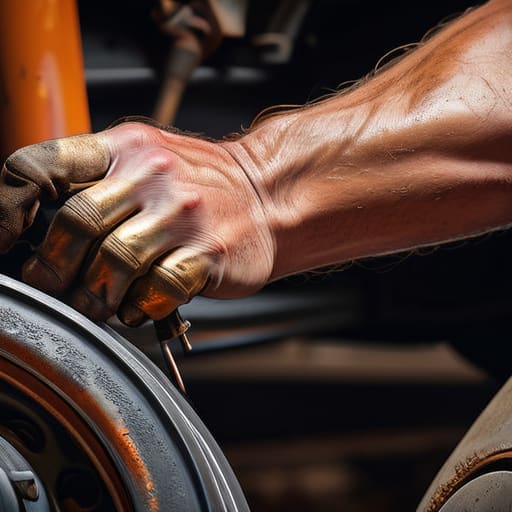
Most shops will try to tell you that a brake line replacement is some high-level, specialized procedure that requires a heavy-duty lift and a master technician’s license. Honestly? That’s just a way to pad the invoice. I remember the first time I saw a rusted-out line on one of my weekend tuner projects; the guy at the local shop quoted me enough money to buy a whole new set of wheels just to swap out a single metal tube. It felt like a total scam. The truth is, if you can handle a wrench and don’t mind getting a little bit of brake fluid on your hands, you can handle this.
I’m not here to give you some textbook lecture or sell you on expensive, proprietary tools you’ll never use again. I’m going to show you the exact, no-nonsense way to tackle a brake line replacement using the gear you probably already have in your toolbox. We’re going to walk through the real-world stuff—like how to deal with a stripped flare nut without losing your mind—so you can get back on the road feeling confident in your own work.
Table of Contents
- Step-by-Step Instructions
- Spotting Brake Fluid Leak Symptoms Before They Become Fatal
- Mastering Automotive Hydraulic System Repair With Simple Patience
- Pro Tips to Keep You From Making a Mess of It
- The Bottom Line on Your Brakes
- ## The Real Cost of Neglect
- Don't Let a Leaky Line Stop You
- Frequently Asked Questions
Guide Overview
Tools & Supplies
- Flare nut wrenches for loosening brake fittings without stripping
- Brake bleeder kit for removing air from lines
- Tubing cutter for clean, square cuts on metal lines
- Line flaring tool for creating correct end shapes
- Replacement brake lines (Steel or Copper-Nickel) as needed
- Brake fluid (DOT 3, 4, or 5.1 depending on vehicle spec) 1 quart
- Copper crush washers to ensure leak-free connections
Step-by-Step Instructions
- 1. First things first, you need to get the car off the ground. Don’t even think about crawling under there with just a standard jack; you need to get it up on jack stands so you aren’t betting your life on a hydraulic cylinder. Once the car is stable and you’ve disconnected the negative terminal on your battery (just to be safe with any sensors), find the old, crusty line you’re replacing. Use a line wrench to loosen the fittings at both ends. If they’re rusted solid, don’t just manhandle them or you’ll strip the nut, which is a headache you definitely don’t want. Use some penetrating oil and give it time to soak.
- 2. Once the old line is free, grab your new line and start measuring. You want to cut it to the exact length of the old one, but maybe give yourself a tiny bit of slack so it isn’t under tension when you’re routing it. Use a dedicated tubing cutter for this; don’t try to use a hacksaw unless you want a jagged mess that will never seal properly. Make sure your cuts are perfectly square so the flare sits flush against the fitting later.
- 3. Now you’ve got to flare the ends. If you’re using copper-nickel tubing, this is way easier, but if you’re working with steel, you’ll need a good manual flaring tool. This is where most people mess up, so take your time. You’re looking to create a smooth, even cone at the end of the tube. If the flare looks lopsided or has a crack in it, throw it away and start over. A bad flare means a leaky brake system, and that’s a non-negotiable fail.
- 4. It’s time to route the new line through the chassis. Follow the exact path the old one took to avoid rubbing against moving parts or getting too close to the exhaust. I always use a few plastic zip ties to keep things tidy, but never use metal ties because they’ll vibrate against the line and eventually rub a hole right through it. Make sure the line has enough room to move slightly with the suspension without getting pinched.
- 5. Thread your new line into the fittings by hand first. This is a pro tip: if you start with a wrench and feel resistance immediately, stop what you’re doing. You’re cross-threading it, and if you strip those threads, you’re looking at a much bigger, more expensive job. Once it’s hand-tight, use your flare nut wrench to give it that final, firm snug. You want it tight enough to seal, but don’t go overboard and crush the flare.
- 6. After everything is hooked up, you have to bleed the brakes to get all the air out of the system. This is the part where you’ll probably need a buddy to sit in the driver’s seat. One person pumps the pedal and holds it down while you open and close the bleeder valves. You’ll see bubbles coming out of the lines—keep going until you see nothing but clear fluid. If you see air bubbles, you aren’t done yet; keep at it until the pedal feels firm and responsive.
- 7. Finally, do a thorough inspection of everything you just touched. Check every single connection for even the slightest hint of wetness. Grab a clean rag, wipe down the fittings, and then watch them closely for a few minutes. If there’s no weeping or dripping, you’re good to go. Do a low-speed test drive in a driveway or parking lot before you hit the main road to make sure the pedal pressure feels exactly how it should.
Spotting Brake Fluid Leak Symptoms Before They Become Fatal
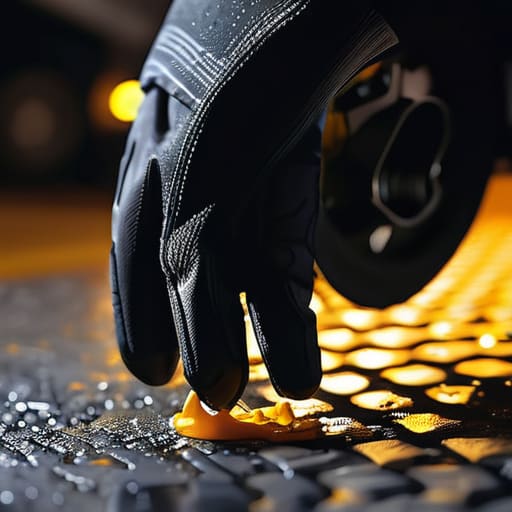
If you’re waiting until you see a puddle on your driveway to check your brakes, you’re already playing a dangerous game. One of the biggest red flags I see is a change in your brake pedal feel issues—if the pedal suddenly feels “spongy” or sinks all the way to the floor when you’re stopped at a light, that’s your car screaming for help. It usually means air has gotten into the lines or fluid is escaping. Keep an eye out for any oily residue around the wheels or near the master cylinder; brake fluid is corrosive and will eat through your paint if it sits there too long.
Another thing to watch for is a faint, acrid smell after a drive. If you catch that, you might have a slow weep coming from a connection or a hairline crack in a line. I always tell people to look for discoloration or dampness on the rubber sections first. When you’re deciding between replacing hard lines vs flexible hoses, remember that rubber hoses tend to crack with age, while metal lines usually rust out. Catching these small leaks early is the difference between a quick afternoon fix and a total breakdown on the highway.
Mastering Automotive Hydraulic System Repair With Simple Patience
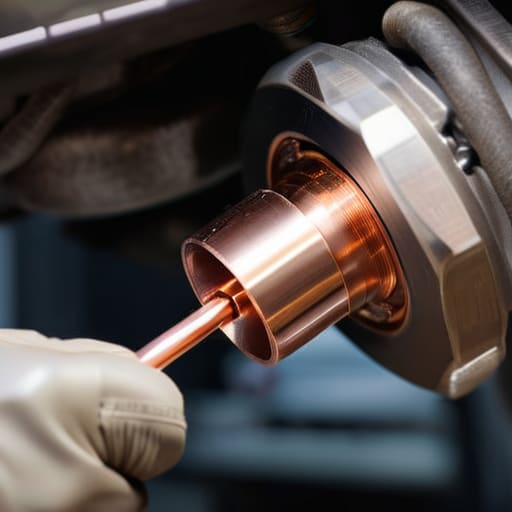
When you’re diving into automotive hydraulic system repair, the biggest mistake I see is people rushing the process. It’s tempting to just crank everything down as tight as possible, but that’s how you end up stripping threads or causing a slow leak later. You have to respect the pressure involved here. If you’re dealing with flaring brake lines, take your time to make sure the flare is clean and perfectly seated. A messy flare is just a ticking time bomb for your braking performance.
Another thing to keep in mind is the difference between replacing hard lines vs flexible hoses. While the hard lines are usually what’s corroding, those rubber hoses can get brittle and swell over time, too. If you’re noticing weird brake pedal feel issues, don’t just swap the metal lines and call it a day; check the rubber bits. It’s all about being thorough. If you approach it with a bit of calculated patience rather than trying to power through it, you’ll avoid those annoying mid-job headaches and actually get the job done right the first time.
Pro Tips to Keep You From Making a Mess of It
- Don’t even think about using a standard open-end wrench on those fittings; you’ll round the edges off in two seconds. Grab a flare nut wrench so you can actually get a grip without stripping the metal.
- If you’re working on an older car and a line is rusted solid, don’t just manhandle it. Hit it with some penetrating oil and let it sit for twenty minutes. Forcing it is how you end up snapping a fitting inside the frame.
- Keep your workspace clean and your brake fluid bottles tightly capped. This stuff is corrosive as hell and it’ll eat the paint right off your car’s body if you get careless with a spill.
- When you’re flaring the new lines, double-check your die alignment. A bad flare is the number one reason people end up with a slow leak that they can’t figure out later.
- Always bleed the system starting from the wheel furthest from the master cylinder. If you skip this or do it out of order, you’re going to have a spongy pedal and a very bad time on the road.
The Bottom Line on Your Brakes
Don’t wait for a soft pedal or a puddle on your driveway to take action; catching a tiny leak early is the difference between a quick line swap and a total system failure.
You don’t need a shop’s worth of expensive gear, but you absolutely cannot skip getting a quality flare nut wrench if you want to avoid stripping those fittings.
Take your time with the bleeding process—rushing through it is the fastest way to trap air in the system and end up right back where you started.
## The Real Cost of Neglect
“Most shops will try to tell you that a corroded brake line is a ‘complex system failure’ just to pad the invoice, but the truth is simpler: it’s just a piece of metal that gave up. You don’t need a master technician to swap it out; you just need to respect the pressure and make sure your flares are seated right.”
Nikolai·Osterman
Don't Let a Leaky Line Stop You
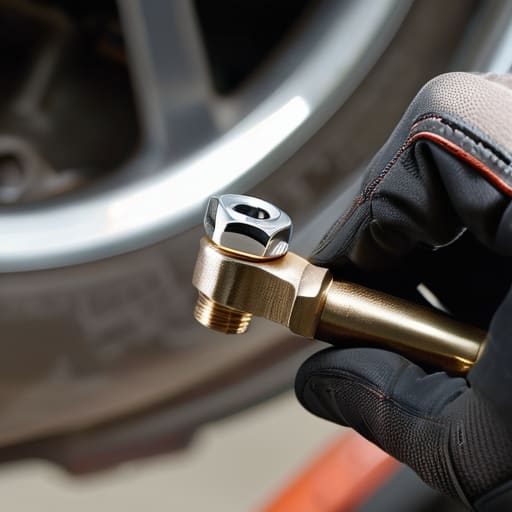
Look, replacing brake lines isn’t some high-level engineering feat, but it does require you to stay sharp. We’ve covered everything from spotting those early signs of fluid weeping to getting the right flare nut wrench to ensure you don’t strip those precious fittings. Remember, the most important part of this job isn’t just tightening the lines; it’s making sure you bleed the system perfectly so there’s no air trapped in the lines. If you take the time to double-check your connections and verify that your pedal feels firm, you’ve done the heavy lifting. Don’t rush the process just to get the car back in the driveway; precision is what keeps you safe on the road.
At the end of the day, I want you to realize that the gap between “knowing nothing” and “fixing it yourself” is a lot smaller than the shops want you to believe. Every time you pick up a tool and tackle a job like this, you’re taking control of your own safety and your own wallet. It might be messy, and you’ll definitely end up with some grease under your fingernails, but that’s just part of the process. Keep practicing, keep learning, and trust your hands. You’ve got this, and honestly, your car will run better for it.
Frequently Asked Questions
How do I know if I can just patch a small leak with a coupler or if I really need to replace the whole line?
Look, I’ll be straight with you: don’t even think about patching a brake line with a coupler. It’s a massive safety risk. Brake systems run under insane pressure, and a patch is just a weak point waiting to burst when you actually need to slam on the brakes. If you see a leak, the whole line is compromised. Don’t try to save a few bucks with a quick fix; just swap the line. It’s not worth it.
Is it worth buying those expensive coated copper-nickel lines, or can I just stick to the standard steel ones?
Look, if you’re just fixing up a daily driver to get from A to B, standard steel lines are fine—just make sure they aren’t rusted through. But if you’re working on a project car or something that sees a lot of salt and moisture, grab the copper-nickel (Kunifer) stuff. They’re way easier to bend without kinking and they won’t rot out on you in two years. It’s worth the extra cash for the peace of mind.
What’s the best way to bleed the brakes if I don't have a fancy vacuum pump lying around?
If you don’t have a vacuum pump, don’t sweat it. The old-school two-person method is honestly more reliable anyway. Grab a buddy—you need someone to sit in the driver’s seat. While they pump the pedal and hold it, you crack the bleeder valve, let the air bubbles escape, and close it before they let the pedal up. Just make sure they don’t let the reservoir run dry, or you’ll be starting all over.
