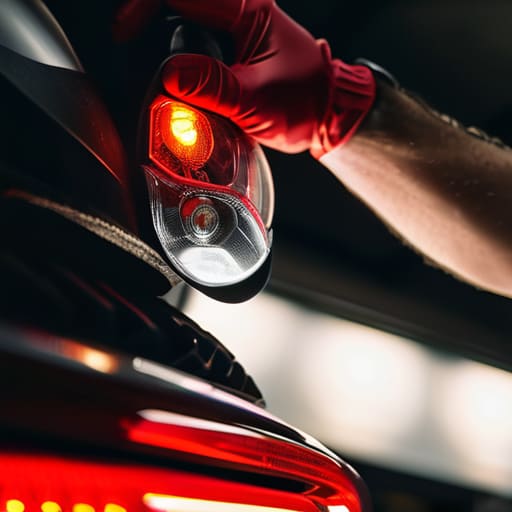
I was pulling into my buddy’s driveway last week when he pointed out my left tail light was dark, and honestly, I almost felt that familiar sting of dread. Most people think a dead bulb means a mandatory trip to the shop where you’ll end up paying fifty bucks just for a guy to click a plastic housing open. But here’s the truth: a brake light bulb replacement is one of those “why didn’t I do this sooner?” tasks that takes less time than grabbing a coffee. I’ve seen mechanics try to charge full labor rates for something you can do in your driveway with nothing but a pair of gloves and a bit of grit.
I’m not here to give you some overly polished, textbook manual that makes a simple fix sound like rocket science. Instead, I’m going to walk you through the real-world way to handle this, from finding the right part at the local auto store to making sure you don’t snap any brittle plastic clips in the process. My goal is to get you back on the road safely without draining your wallet for a five-minute job. Let’s get under the hood and get it done.
Table of Contents
- Step-by-Step Instructions
- Identifying the Right Brake Light Bulb Size and Types
- Tackling Tail Light Assembly Removal Without the Stress
- Pro Tips to Save Your Sanity (and Your Hands)
- The Bottom Line on Fixing Your Own Lights
- The Real Cost of a Burned-Out Bulb
- Wrapping It All Up
- Frequently Asked Questions
Guide Overview
Tools & Supplies
- Screwdriver (to remove housing screws)
- Rag (to clean hands or surfaces)
- Replacement brake light bulb (1 unit)
- Work gloves (1 pair)
Step-by-Step Instructions
- 1. First, grab your spare bulb and make sure it’s the right one. I always tell people to check the manual or just pop the old one out first to match the base. You don’t want to get halfway through this only to realize you bought a single filament when you needed a dual one.
- 2. Next, you need to get to the housing. Depending on your car, you’ll either be popping the trunk and looking for a small access panel, or you might have to reach through the wheel well. Just don’t force anything; if it feels stuck, you’re probably pulling the wrong way.
- 3. Once you’re looking at the light assembly, you’ll see a plastic socket holding the bulb in place. Give it a firm but gentle counter-clockwise twist. It should click and loosen up. If it’s been sitting in the rain or salt for years, it might be a bit crusty, so just use a little extra patience there.
- 4. Pull the socket straight out of the housing. Now, grab the old bulb and give it a little twist to release it from the socket. This is where I usually reach for my magnetic parts tray just in case I drop a tiny screw or a clip, because let’s be real, things love to disappear in a dark trunk.
- 5. Take your new bulb and slide it into the socket. Line up the little metal tabs on the side of the bulb with the slots in the socket so it sits flush. You’ll feel it seat itself once it’s in the right spot, so don’t try to force it if it feels wonky.
- 6. Before you put everything back together, do a quick test. Hit the brakes (make sure no one is behind you first!) to see if the new bulb actually lights up. It’s way better to catch a dud bulb now than to finish the whole job only to realize you’re still driving around dark.
- 7. Finally, slide the socket back into the housing and twist it clockwise until it locks tight. If you had to remove any plastic covers or trim pieces to get there, just snap them back into place. You’re done—and you just saved yourself a sixty-dollar shop fee for something that took ten minutes.
Identifying the Right Brake Light Bulb Size and Types
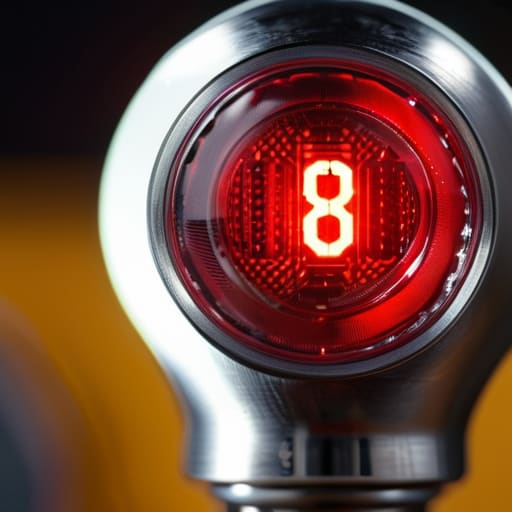
Before you even grab your tools, you need to make sure you aren’t walking into the auto parts store with the wrong info. Most people just guess, but if you grab a bulb that’s even a millimeter off, it’s not going to seat right in the socket. The easiest way to find your exact brake light bulb size is to check your owner’s manual or, honestly, just pull the old one out and look at the metal base. There’s usually a tiny code stamped right there, like 1157 or 7443. Knowing your specific automotive bulb types saves you that annoying second trip back to the store when the new one doesn’t fit.
While you’re in there, keep an eye out for any nasty buildup. If you notice a white, crusty powder inside the housing, you’re likely dealing with brake light socket corrosion. It happens more often than you’d think due to moisture getting trapped. If the connection looks junk, a quick clean with some contact cleaner can prevent a massive headache later. Don’t just replace burnt out brake bulb units blindly; take a second to make sure the socket is actually healthy enough to hold a charge.
Tackling Tail Light Assembly Removal Without the Stress
Sometimes, you aren’t just dealing with a dead bulb; you’re dealing with a housing that’s stuck like it’s been welded on. If you find yourself needing to do a full tail light assembly removal because the plastic is cracked or the socket is fried, don’t just start yanking on it. You’ll snap a mounting tab, and then you’re looking at a much more expensive repair. I always tell people to grab a screwdriver and check for hidden screws tucked deep in the corners or behind trim pieces. If it feels stuck, it’s usually just road grime or a stubborn clip, not a sign that you’re breaking it.
While you’ve got the assembly out, take a second to look inside the housing. This is the perfect time for some quick car electrical troubleshooting. Check the metal contacts for any signs of brake light socket corrosion or black soot. If the metal looks crusty or green, a little bit of electrical contact cleaner can work wonders. It’s way better to fix the connection now than to replace a burnt out brake bulb only to have it fail again next week because the socket was the real problem.
Pro Tips to Save Your Sanity (and Your Hands)
- Don’t touch the glass. Seriously. If you grab the new bulb with your bare fingers, the oils from your skin can bake onto the glass when it gets hot, causing it to burn out way faster than it should. Use gloves or just hold it by the plastic base.
- Check the other side while you’re at it. If one bulb died, the other one is usually right behind it. Since you’ve already got the tools out and the assembly pulled, just swap both. It’s better than having to do this whole job twice in two weeks.
- Inspect the socket for any crusty buildup. If you see any white or green corrosion inside the socket, give it a quick clean with some electrical contact cleaner. If the connection is junk, a brand-new bulb won’t do a damn thing.
- Give it a wiggle test before you snap everything back together. Once you pop the new bulb in, turn your brakes on and have a buddy stand behind the car (or just use a reflection) to make sure it actually lights up. There’s nothing worse than putting the whole tail light assembly back together only to realize it’s still dark.
- Keep your parts organized. I know it sounds basic, but I’ve seen guys lose those tiny plastic trim clips in the grass or under the car. Keep a small tray—or even just a magnetic one like the one I keep in my pocket—to hold every single screw and clip you pull out.
The Bottom Line on Fixing Your Own Lights
Don’t just guess on the bulb type—double-check your manual or the old bulb itself so you don’t end up with a part that doesn’t fit or, worse, blows a fuse the second you turn it on.
Take your time with those plastic clips and housing screws; forcing a tail light assembly is the fastest way to turn a ten-minute job into a much more expensive repair.
Most of the time, you don’t need a fancy shop setup to do this—just a basic screwdriver, some patience, and the confidence to know you’re saving yourself a ridiculous labor charge.
The Real Cost of a Burned-Out Bulb
“Look, a dead brake light isn’t a mechanical crisis, it’s just a minor inconvenience that shops love to charge you eighty bucks to ‘diagnose.’ Don’t let them turn a five-minute bulb swap into a whole afternoon of labor costs—grab a new bulb, pop the housing, and keep that money in your pocket instead.”
Nikolai·Osterman
Wrapping It All Up
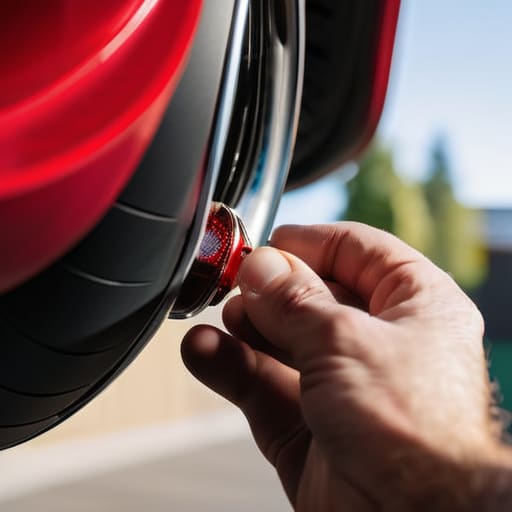
Look, once you’ve grabbed the right bulb size and successfully navigated that tail light assembly without snapping any plastic clips, you’re basically home free. It really isn’t as intimidating as the service advisors at the dealership try to make it sound when they’re quoting you a hundred bucks for ten minutes of work. Just remember to double-check that the bulb is seated properly in the socket before you snap everything back together, and always make sure your hands are clean so you aren’t leaving grease all over the new lens. If you followed these steps, you’ve just turned a potential fine or a safety hazard into a five-minute win that stays in your pocket instead of the shop’s cash register.
At the end of the day, these little wins are how you build real confidence under the hood. Every time you tackle a repair like this yourself, you’re taking a bit of control back from the big shops and learning the language of your own machine. Don’t let the fear of breaking something stop you from trying; honestly, most things are way more durable than we give them credit for. Keep that magnetic tray handy, keep turning wrenches, and remember that you’re more than capable of keeping your ride in shape. You’ve got this.
Frequently Asked Questions
What should I do if the new bulb still doesn't work after I've swapped it out?
If you slapped a new bulb in and still get nothing, don’t panic—it’s usually something small. First, double-check that the bulb is actually seated right in the socket; sometimes they don’t click in all the way. If that’s fine, grab some contact cleaner and check the socket for corrosion or burnt pins. If the socket looks fried, you might need a new one. Worst case? It’s a blown fuse. Check your manual and swap it out.
Is it worth buying the expensive LED bulbs, or should I just stick to the standard ones?
Honestly, it depends on what you’re after. If you just want to pass inspection and keep things simple, stick to the standard halogen bulbs. They’re cheap, easy to find, and they work. But, if you want that crisp, modern look—or if you’re tired of swapping bulbs every few months—go with the LEDs. They last way longer, though they can be a pain if your car’s computer starts throwing error codes.
Do I need to worry about cleaning the socket or checking for corrosion while I've got it all apart?
100%. Honestly, if you’ve got it all apart, don’t skip this. If you see any white crusty stuff or green corrosion in that socket, it’s going to mess with your connection and eventually kill your new bulb. Grab a bit of electrical contact cleaner or even just a small wire brush to scrub it out. It takes two minutes, but it’s the difference between a solid fix and being back in the driveway next week.
