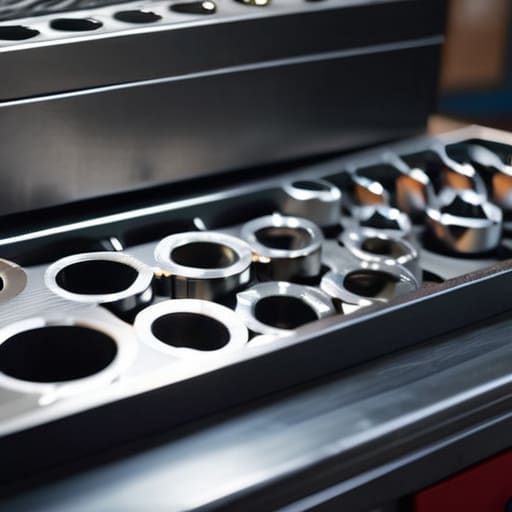
I’ve spent enough Saturday mornings hunched over an engine bay to know the exact sound of a 10mm socket hitting the concrete floor and disappearing into the dark abyss of a car’s undercarriage. It’s a specific kind of frustration that makes you want to throw your entire wrench set across the garage. I used to think I could just “wing it” and keep my tools in a pile, but let me tell you, nothing kills your momentum faster than digging through a chaotic metal bin when you’re mid-repair. If you aren’t using a decent socket organizer, you aren’t actually working; you’re just playing scavenger hunt with your own money.
I’m not here to sell you some overpriced, gold-plated storage system that looks pretty on a shelf but falls apart the second you toss it in a rolling cart. I’ve tested the cheap plastic trays and the heavy-duty magnetic rails so you don’t have to. My goal is to show you exactly what’s worth your hard-earned cash and what’s just marketing fluff. I’ll break down which setups actually hold up to grease and grit, helping you keep your workspace dialed in so you can focus on the actual fix.
Table of Contents
Mastering Your Metric and Imperial Socket Sets
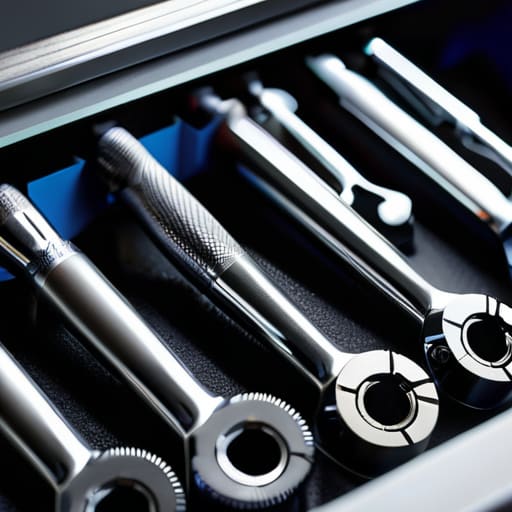
One of the biggest headaches I run into at the shop is a tech mixing up their measurements mid-job. You think you’re grabbing a 10mm, but you actually pull a 3/8-inch, and suddenly you’ve rounded off a bolt head that’s now going to take three hours to drill out. To stop this from happening, you need to be strict about how you handle your metric and imperial socket sets. I always keep them in separate zones within my drawer; if I see a SAE socket sitting in my metric rail, I know I’m headed for a bad afternoon.
If you’re trying to level up your garage tool drawer organization, don’t just toss them into a generic plastic bin. That’s how things get lost or scratched. I swear by using dedicated rails or even a small magnetic socket tray when I’m working on a specific part of the engine. It keeps the sizes right in front of your eyes so you aren’t playing “hide and seek” with a 12mm while you’re halfway under a chassis. Keep it organized, or the tools will eventually start working against you.
The Truth About Magnetic Socket Tray Efficiency
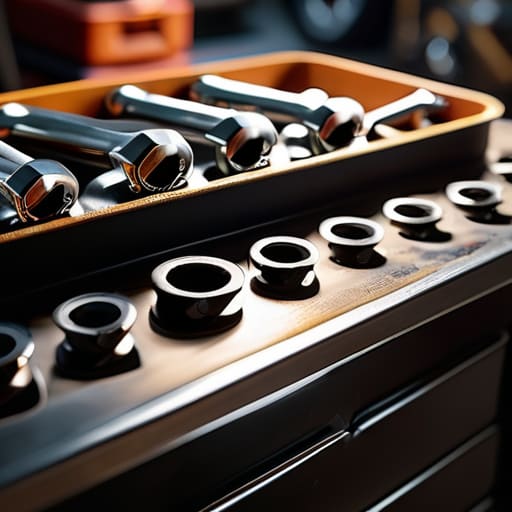
Look, I’ve seen guys at the shop lose half a day just because they dropped a 10mm into a dark corner of the engine bay. That’s where a decent magnetic socket tray actually earns its keep. It’s not just about being tidy; it’s about speed and sanity. When you’re working in tight spots or under a chassis, you don’t have the luxury of a massive workbench. Having a tray that actually grips your tools means you aren’t constantly playing hide-and-seek with your hardware every time you bump the tool chest.
The reality is that efficiency is everything when you’re mid-job. I keep my own magnetic tray in my back pocket for a reason—it’s the fastest way to clear a workspace without a massive cleanup later. If you’re trying to level up your professional mechanic tool management, stop treating your sockets like loose change. Use the magnets to keep your most-used sizes right where you can see them. It keeps the workflow smooth and, more importantly, it keeps you from buying the same damn socket twice because you thought you lost it.
Five Ways to Stop Losing Your Mind (and Your 10mm)
- Group your sets by drive size first. There’s nothing worse than grabbing a 1/4-inch organizer only to realize you actually need the heavy-duty 1/2-inch set for a suspension job. Keep them physically separated so you aren’t hunting through different trays mid-repair.
- Label everything, even if it feels extra. I use a silver Sharpie on the edges of my organizers to mark “Metric” and “SAE.” When you’re covered in grease and halfway through a job, you don’t want to be squinting at tiny engravings to figure out if a socket is 12mm or 1/2 inch.
- Don’t go overboard with the size of the organizer. If you buy a massive tray that holds 100 sockets but you only use 20 regularly, you’re just creating more surface area for things to get lost. Match the tray size to the tools you actually reach for every single week.
- Use clear bins or open-top trays for your most-used sizes. If you have a “go-to” set of shallow sockets, don’t bury them in a deep drawer. You want to be able to glance at your toolbox and see exactly what’s missing at a single glance.
- Keep a “miscellaneous” slot in your organizer for the weird stuff. Sometimes a socket is going to be slightly stripped or a bit wonky, and you don’t want it mixed in with your pristine sets. Give it its own little corner so it doesn’t ruin your organized flow.
The Bottom Line on Staying Organized
Stop mixing your metric and SAE sockets in one big pile; keep them separated by size and type so you aren’t hunting for a 10mm while you’re mid-repair.
Invest in a decent organizer or magnetic tray early on, because the time you waste digging through a junk drawer is time you could be spending actually turning wrenches.
A clean, organized setup isn’t just about looking professional—it’s about making sure you don’t lose a vital piece of hardware down the drain or under the chassis.
## The Real Cost of a Messy Toolbox
“Look, you can spend twenty minutes digging through a pile of loose steel every time you need a 10mm, or you can spend five seconds grabbing it from an organizer. Your time is worth more than the cost of a plastic tray, and honestly, so is your sanity.”
Nikolai·Osterman
Stop Fighting Your Toolbox
Look, at the end of the day, a socket organizer isn’t just some luxury for guys with massive, professional-grade tool chests. It’s about survival in the garage. Whether you’re keeping your metric and imperial sets separated so you don’t grab the wrong size mid-job, or you’re relying on a magnetic tray to keep those tiny 10mm sockets from vanishing into the abyss, organization is what separates a productive afternoon from a total headache. If you invest even a little bit of time into setting up a system that actually works for you, you’re going to save yourself a massive amount of frustration and, more importantly, you won’t be wasting money replacing tools you actually already own but just couldn’t find.
I know it can feel overwhelming when you first pop the hood or open up a messy toolbox, but don’t let the chaos intimidate you. Every pro I know started out with a junk drawer of tools and a lot of lost bolts. The goal isn’t to have a showroom-perfect garage; the goal is to have the right tool in your hand exactly when you need it. Take it one step at a time, get your gear sorted, and stop letting a messy workspace hold you back. You’ve got this, so get under the hood and start making those repairs yourself.
Frequently Asked Questions
Are there specific organizers that work better for deep sockets versus shallow ones?
Honestly, don’t try to cram them both into the same shallow tray. It’s a recipe for a headache. For shallow sockets, those flat, tiered organizers are perfect because they keep everything low-profile. But for deep sockets? You need something with vertical rails or a dedicated deep-socket holder. If you try to stack them in a standard tray, you’ll just end up fishing for the one you need while your knuckles bleed. Get the right height for the job.
Is it worth spending extra on a custom foam cutout system, or should I just stick to basic plastic trays?
Look, if you’re just starting out, don’t blow your whole paycheck on custom foam cutouts. They look clean, sure, but they’re a pain when you need to swap tools around. Stick to basic plastic trays or even my magnetic tray for now. Foam is great for a permanent setup, but it’s rigid. I’d rather have the flexibility to move things mid-job without worrying about ruining a $50 piece of shaped sponge.
How do I keep my organized sets from getting mixed up when I'm working on a different car?
Honestly, that’s the biggest headache once you actually get organized. My trick? Color-coding. I use a different colored paint pen or even just colored electrical tape on the handles of my metric sets versus my imperial ones. If I’m jumping from a Honda to an old Ford, I can grab the right tray instantly without squinting at tiny numbers. It keeps the chaos contained, even when you’re bouncing between different builds.
