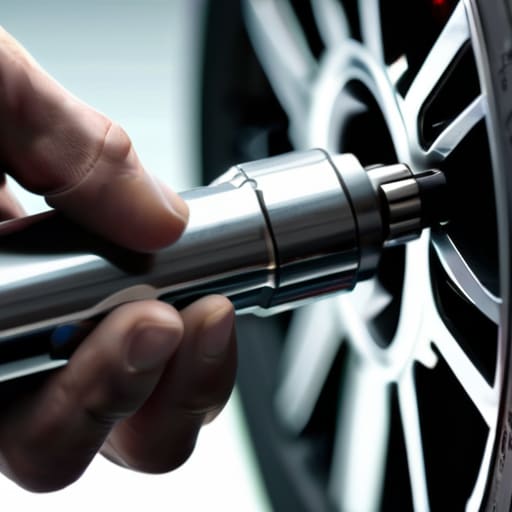
I remember watching my buddy try to tighten his own wheels after swapping out some old rims, and he was just going to town with an impact wrench like he was winning a race. He thought “tighter is better,” but I saw the way his brake rotor was starting to warp right before my eyes. That’s the biggest lie in the garage: the idea that you can just muscle your way through a job. Getting your wheel lug nut torque right isn’t about how much sweat you put into it; it’s about hitting the exact number your car actually asks for. If you overdo it, you’re asking for warped rotors or snapped studs, and nobody wants to deal with that mess on a Saturday afternoon.
I’m not here to give you some textbook lecture or a list of fancy shop terms you’ll never use. I’m going to show you exactly how to use a torque wrench properly so you can stop guessing and start working with actual confidence. We’ll cover how to find your specific specs, the right pattern to follow so your wheel sits flush, and why precision matters more than brute strength. Let’s get into it.
Table of Contents
- Step-by-Step Instructions
- The Real Risks of Overtightening Lug Nuts and Broken Studs
- Using Calibrated Torque Wrench Usage to Do It Right
- Pro Tips to Keep Your Wheels from Acting Up
- The Bottom Line on Lug Nuts
- ## The Golden Rule of the Garage
- Don't Leave Your Safety to Chance
- Frequently Asked Questions
Guide Overview
Tools & Supplies
- Torque wrench (essential for precise measurement)
- Lug wrench or socket set (to loosen and tighten nuts)
- Ratchet (for easier movement)
- Wheel lubricant or anti-seize (optional, check vehicle manual)
- Cleaning rag (to wipe threads)
Step-by-Step Instructions
- 1. First, grab your owner’s manual and find the exact torque spec for your specific vehicle. Don’t just guess or follow some random number you saw on a forum; every car has a different threshold, and if you’re off, you’re either going to snap a stud or have a wheel that wobbles.
- 2. Once you’ve got your number, clean off the wheel studs and the mounting surface of the rim. If there’s a bunch of rust or old grime buildup, the reading on your torque wrench is going to be totally fake because the friction will trick the tool into thinking it’s tight when it actually isn’t.
- 3. Thread your lug nuts on by hand first. I cannot stress this enough: never start them with an impact wrench or a heavy ratchet. You want to make sure they aren’t cross-threaded before you even think about applying any real pressure, otherwise you’re looking at a massive repair bill.
- 4. Tighten the nuts in a star pattern, not a circle. If you just go in a clockwise loop, you’re going to end up with the wheel sitting crooked on the hub, which is a recipe for vibration and uneven brake wear. Jump from one side to the opposite side to keep the pressure even.
- 5. Use a calibrated torque wrench to do the final pass. Set the wrench to the spec you found in step one, and tighten each nut until you hear or feel that distinctive click. Once it clicks, stop immediately; if you keep pulling, you’re just over-tightening and stressing the metal.
- 6. Do one final check once all the nuts are set. Go around the star pattern one more time at the correct torque just to make sure nothing shifted while you were working on the other side. It only takes ten extra seconds but it’s the difference between a safe drive and a disaster.
The Real Risks of Overtightening Lug Nuts and Broken Studs

Look, I’ve seen it a hundred times in the shop: some guy thinks “tighter is better” and ends up with a nightmare. When you’re overtightening lug nuts, you aren’t just making the wheel more secure; you’re actually stressing the metal to its breaking point. If you crank them down with an impact wrench without any finesse, you run a serious risk of stretching or even snapping a wheel stud entirely. Once that stud snaps, you aren’t just looking at a quick fix anymore—you’re looking at a much more expensive job involving pulling the hub or replacing the studs altogether.
It’s not just about the bolts, though. If you don’t follow a proper star pattern tightening sequence, you’re going to end up with uneven pressure across the hub. This is one of the most common ways people end up preventing brake rotor warping from actually happening—meaning, if you do it wrong, you’ll actually cause the warping yourself. You’ll feel it as a vibration through the pedal every time you hit the brakes. Stick to your manual, use a real tool, and don’t try to muscle it with a breaker bar.
Using Calibrated Torque Wrench Usage to Do It Right
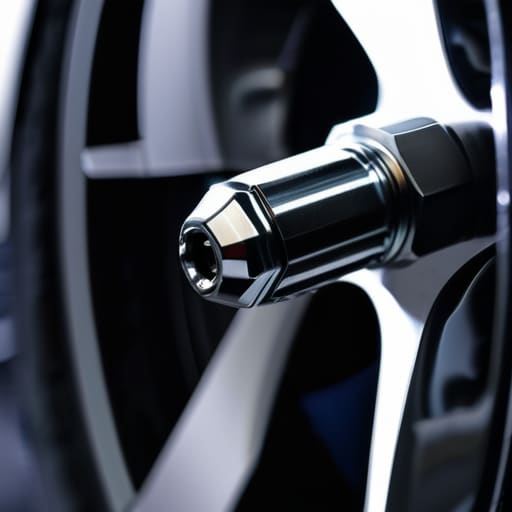
Look, if you’re serious about doing this right, you can’t just rely on “feel.” I’ve seen guys at the shop think they’ve got a heavy hand, only to realize they’ve gone way past the limit. To avoid that, you need to focus on calibrated torque wrench usage. A cheap, uncalibrated tool is basically just a fancy breaker bar; it might give you a click, but it won’t give you the truth. If you want to be sure you’re hitting the correct torque specifications listed in your owner’s manual, make sure your wrench is actually accurate. I usually check mine against a known standard every once in a while because a drifting wrench is just a recipe for a headache later.
Once you’ve got the right tool, the way you actually apply the force matters just as much as the number on the dial. Never just go in a circle. You have to follow a star pattern tightening sequence to ensure the wheel sits perfectly flush against the hub. If you tighten one side too much before the others, you’re basically asking for trouble, like preventing brake rotor warping from uneven pressure. Take it slow, hit each nut in order, and let the tool do the work.
Pro Tips to Keep Your Wheels from Acting Up
- Always use a star pattern when tightening. If you just go in a circle, you’re going to end up with the rotor sitting crooked, which leads to vibrations that’ll drive you crazy.
- Clean your studs and lug nuts before you start. If there’s a bunch of rust or old gunk on the threads, your torque wrench is going to give you a fake reading because of the friction.
- Never, and I mean never, use an impact wrench to do your final tightening. Those things are great for taking stuff off, but they’re way too aggressive for setting torque and they’ll snap a stud before you even realize it.
- Check your torque again after you’ve driven about 50 miles. Things can settle a little bit once the wheel is actually under load, so a quick double-check ensures nothing is loosening up.
- Keep your torque wrench calibrated. If you’re using a cheap, beat-up tool that hasn’t been checked in years, you aren’t actually hitting the specs—you’re just guessing, and that’s how people end up stranded.
The Bottom Line on Lug Nuts
Stop using an impact wrench or an air gun to “feel” the tightness; if you aren’t using a calibrated torque wrench, you’re basically just gambling with your wheels.
Always follow the star pattern when tightening—if you go in a circle, you’re going to end up with uneven pressure and a warped rotor.
Check your torque regularly, especially after a tire rotation or if you’ve been hitting rough roads, because things can loosen up more than you’d think.
## The Golden Rule of the Garage
“I’ve seen too many people walk into the shop with snapped studs just because they thought ‘tighter is better.’ Look, a lug nut isn’t a jar of pickles; you aren’t trying to seal it shut, you’re just trying to meet a spec. Use the wrench, hit the number, and stop guessing.”
Nikolai·Osterman
Don't Leave Your Safety to Chance
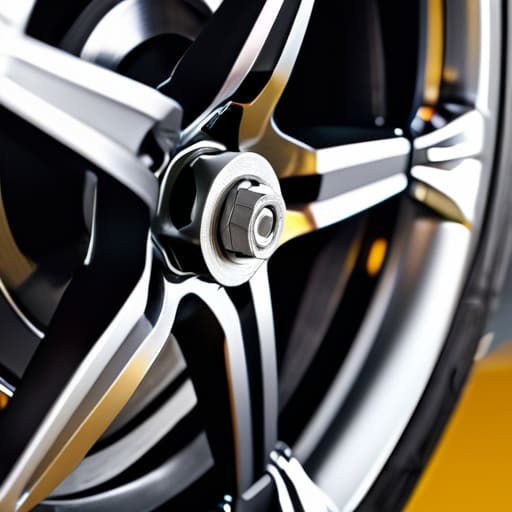
At the end of the day, it all comes down to respect for the machine. You’ve learned that just cranking an impact wrench until it sounds “tight” is a recipe for a snapped stud or a warped rotor. Remember, the goal isn’t just to get the wheel on; it’s about using a calibrated torque wrench to hit those exact factory specs in a star pattern. Whether you’re swapping out tires or just doing a quick rotation, taking those extra two minutes to ensure everything is seated perfectly is the difference between a smooth ride and a total mechanical nightmare on the highway.
I know it can feel a bit intimidating when you’re staring down a set of heavy wheels and a pile of tools, but don’t let that stop you. Every pro I know started exactly where you are—probably making a few mistakes and getting some grease on their favorite hoodie. The more you do this, the more it becomes second nature. My goal is to make sure you feel confident enough to take control of your own maintenance without feeling like you’re guessing. Grab your tools, follow the manual, and keep those wheels turning safely. You’ve got this.
Frequently Asked Questions
Can I just use an impact wrench to get the job done quickly, or is that actually going to mess things up?
Look, I get it—an impact wrench is way faster, and when you’re tired of kneeling on a cold garage floor, it’s tempting. But honestly? Don’t do it for the final tightening. Impact guns are basically blind; they just keep hammering until something gives, and usually, that’s your stud or the rotor. Use the impact to zip them on quickly, but always finish the job with a torque wrench. Don’t risk a stripped bolt for five minutes of saved time.
Do I need to use different torque settings if I switch from my stock wheels to some aftermarket alloys?
Short answer? Yes, you definitely need to check. Don’t just assume your stock settings will work. Aftermarket alloys are built differently—they might have different seat types (like conical versus ball seat) or even different materials that react differently to pressure. If you use the wrong torque or the wrong style of lug nut, you risk cracking the rim or stripping the studs. Always grab the manual for those specific wheels before you start cranking.
How often should I be double-checking my lug nut tightness after I've driven a few hundred miles?
Honestly, you should check them again after about 50 to 100 miles. It sounds extra, but when you first put wheels on, things can settle or shift slightly as the metal expands and contracts with heat. Once you’ve done that first re-torque, you don’t need to obsess, but I always recommend a quick check every time you rotate your tires or if you’ve been hitting some nasty potholes lately. Better safe than a loose wheel.
