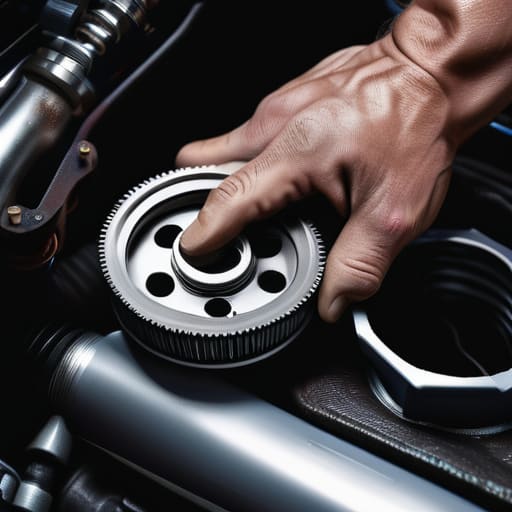
I was halfway under my dad’s old Corolla last Saturday, knuckles bleeding and sweating through my favorite hoodie, when I realized I’d spent twenty minutes wrestling with a filter that wouldn’t budge. I was trying to use a pair of pliers like some kind of genius, only to end up stripping the casing and making a massive, oily mess on my driveway. That’s the thing: people think you need a specialized shop setup to handle basic maintenance, but honestly, most of that struggle comes down to not having the right oil filter wrench in your hand before you start.
I’m not here to sell you some overpriced, professional-grade kit that you’ll only use once a year. Instead, I’m going to show you exactly which types of tools actually work for different engine layouts and how to pick one that won’t slip when things get really tight. Whether you’re working on a modern sensor-heavy engine or an old-school tuner, I’ll give you the straight truth on how to get the job done without getting ripped off or wasting your entire afternoon.
Table of Contents
- Step-by-Step Instructions
- Mastering Stubborn Oil Filter Removal Without a Mechanic
- Finding the Right Universal Oil Filter Tool for Your Job
- Pro Tips to Save Your Knuckles and Your Time
- The Bottom Line on Getting the Job Done
- ## The Real Cost of a Cheap Tool
- Don't Let a Stuck Filter Win
- Frequently Asked Questions
Guide Overview
Tools & Supplies
- Oil filter wrench (Cap style, strap, or claw type)
- Socket set and ratchet (To loosen drain plug)
- Replacement oil filter (1 unit)
- Engine oil (As specified by vehicle manual)
- Shop towels (1 roll)
Step-by-Step Instructions
- 1. Before you even touch the filter, make sure you’ve got your car safely jacked up and supported by jack stands. I’ve seen too many people try to slide under a car held up by nothing but a hydraulic jack, and trust me, that’s a mistake you only make once. Once you’re settled, let the oil drain from the pan for a few minutes so you aren’t working in a total mess.
- 2. Locate the filter and get a good look at how much room you actually have to work with. Some engines have plenty of clearance, but others are tucked way up near the manifold or behind a frame rail. If it’s tight, you might need a swivel adapter for your wrench to get the right angle, otherwise, you’re just going to end up stripping the housing.
- 3. Grab your wrench and fit it onto the filter. If you’re using a strap-style wrench, make sure it’s pulled tight enough so it doesn’t slip when you start applying pressure. If you’re using a cap-style wrench that fits over the end, ensure it’s seated perfectly on the notches. You want to avoid that dreaded “rounding off” of the metal, which turns a five-minute job into a two-hour nightmare.
- 4. Now, start turning the wrench counter-clockwise to loosen the filter. Don’t go at it with everything you’ve got right away; start with a gentle pressure to make sure the wrench is holding firm. If it feels like it’s slipping, stop, reposition, and try again. Once it breaks loose, it should start spinning pretty easily.
- 5. Once the filter is off, take a second to grab a clean rag and wipe down the mounting surface on the engine block. You want to make sure there’s no grit or old gasket stuck there. Then, take your new filter and smear a little fresh oil onto the new rubber gasket. This is a pro tip that ensures a good seal and prevents the filter from getting stuck the next time you do this.
- 6. Screw the new filter on by hand first. This is important because if you use a wrench to tighten it, you’ll likely over-tighten it, and you’ll be fighting it like crazy at your next oil change. Just spin it until the gasket makes contact, and then give it another three-quarters of a turn by hand. That’s usually the sweet spot for a leak-free seal.
- 7. Double-check everything by starting the engine for a minute and looking underneath for any drips. If it looks dry, you’re golden. If you see a leak, don’t panic—you probably just didn’t get a tight enough seal or the gasket didn’t seat right. Just shut it down, tighten it up a hair, and you’ll be back on the road in no time.
Mastering Stubborn Oil Filter Removal Without a Mechanic
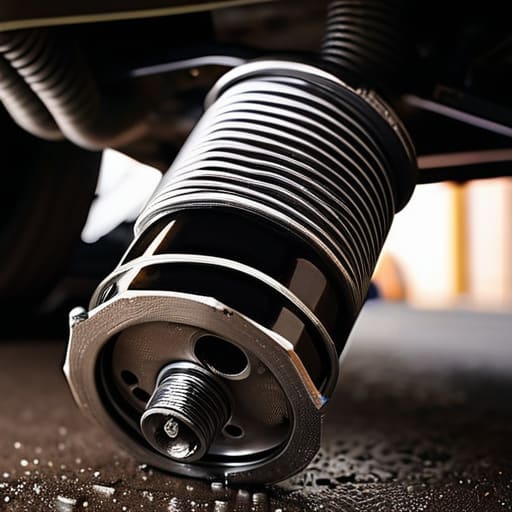
Look, we’ve all been there—you’re under the chassis, knuckles are bleeding, and that filter just won’t budge. When you’re dealing with a stubborn oil filter removal, the biggest mistake is just cranking harder with the same tool. If you’re using a cheap strap wrench and it keeps slipping, stop. You’re likely just marring the metal and making it worse. Sometimes you need to switch it up and grab a universal oil filter tool that grips the housing more securely. If the filter is stuck due to heat cycles, let the engine cool down for a bit; sometimes a little temperature change is all it takes to break that seal.
Another thing I’ve learned from working in the shop is that your choice of tool matters based on what’s under the hood. If you have a cartridge-style system, you’ll need specific oil filter cap wrench types rather than the standard canister grabbers. Don’t just wing it with whatever is in your junk drawer. Having the right automotive hand tools ready before you get greasy saves you a massive headache and keeps you from stripping the housing, which is a nightmare to fix later.
Finding the Right Universal Oil Filter Tool for Your Job
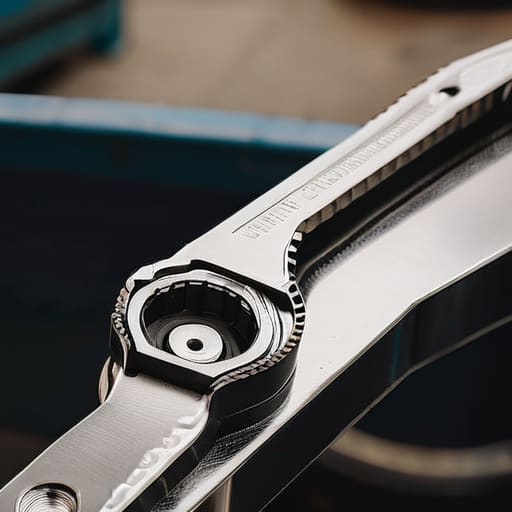
Look, I’ve seen guys waste way too much money buying a specific tool for one car, only to find out it doesn’t fit the next one. If you’re serious about DIY car maintenance tools, don’t just buy a single-use piece of metal. You want a universal oil filter tool that actually gives you some grip. I usually lean toward the adjustable plier-style wrenches or the heavy-duty strap versions. They’re versatile enough to handle everything from my old project tuners to the newer, tighter engine bays I deal with at the shop.
The real trick is knowing the different oil filter cap wrench types before you even get under the chassis. Some modern cars use plastic housings that need a specific socket to avoid cracking them, while older rigs just need a standard claw wrench for a solid grip. If you pick the wrong one, you’re just begging for a headache. Getting the right fit isn’t just about convenience; it’s the most important step in preventing oil leaks during change later on. Just grab something solid that won’t slip, and you’ll save yourself a lot of frustration.
Pro Tips to Save Your Knuckles and Your Time
- Don’t over-tighten the new filter when you’re putting it back on; just hand-tighten it plus maybe a quarter turn. If you crank it down with a wrench like you’re tightening a lug nut, you’re just making your next oil change a nightmare.
- Always check the old rubber gasket before you install the new one. I’ve seen so many people leave the old seal stuck to the engine block, which causes a massive leak that’ll leave you stranded. It’s a rookie mistake that’s way too easy to make.
- If you’re working in a tight spot, skip the big heavy tools and grab a strap-style wrench. They’re way more forgiving when you’re maneuvering around frame rails or tight engine bays where a standard socket won’t fit.
- Keep a little bit of fresh oil on the new filter’s gasket before you spin it on. It helps create a better seal and stops that rubber from grabbing onto the engine block and tearing when you try to take it off next time.
- If the filter is absolutely seized and spinning in place, try using a bit of penetrating oil around the base. Give it a few minutes to soak in before you start wrestling with it again; it saves a lot of unnecessary frustration.
The Bottom Line on Getting the Job Done
Don’t waste money on a generic kit that doesn’t fit your specific filter; take five minutes to check your car’s manual or measure the diameter first so you aren’t stuck halfway through an oil change.
If a filter is stuck, don’t just go at it with brute force and risk stripping the housing—switch to a better tool or try a different style of wrench rather than just getting frustrated.
Keeping a decent wrench in your toolbox pays for itself the very first time you avoid a shop’s “specialty tool” fee.
## The Real Cost of a Cheap Tool
“Look, you can spend fifty bucks on a fancy kit or five bucks on a piece of junk, but if that wrench slips and rounds off your filter housing, you’re looking at a much bigger headache than just an oil change. Don’t let a bad tool turn a simple DIY job into a reason to call a tow truck.”
Nikolai·Osterman
Don't Let a Stuck Filter Win
At the end of the day, getting that old filter off isn’t about brute force; it’s about having the right leverage and the right tool in your hand. We’ve talked about everything from choosing a universal tool that actually fits to the specific tricks for when a filter is seized tight against the block. Remember, if you’re struggling, don’t just keep cranking and risk stripping the housing or cracking something else. Stop, take a breath, switch to a better wrench, and approach it with a bit of patience. Once you have the right setup, it’s just a matter of steady, controlled pressure until that seal finally breaks.
Look, I know it can be intimidating when you’re staring down a greasy engine bay for the first time, but don’t let a little bit of oil and a stubborn bolt keep you from taking control. Every time you finish a job like this on your own, you’re proving that you don’t need to hand over your paycheck to a shop for something you can do in your own driveway. Keep practicing, keep learning, and trust your hands. You’ve got this, and honestly, there’s no better feeling than shutting the hood on a job well done and knowing you did it yourself.
Frequently Asked Questions
Should I use a strap wrench or a metal claw type if my filter is tucked in a really tight spot?
If you’re dealing with a tight squeeze, go with the strap wrench. Those metal claw types are great when you’ve got room to swing, but they’re bulky and you’ll probably end up smashing your knuckles against the frame or a subframe. A strap wrench is much slimmer and lets you get a decent grip in those narrow gaps. Just make sure the strap is high-quality so it doesn’t slip and strip the filter.
Is it worth buying a high-end tool, or can I just use a cheap one from the auto parts store for basic oil changes?
Look, if you’re just doing routine oil changes on a standard sedan, don’t blow your paycheck on a professional-grade tool. A decent one from the auto parts store works just fine. But, if you’re working on something with a tight engine bay or a filter that’s been baked on for years, that cheap plastic one might just slip and strip the casing. Buy mid-range—it’s the sweet spot for reliability without the overkill.
What do I do if the filter housing is plastic and I'm worried about cracking it with a wrench?
Look, I’ve seen this happen way too many times in the shop. If you’ve got a plastic housing, stop using those heavy-duty metal strap wrenches immediately. You’ll crack it before you even loosen the seal. Grab a dedicated plastic-specific socket tool instead—they distribute the pressure way more evenly. If you’re stuck using what you’ve got, go slow and use hand pressure only. Don’t go full-force like you’re working on an old Chevy.
