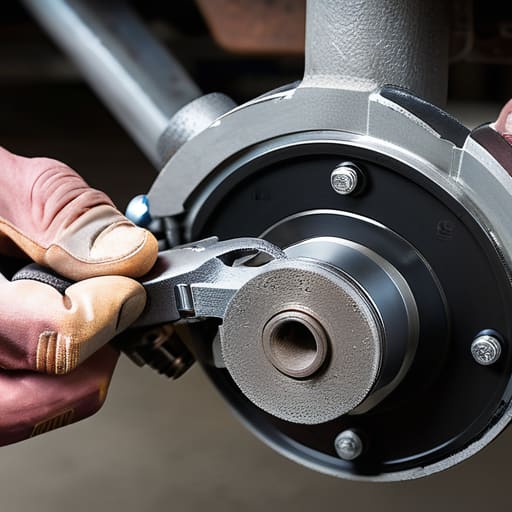
I remember sitting in my dad’s garage when I was twelve, watching him stare at a seized-up bolt on an old sedan, feeling like the whole job was a lost cause. Most shops will tell you that a sticking piston means you need to shell out hundreds for a brand-new assembly, but that’s usually just a way to pad the invoice. The truth is, most brake caliper repair jobs don’t require a master technician or a specialized shop lift; they just require a bit of patience and the right way to clean things up. You don’t need to be intimidated by a little brake dust or a stubborn slide pin—it’s often much simpler than the guys in the clean uniforms make it out to be.
In this guide, I’m going to strip away the jargon and show you exactly how to handle a brake caliper repair without getting ripped off. I’ll walk you through the actual process of inspecting your hardware, cleaning out the grit, and swapping components so you can stop wasting money on basic maintenance. We aren’t doing any fancy fluff here; just the straight-up facts and the steps you need to get your car back on the road safely.
Table of Contents
- Step-by-Step Instructions
- Spotting the Signs of a Seized Brake Caliper Early
- Mastering the Brake Caliper Piston Seal Replacement
- Pro-Tips to Keep You From Making a Mess of It
- The Bottom Line on Keeping Your Brakes Solid
- ## Don't let the shop intimidate you
- Don't Let the Shop Keep Your Cash
- Frequently Asked Questions
Guide Overview
Tools & Supplies
- Jack and jack stands for vehicle lifting
- Socket set and wrenches for bolt removal
- C-clamp or brake piston compressor to retract pistons
- Brake bleeder kit for air removal
- Wire brush for cleaning corrosion
- Brake caliper rebuild kit (seals and boots)
- Brake fluid (DOT 3, 4, or 5 depending on vehicle)
- Brake cleaner spray for degreasing
- High-temperature silicone brake grease
Step-by-Step Instructions
- 1. First things first, get your car on jack stands. Do not, and I mean absolutely do not, rely on just a hydraulic jack to hold the car up while you’re working near the wheels. Slide the jack under a solid frame point, lift the car, and set it firmly on the stands. Once it’s stable, grab your lug wrench and loosen the bolts on the wheel while it’s still on the ground, then finish them off once the car is up.
- 2. Pop the wheel off and get your tools ready. You’re going to need a socket set, a C-clamp (or a brake tool if you’re fancy), and some brake cleaner. Once the wheel is out of the way, find the two bolts holding the caliper to the bracket. Usually, these are located on the back side. Just give them a good tug with your socket wrench; if they’re stubborn, a little bit of penetrating oil won’t hurt.
- 3. Once those bolts are out, you can carefully slide the caliper off the rotor. Don’t let it hang by the rubber brake hose, or you’ll end up with a much more expensive repair than you planned. Grab a piece of old wire or a bungee cord and tie the caliper to the suspension spring so it stays put and out of your way while you work.
- 4. Now it’s time to deal with the old pads and the piston. If you’re replacing the pads, just pop the old ones out of the bracket. If you’re doing a full rebuild, you’ll need to compress the piston back into the housing to make room for the new, thicker pads. Use your C-clamp to slowly press the piston back until it’s flush. If it feels like you’re fighting a losing battle, stop and check if your brake fluid reservoir is full, because that pressure has to go somewhere.
- 5. Clean everything up before you put the new parts in. Grab a rag and some brake cleaner to wipe down the bracket and the surface where the pads sit. You want to get rid of all that grime and brake dust so the new components can slide smoothly. This is also the perfect time to inspect your caliper for any signs of leaking fluid or cracks; if it looks trashed, just buy a new one instead of wasting your time.
- 6. Slide your new pads into the bracket, making sure they sit flush in their slots. Once the pads are seated, slide the caliper back over the rotor and onto the bracket. Thread your mounting bolts back in by hand first—never force them with the wrench right away or you might cross-thread them—then tighten them down firmly until they’re snug.
- 7. Put the wheel back on, hand-tighten the lug nuts, and lower the car to the ground. Once the car is sitting on its own weight, go ahead and torque those lug nuts in a star pattern. Before you even think about driving, pump your brake pedal a few times. It’ll feel mushy at first, but you need to reseat the pistons against the pads. Once the pedal feels firm, you’re good to go.
Spotting the Signs of a Seized Brake Caliper Early
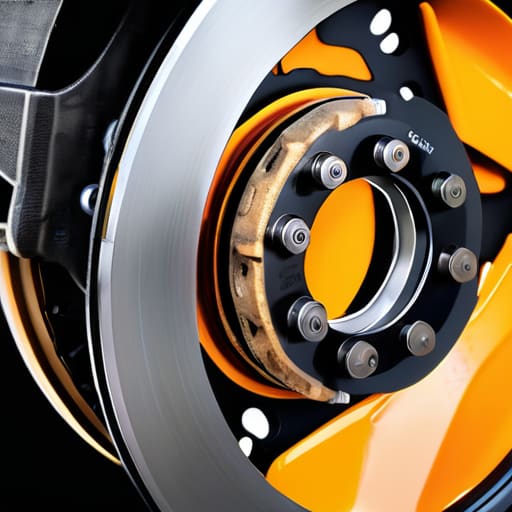
You don’t always have to wait for a total failure to know something is wrong. Usually, your car will start giving you hints long before you’re stuck on the shoulder of the highway. One of the biggest signs of a seized brake caliper is a weird, persistent pulling sensation to one side when you hit the pedal. If you feel like the car is fighting you during a turn or a straightaway, one side probably isn’t releasing the pads properly. Keep an ear out, too; a constant grinding or a high-pitched squeal that doesn’t go away after a few stops usually means you’ve got a caliper that’s stuck in a “half-on” position.
Another way to catch it is by feeling the heat. After a decent drive, walk around the car (carefully) and check the wheels. If one rim feels like it’s radiating intense heat compared to the others, that’s a massive red flag. This kind of overheating can warp your discs, so you’ll likely need to perform a thorough brake rotor inspection before you even think about putting new parts on. Catching these small issues early saves you from a much bigger, more expensive headache later.
Mastering the Brake Caliper Piston Seal Replacement
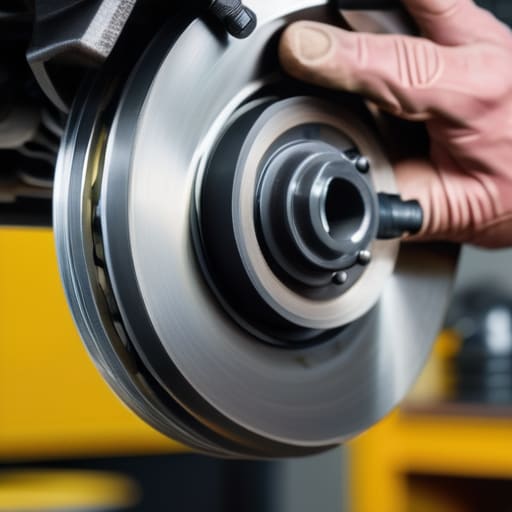
Once you’ve got the caliper off the car and the mounting bolts cleared, you’re looking at the heart of the issue. When you’re doing a brake caliper piston seal replacement, don’t just eyeball the old rubber. If it looks even slightly flattened or cracked, toss it. I always grab a fresh brake caliper rebuild kit before I even start; it’s way cheaper than realizing halfway through that you’re missing a tiny square-cut seal or a dust boot. Use a bit of clean brake fluid to lubricate the new seals so they seat properly without tearing. If you force them on dry, you’re basically asking for a leak.
While the caliper is sitting on your bench, this is the perfect time to do a quick brake rotor inspection. Check for deep grooves or heat spots that look like blueish discoloration. If the rotor is shot, there’s no point in putting fresh seals in just to have them wear out prematurely against a warped surface. Take your time cleaning the piston bore with some brake cleaner and a soft brush—don’t use anything abrasive or you’ll score the metal and ruin the whole job.
Pro-Tips to Keep You From Making a Mess of It
- Don’t just wing it with any old bolt; make sure you’re using a proper brake caliper tool to compress that piston. If you try to force it with a C-clamp and you’re not careful, you’ll end up blowing out the seals you just worked so hard to replace.
- Keep your workspace clean, seriously. I’ve seen guys get brake fluid all over their brake pads, and that’s a nightmare because it’ll contaminate the friction material and ruin the whole job. Keep a rag handy and wipe everything down before you reassemble.
- Treat your bolts with respect. Use a bit of anti-seize on the guide pins when you’re putting things back together. It’s a small step, but it’ll save you from a massive headache when you have to service them again in a year or two.
- Always check your brake fluid level in the reservoir after you’ve compressed the pistons. Since you’re pushing fluid back into the system, the level is going to rise, and you don’t want it overflowing and eating your paint.
- Double-check your torque specs. I know it’s tempting to just crank it down until it feels tight, but over-tightening can snap a bolt or strip the threads, and then you’re looking at a much bigger, more expensive repair than a simple caliper swap.
The Bottom Line on Keeping Your Brakes Solid
Don’t ignore that weird pulling sensation or the smell of burnt metal; catching a sticking caliper early saves you from replacing much more expensive parts later.
You don’t need a fancy shop setup to do this right, just make sure you’ve got a decent C-clamp or a piston compressor and a clean workspace to avoid getting grit in the seals.
Take your time with the assembly—it’s way better to spend an extra twenty minutes double-checking your bolts than it is to realize you messed up once you’re out on the highway.
## Don't let the shop intimidate you
“A seized caliper isn’t some complex mystery that requires a master’s degree to solve; it’s just a part that’s tired of working. Give it the right tool, a little bit of grease, and some patience, and you’ll realize you’ve been overpaying for a fix you could’ve done in your own driveway.”
Nikolai·Osterman
Don't Let the Shop Keep Your Cash
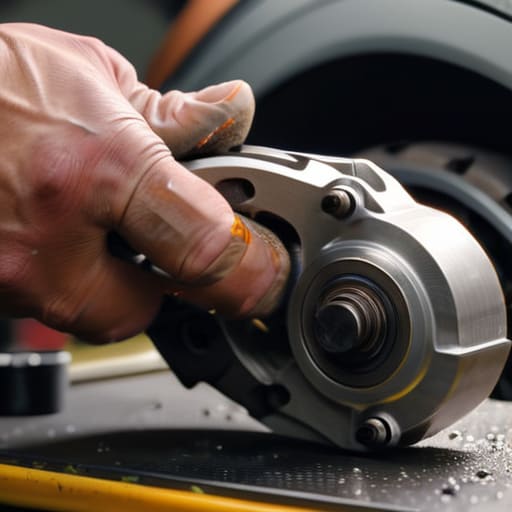
Look, fixing your own brake calipers isn’t some impossible feat of engineering; it’s just about being methodical. We’ve gone over how to spot those early warning signs like uneven wear or that annoying pulling sensation, and we’ve walked through the actual grit of replacing those piston seals. If you’ve kept your workspace clean and used the right tools—and for the love of everything, don’t forget to bleed the air out of the lines—you’ve done the heavy lifting. It’s all about ensuring that when you hit the pedal, the response is immediate and predictable. Just remember that precision matters more than speed when you’re dealing with your stopping power.
At the end of the day, there’s a specific kind of satisfaction that comes from driving away in a car you actually understand. You aren’t just a passenger in your own life anymore; you’re the one making sure the machine stays reliable. Mechanics are going to try to tell you that certain jobs are “too complex” for a DIYer just to pad their invoices, but they’re wrong. Grab your tools, trust your hands, and stop overpaying for basic maintenance. You’ve got this, and your wallet will definitely thank you for it.
Frequently Asked Questions
Is it worth it to rebuild the old caliper, or should I just bite the bullet and buy a new one?
Honestly, it depends on your budget and how much you trust your own hands. Rebuilding is cheaper and great for keeping things original, especially on my vintage tuner projects. But if the caliper body is pitted or the piston is scored, don’t waste your time—just buy a new one. A rebuild is only worth it if the hardware is actually salvageable. If you’re unsure, just bite the bullet and go new.
How do I know if the problem is actually the caliper or if it's just a bad brake hose?
Look, this is a classic trap. If your caliper feels stuck, it might actually be a collapsed brake hose acting like a one-way valve. Here’s the trick: when the brake is applied, squeeze the hose. If it feels rock hard and doesn’t expand, the hose is likely fine. But if it feels soft or bloated, that’s your culprit. If the hose is holding pressure even after you let go, it’s definitely the hose, not the caliper.
Do I need to bleed the entire braking system after I swap the caliper, or can I just hit the bleeder screw?
Look, you don’t need to flush the whole system and waste money on a gallon of fresh fluid. If you just opened the line at the caliper, you just need to hit that specific bleeder screw. You’re just looking to get the air out of that one corner. Just pump the pedal, crack the screw, and keep going until you see solid fluid with zero bubbles. Don’t overcomplicate it; just make sure you don’t let the reservoir run dry.
