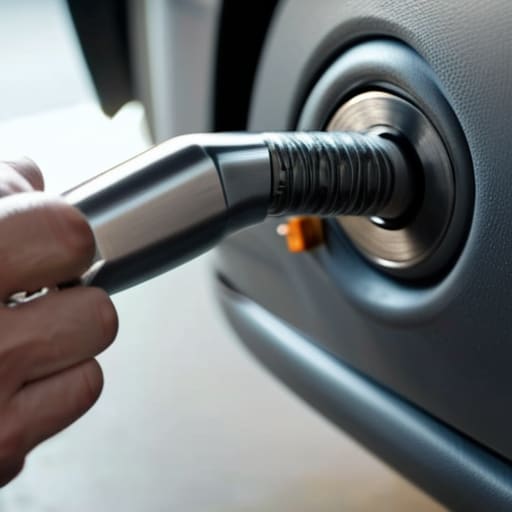
I was standing in my driveway last Tuesday, staring at my neighbor’s car, when I heard that sickening click-clack sound of a broken latch. He was about to call a mobile mechanic and drop two hundred bucks just to have someone swap out a piece of plastic. It honestly drives me nuts how shops try to make a simple door handle replacement seem like some high-level electrical surgery. Truth is, if your handle feels loose or won’t pull, you aren’t looking at a mechanical catastrophe; you’re just looking at a ten-minute job that you can totally handle yourself with a basic screwdriver set.
I’m not going to give you some textbook manual filled with jargon that makes no sense. Instead, I’m going to walk you through exactly how to get in there, pull the old part out, and snap the new one in without breaking your fingernails or stripping any bolts. I’ll show you the little tricks I learned back in my dad’s garage to make sure everything lines up perfectly the first time. Let’s get under the hood—or in this case, behind the door panel—and get this fixed so you can stop wasting your money.
Table of Contents
- Step-by-Step Instructions
- Essential Door Hardware Installation Tools You Already Own
- Fixing a Sticking Door Handle Without the Headache
- Pro Tips to Save Your Sanity (and Your Door Panel)
- The Bottom Line on Your Door Handle
- ## Don't Let a Small Fix Break Your Bank
- Don't Let a Broken Handle Hold You Back
- Frequently Asked Questions
Guide Overview
Tools & Supplies
- Screwdriver (Phillips head for removing screws)
- Measuring tape (to check latch and hole spacing)
- New door handle set (1 set)
- New latch/bolt mechanism (1 unit)
Step-by-Step Instructions
- 1. First things first, grab your door panel removal tool or just a flathead screwdriver and carefully pry the trim pieces away from the door. You’ll usually find a little plastic cover hiding a screw near the handle or the armrest—pop that off first. Don’t go hacking at it like you’re trying to open a crate; you don’t want to snap those plastic clips and end up with a rattling door for the rest of your life.
- 2. Once those screws are out, you need to unclip the entire door panel. Start at the bottom corner and work your way up, pulling the panel toward you until you hear those satisfying clicks. Once it’s loose, don’t just yank it away from the car. You’ve got wires for your power windows and locks connected to the back, so you’ll need to reach behind and unplug those connectors before the panel is truly free.
- 3. Now that the panel is sitting on your passenger seat, you’re looking at the guts of the door. Locate the actual handle assembly and the metal rod (or cable) that connects it to the latch mechanism. Use your pliers to disconnect the rod from the handle. It’s usually just a small clip or a ball joint, so it shouldn’t take much muscle, but be careful not to bend the rod or you’ll be fighting it the whole way back.
- 4. Next, you’ve got to unbolt the old handle from the door frame. Depending on what you’re working on, this is usually a couple of Phillips head screws or maybe a few bolts tucked deep in the corner. This is where I usually reach for my magnetic parts tray because those screws love to fall into the dark abyss of the door cavity. If you drop one in there, you’re going to have a bad time.
- 5. Pull the busted handle out and take a second to inspect the area. If there’s any rust or gunk buildup around the mounting holes, wipe it clean with a rag. You want a fresh, clean surface so the new handle sits flush and doesn’t feel cheap or loose when you actually go to use it.
- 6. Slide your new handle into position, making sure the alignment looks right before you start tightening anything. Line up the mounting holes, thread your screws back in by hand first to avoid cross-threading, and then give them a firm snug with your screwdriver. You don’t need to crank them down like you’re changing a tire, just make sure they’re solid and secure.
- 7. Before you go through the hassle of putting the door panel back on, do a quick test. Reach in and pull the handle to make sure the mechanism moves freely and the latch engages. It’s way easier to fix a mistake while the door is open than it is after you’ve spent twenty minutes snapping all those plastic clips back into place.
Essential Door Hardware Installation Tools You Already Own
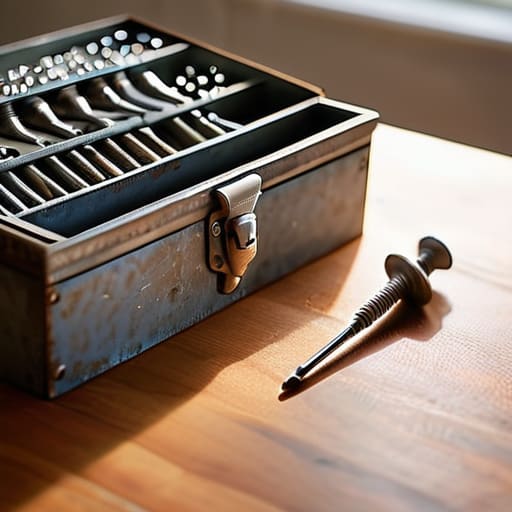
Look, you don’t need to run out and buy some overpriced specialized kit just because a manual says so. Most of the time, you probably have everything you need sitting in a junk drawer or that old toolbox in the garage. A solid set of screwdrivers—specifically a good Phillips head—is your best friend here. If you’re dealing with older vehicles or even just an interior door hardware upgrade on a project car, having a small socket set is non-negotiable. I always keep my magnetic parts tray handy because, trust me, if you drop a tiny screw into the dark abyss of a door panel, you’re going to have a bad time.
If you’re struggling with fixing a sticking door handle, sometimes a little bit of penetrating oil or even just a flathead screwdriver to nudge a stubborn spring is all it takes. You don’t need a master technician’s setup; you just need tools that actually grip. Whether you’re replacing a faulty door latch or just tightening up loose components, keep it simple. Grab your pliers, find your drivers, and stop overthinking the gear.
Fixing a Sticking Door Handle Without the Headache
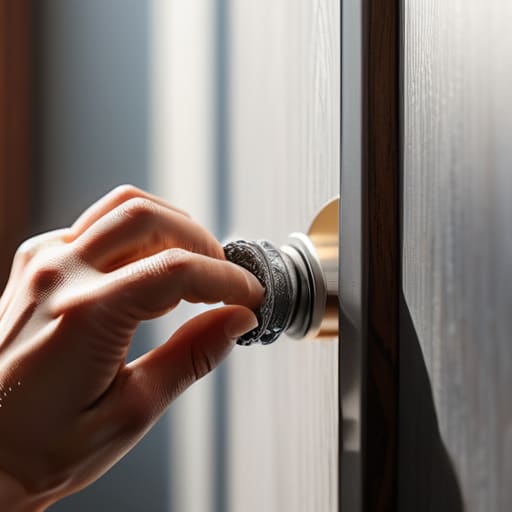
Sometimes, you don’t even need to go through a full replacement. If your handle feels sluggish or just won’t spring back, you’re likely just dealing with gunked-up internals or a dry mechanism. Before you start replacing a faulty door latch, try hitting the moving parts with a shot of dry PTFE lubricant. Avoid the heavy grease stuff; it’s a magnet for dust and will only turn into a sticky mess inside your door panel later on.
If a quick spray doesn’t do the trick, take a look at the latch itself. A lot of times, the spring inside has just lost its tension or there’s a tiny bit of debris wedged in the mechanism. I’ve spent plenty of afternoons in my dad’s garage cleaning out old hardware, and usually, a bit of compressed air and some proper lubrication is enough to get things moving smoothly again. Don’t rush into buying new parts until you’ve ruled out a simple cleaning. It’s a lot easier on your wallet and saves you from the hassle of a full teardown if you don’t actually need one.
Pro Tips to Save Your Sanity (and Your Door Panel)
- Don’t just yank the door panel off. Most cars have hidden screw covers tucked behind small plastic caps or inside the grab handle. If you force it without finding those, you’re going to snap the plastic clips, and then you’re looking at a much bigger headache.
- Keep a small container or that magnetic tray I always carry in my pocket nearby. Door handle assemblies use tiny, annoying screws that love to bounce off the garage floor and disappear into the abyss. If you lose one, the whole job stops.
- Before you throw the old handle in the trash, take a quick photo of how the linkage and wires were positioned. It’s easy to think you’ll remember which way the rod goes, but five minutes into the install, your brain is going to go blank.
- Check your door lock actuator while you’re in there. If you’ve already got the guts of the door exposed, it’s the perfect time to see if the cables are fraying or if anything else looks sketchy. It’s way easier to fix it now than when everything is put back together.
- When you’re reinstalling the panel, don’t tighten everything down right away. Line everything up first, make sure the handle moves freely, and then go back and tighten the screws. If you tighten it too early and realize a wire is pinched, you’re back to square one.
The Bottom Line on Your Door Handle
Don’t let a shop charge you a two-hour labor fee for something you can do in twenty minutes with a screwdriver and some patience.
Always double-check your hardware; losing one tiny screw inside the door panel is a massive headache you don’t need.
If the handle is just acting up, try cleaning it first before you go buying new parts—sometimes it’s just grit and grime causing the issue.
## Don't Let a Small Fix Break Your Bank
“A busted door handle isn’t a mechanical crisis; it’s just a ten-dollar part and twenty minutes of your time. Don’t let a shop talk you into a massive bill for something you can do right in your own driveway with a basic screwdriver.”
Nikolai·Osterman
Don't Let a Broken Handle Hold You Back
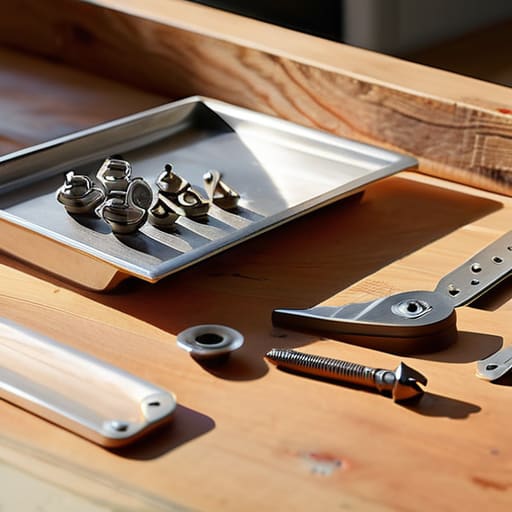
Look, swapping out a door handle isn’t some high-level engine rebuild, but it does require you to stay organized. Between grabbing the right screwdriver, keeping track of those tiny mounting screws in your magnetic tray, and making sure you don’t snap any plastic clips, there are a few spots where things can go sideways if you rush. Just remember that most of the “difficulty” people talk about is really just about having the right tools and a little bit of patience. If you followed these steps and kept your hardware sorted, you’ve already done the hard part of the job without having to pay a shop’s hourly labor rate.
At the end of the day, my goal is to see you realize that you’re more capable than any service advisor wants you to believe. Every time you pick up a wrench or a screwdriver to fix something yourself, you’re taking back control of your vehicle and your wallet. It might feel intimidating the first time you pull a panel off, but I promise you, that feeling of doing it yourself is way better than seeing a massive charge on a repair invoice. Keep tinkering, keep learning, and don’t let anyone tell you that you aren’t “qualified” to maintain your own ride.
Frequently Asked Questions
Is it worth trying to fix the internal spring, or should I just buy a whole new handle assembly?
Look, I’ll be real with you: if it’s just a snapped spring, it’s worth the ten bucks to grab a replacement and swap it out. It’s a quick fix and saves you a massive headache. But if the plastic housing is cracked or the internal lever feels mushy, don’t waste your Saturday fighting it. Just buy the whole assembly. It’s more upfront cash, but you won’t be back under that door again in a month.
How do I know if the problem is actually the handle and not something weird with the door latch or actuator?
Look, before you start tearing the door panel off, you gotta rule out the easy stuff. Here’s the trick: if you can feel the handle moving normally but the door won’t budge, it’s likely your latch or a broken linkage. If you hear a clicking or grinding sound when you pull it, that’s usually a broken handle mechanism. But if you hear a motor whirring and nothing happens, your actuator is probably toast. Test it carefully.
Do I need to worry about my car's keyless entry or power lock wires while I'm pulling the old handle off?
Yeah, you definitely need to watch those. If your car has power locks or keyless entry, there’s a small wiring harness tucked right behind the handle. Don’t just yank the old unit off like you’re tearing a door off its hinges; you’ll snap a connector and end up with a much bigger headache. Just unplug the harness carefully before you pull the handle away. Once you’ve got it clear, those wires are easy to clip into the new one.
