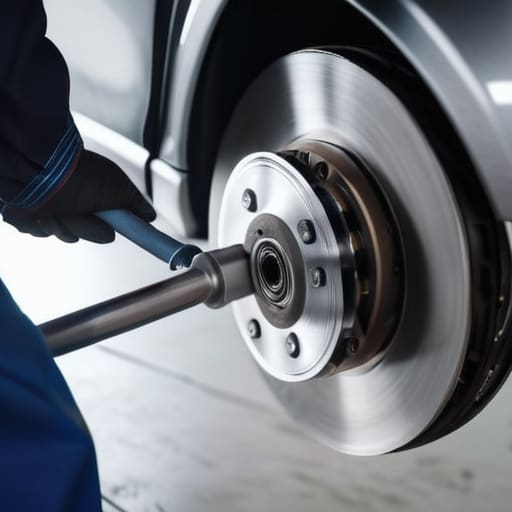
You’ve probably felt that annoying shudder in your steering wheel every time you hit the brakes, and if you take it to a shop, they’ll probably try to sell you a whole new braking system. Let me tell you something: most shops will charge you an arm and a leg for a job that’s actually pretty straightforward. A brake rotor replacement isn’t some high-level engineering feat that requires a master technician; it’s mostly just about having the right socket set and not letting a seized bolt ruin your afternoon. I remember the first time I tried this on my dad’s old sedan—I spent an hour swearing at a rusted caliper, but once I got the rhythm down, it felt incredibly satisfying.
I’m not here to give you some textbook lecture or a list of overly complicated safety warnings you can find anywhere else. Instead, I’m going to walk you through the actual, greasy reality of doing a brake rotor replacement on your own terms. I’ll show you the specific tools you actually need, how to deal with those stubborn, rusted bolts without losing your mind, and the little tricks I use at the shop to make sure everything seats perfectly. We’re going to get your ride stopping smooth again without you having to drain your bank account.
Table of Contents
Guide Overview
Tools & Supplies
- Jack and Jack Stands for vehicle lifting
- Lug Wrench for removing wheel bolts
- Socket Set and Ratchet for caliper and bracket bolts
- C-Clamp or Brake Piston Compressor for compressing pistons
- Wire Brush for cleaning hub surfaces
- Torque Wrench for tightening bolts to spec
- Replacement Brake Rotors (2 per axle)
- Brake Pads (1 set per axle)
- Brake Cleaner (1 can for cleaning surfaces)
- High-Temp Brake Grease (1 small tube for contact points)
Step-by-Step Instructions
- 1. First things first, you gotta get the car off the ground. Don’t just rely on a single jack; if you’re working on brakes, you need to use jack stands for safety. Once the car is stable and the wheel is off, you’re going to see the caliper sitting over the rotor. Loosen the caliper bolts—usually a 12mm or 14mm—and then carefully slide the caliper off. Don’t let it hang by the rubber brake hose, or you’ll be replacing that too, and that’s a much bigger headache than we want today. Grab a piece of wire or a bungee cord to hang it from the suspension.
- 2. Now that the caliper is out of the way, you’ll see the caliper bracket holding the rotor in place. This part is usually beefier and requires a bit more muscle. You’ll need to unscrew the two large bolts that secure the bracket to the knuckle. I usually use a breaker bar for this because these bolts love to seize up after sitting in the rain for a few months. Once those are out, pull the bracket aside and set it somewhere clean so you don’t lose the bolts.
- 3. With the bracket out of the way, the rotor should be sitting there exposed. Sometimes, they get stuck to the hub because of a little bit of rust buildup. If it won’t budge, don’t go grabbing a sledgehammer and smashing it like a maniac. Instead, grab a rubber mallet and give the edge of the rotor a few solid taps. If it’s really stubborn, you might need to back out the two small threaded screws that hold the rotor flush to the hub, but usually, a little vibration is all it takes to break that rust seal.
- 4. Before you even think about putting the new parts on, take a rag and wipe down the hub surface. You want that metal surface as clean as possible so the new rotor sits perfectly flat. If there’s any grit or old rust left on there, your new rotor might wobble, and that’ll give you a terrible pedal feel. I always keep a can of brake cleaner handy for this exact reason; just spray it on, wipe it off, and you’re good to go.
- 5. Now, grab your new rotor and slide it onto the studs. If you’re working with high-performance or coated rotors, make sure to clean the shipping oil off the friction surface with brake cleaner first. Most new rotors come with a thin film of oil to prevent rust in the box, but if you leave that on there, it’ll ruin your pads in about five minutes. Once it’s seated, go ahead and put the caliper bracket back on and tighten those bolts down.
- 6. The last part is getting the caliper back into the dance. Slide the caliper over the new rotor and onto the bracket. Make sure the brake pads are seated properly within the bracket so they aren’t catching on anything. Tighten the caliper bolts back up, and then—this is the part people forget—pump your brake pedal a few times before you even think about moving the car. You need to reset the pistons so the pads actually touch the new rotor, otherwise, you’re going to have zero stopping power the second you pull out of the driveway.
Spotting the Signs of Worn Brake Rotors Before They Fail
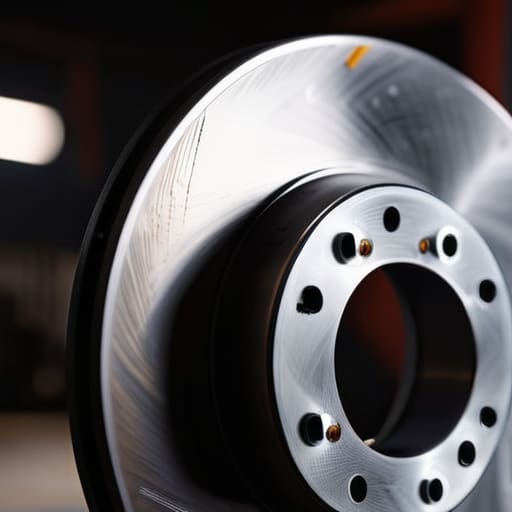
You don’t always have to wait for a grinding noise to know something is wrong. Usually, your car will try to tell you through the steering wheel or the brake pedal itself. If you feel a rhythmic pulsing or a heavy vibration under your foot when you slow down, those are classic warped brake rotor symptoms. It’s basically the metal surface getting uneven due to heat, and it’s a massive headache if you ignore it. I’ve seen plenty of guys wait until they’re shaking like an earthquake just to avoid the shop, but catching it early makes the actual job way easier.
Another thing to watch for is any weirdness in the stopping distance or a high-pitched squeal that won’t quit. While that could just be your pads, it’s a good idea to perform a quick brake caliper inspection while you’re at it. If the caliper is sticking, it’s going to cook your rotors and ruin them way faster than they should wear out. Just keep an ear out and feel for those vibrations; it’s much better to catch the issue before you’re stuck on the shoulder of a highway.
Essential Brake Rotor Replacement Tools You Actually Need
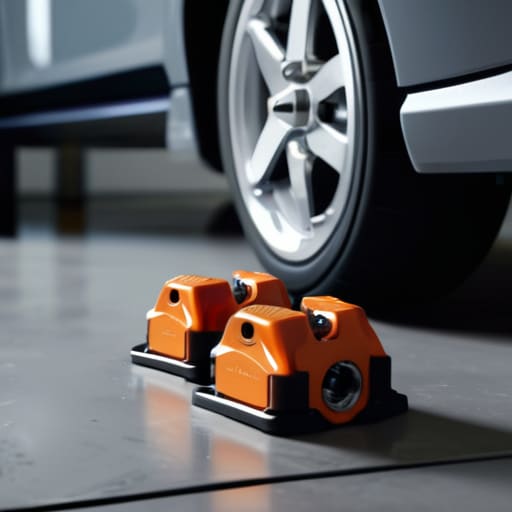
Look, you don’t need a massive rolling tool chest to get this done, but you definitely can’t wing it with a cheap screwdriver and a prayer. First off, grab a decent socket set and a heavy-duty breaker bar. Those caliper bolts love to seize up, and if you try to muscle them with a standard ratchet, you’re probably going to snap something. I always keep my magnetic parts tray handy because once those small bolts start rolling around the garage floor, your afternoon is officially ruined.
While you’ve got everything stripped down, don’t skip the brake caliper inspection. It’s the perfect time to check if your slide pins are actually moving freely or if they’re crusty and stuck. If you’re already in the middle of replacing brake pads and rotors, just take the extra thirty seconds to clean everything with some brake cleaner. It’s a small step in overall braking system maintenance, but it makes a massive difference in how long your new parts actually last. Just make sure you have a C-clamp or a piston compressor ready to reset those pistons before you try to squeeze the new hardware in.
Pro Tips to Keep You From Screwing This Up
- Clean those new rotors before they touch the car. They come coated in a thin layer of oil to stop rust in the box, but if you don’t scrub that off with brake cleaner first, your new pads are going to get contaminated and feel like garbage.
- Don’t go overboard on the torque. I know it’s tempting to crank every bolt down until your knuckles bleed, but over-tightening your caliper bolts can strip the threads or warp the rotor later on. Just get them snug and even.
- Use a little bit of anti-seize on the hub surface. When you’re putting the new rotor on, a tiny smear of anti-seize on the hub prevents the rotor from getting stuck there forever due to rust—trust me, you don’t want to be fighting a seized rotor next time.
- Check your caliper slide pins while you’re in there. There’s no point in putting on fresh rotors if your slide pins are bone-dry or seized up. Clean them out and hit them with some high-temp brake grease so the whole system actually moves like it’s supposed to.
- Give your brakes a “bedding” period. Don’t go immediately out for a high-speed highway run. Spend the first few miles doing some gentle stops to let the new pad material transfer smoothly to the rotor surface, or you’ll end up with uneven spots and vibrations.
The Bottom Line on Your Rotors
Stop ignoring that steering wheel shake; if your car is vibrating when you hit the brakes, your rotors are likely warped and need to be swapped before you end up with a much bigger, more expensive bill.
You don’t need a professional shop setup to get this done, just make sure you actually have the right tools—especially a decent jack and a way to compress those pistons—so you aren’t stuck halfway through the job.
Don’t let anyone tell you this is “advanced” work; as long as you take your time, clean the new surfaces, and don’t rush the bolt tightening, you can handle this yourself and keep your money in your pocket.
The Truth About Your Brakes
Most shops will try to sell you a whole new caliper or a massive brake job just because they see a little scoring on a rotor, but don’t let them sweat you. If you’ve got the right socket set and a little patience, swapping rotors is just a weekend project that keeps your money in your pocket instead of theirs.
Nikolai·Osterman
Wrapping It All Up
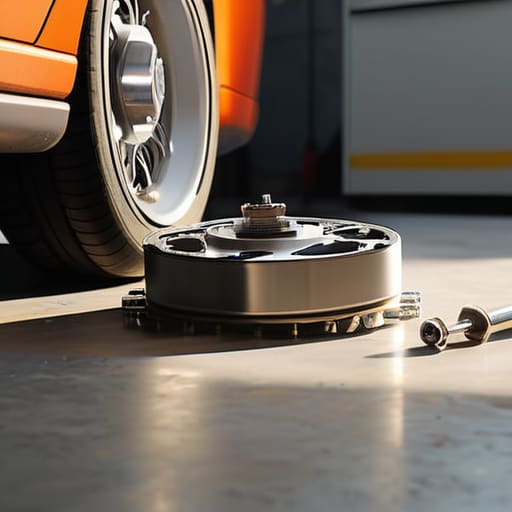
Look, swapping out your rotors isn’t some high-level engineering feat that requires a master technician’s license. We’ve gone over the signs like that annoying steering wheel shake, made sure you’ve got your socket set and a decent jack ready, and walked through the actual process of getting those old, warped discs off and the new ones on. The most important thing is to not rush the process. If a bolt feels like it’s about to snap or you’re struggling to seat the new rotor, stop, grab a can of penetrant, and give it a minute. It’s better to spend an extra twenty minutes being careful than to end up with a stripped bolt that turns a simple job into a nightmare.
At the end of the day, the goal isn’t just to fix your car; it’s to take control of your own ride. Every time you get your hands dirty and successfully complete a repair, you’re proving that you don’t have to be at the mercy of a shop’s high labor rates. It might be messy, and you’ll definitely end up with grease under your fingernails that won’t come out for a week, but that feeling of hitting the brakes and knowing you did the work is unmatched. Keep that magnetic tray handy, stay patient, and just keep turning wrenches.
Frequently Asked Questions
Do I really need to replace both rotors at once, or can I just do one side if only one is vibrating?
Look, I get the temptation to just swap the one side and save some cash, but honestly? Do both. If one rotor is vibrating, the other one isn’t far behind. Brakes are all about balance; if you have a fresh, smooth rotor on the left and a worn-out one on the right, your stopping power is going to feel uneven. It’s better to just do the pair now so you aren’t back under the car next month.
Is it worth it to resurface my old rotors, or am I better off just buying new ones?
Look, if you’re on a tight budget and your rotors aren’t warped or heavily grooved, resurfacing is a solid way to save some cash. It’s basically just shaving off the uneven layer to get a fresh surface. But honestly? Most of the time, I tell people to just buy new ones. With modern parts being relatively cheap, the peace of mind and the extra thickness you get from a fresh rotor usually beat the hassle of machining.
How do I know if I've tightened the caliper bolts enough without accidentally snapping them?
Look, I get it. Snapping a bolt inside a caliper bracket is a nightmare you don’t want to deal with. If you’ve got a torque wrench, use it—that’s the only way to be 100% sure. If you’re working without one, feel for that “snug plus a little more” sensation. You want it firm, not “I’m pulling with my whole body weight” firm. If the wrench clicks, stop immediately. Don’t overthink it, just don’t manhandle it.
