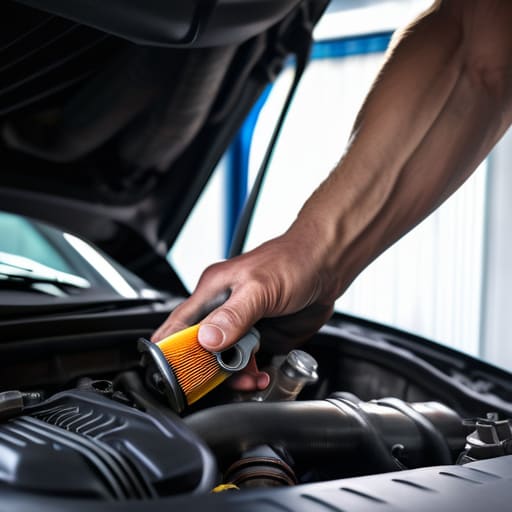
I was staring at my dad’s old sedan last weekend, watching him struggle to get the engine to turn over after it had been sitting for a month, and it hit me how many people treat a simple fuel filter change like some kind of mysterious engine surgery. Most shops will tell you that if your car is stuttering under load, you probably need a whole new fuel pump or some expensive sensor, but half the time, it’s just a clogged filter choking your engine for lack of a better way to breathe. It’s not some high-tech conspiracy; it’s just basic maintenance that most people ignore until they’re stranded on the shoulder of a highway.
I’m not here to give you some textbook lecture or sell you on a specialized diagnostic computer you don’t need. I’m going to show you exactly how to tackle this job with the basic tools you probably already have in your trunk. We’re going to walk through the real-world steps of a fuel filter change without the fluff, focusing on how to avoid the messy spills and the common mistakes that turn a twenty-minute job into a total nightmare.
Table of Contents
- Step-by-Step Instructions
- Spotting the Signs of a Dirty Fuel Filter Early
- Essential Automotive Fuel System Tools You Actually Need
- Pro Tips to Keep the Job Clean and Your Engine Happy
- The Bottom Line on Fuel Filters
- ## Don't Let a Cheap Part Kill Your Engine
- Don't Let a Small Part Kill Your Ride
- Frequently Asked Questions
Guide Overview
Tools & Supplies
- Socket set and ratchet to loosen hose clamps or fittings
- Screwdriver for hose clamps or housing covers
- Pliers to assist with fuel line disconnection
- Rags or shop towels to catch spilled fuel
- New fuel filter compatible with vehicle make/model (1 unit)
- Fuel line sealant or thread sealant if required (1 small tube)
- Safety glasses to protect eyes from fuel spray (1 pair)
Step-by-Step Instructions
- 1. First thing’s first, you gotta relieve the fuel pressure. If you just yank those lines off without doing this, you’re going to end up with a face full of gasoline, and that’s a mess nobody wants. Find your fuel pump fuse in the engine bay or interior fuse box, pull it, and then crank the engine until it stalls out. This ensures the lines are relatively empty before you start cracking things open.
- 2. Once the pressure is gone, grab a couple of old rags and a small container to catch any drips. Locate your filter—it might be tucked under the chassis near the tank or sitting right under the hood depending on what you’re driving. You’ll want to slowly loosen the fittings or quick-connect clips. Don’t just go ham on them; if you’re working on older lines, they can be surprisingly brittle and prone to snapping if you aren’t careful.
- 3. Now that the old, crusty filter is out of the way, take a second to inspect the lines you just disconnected. Look for any cracks in the rubber or signs of corrosion on the metal. It’s a good time to clean the connection points with a bit of brake cleaner so you aren’t installing a brand-new part onto a pile of dirt and old grime. You want those seals to sit perfectly flush.
- 4. Grab your new filter and make sure it’s the exact match for your vehicle. Check the flow direction arrow stamped on the side of the canister. This is a huge one—if you install it backward, you’re basically putting a roadblock in your fuel system and you’ll be doing this whole job over again in twenty minutes. Line it up and tighten your clips or fittings until they’re snug, but don’t over-torque them.
- 5. Before you go for a joyride, you need to get the pressure back up. Put that fuel pump fuse back in where you found it. Turn your ignition to the “on” position (don’t start the engine yet) and listen for the pump to prime. You might hear a faint hum for a few seconds. Do this a couple of times to prime the new filter and push any air out of the lines.
- 6. Finally, start the engine and let it idle for a minute while you keep a very close eye on your connections. Keep those rags handy just in case. If you don’t see any fuel weeping from the joints, you’re golden. Once it’s running smooth, you can finally wipe off the grease and call it a day. You just saved yourself a trip to the shop and a massive markup on labor.
Spotting the Signs of a Dirty Fuel Filter Early
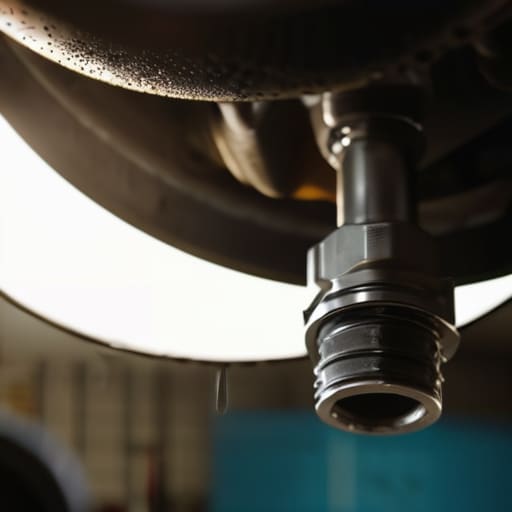
You don’t always need a diagnostic scanner to know something is off; usually, your car will start talking to you through how it drives. The most common signs of a dirty fuel filter show up as a sudden loss of power, especially when you’re trying to merge onto a highway or climb a steep hill. If you notice the engine stumbling or feeling sluggish during acceleration, it’s likely because the pump is struggling to push enough gas through a clogged mesh. I’ve seen plenty of guys ignore this until the car actually stalls in traffic, which is a much bigger headache than just swapping the part early.
Another thing to watch for is how the car behaves when you first turn the key. If you’re dealing with frequent hard starts or a rough idle, your fuel injector performance is probably taking a hit because they aren’t getting a consistent flow. It’s like trying to drink through a straw that’s half-filled with sand—it’s just not going to work right. If your car feels “jerky” or hesitant, don’t just assume it’s an old spark plug; it might be time to look at the filtration side of things.
Essential Automotive Fuel System Tools You Actually Need
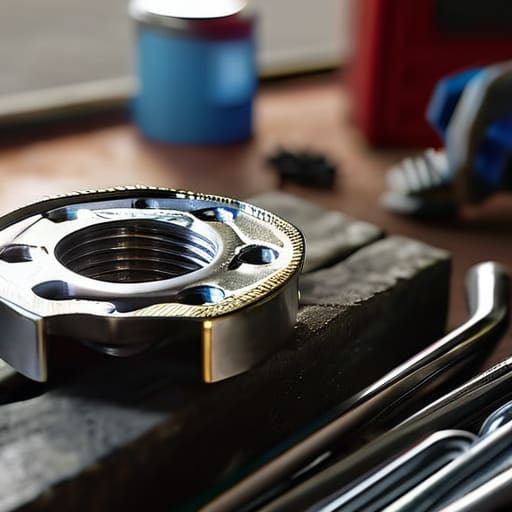
Look, you don’t need a rolling toolbox filled with expensive gadgets to get this done, but you definitely can’t wing it with just a screwdriver and a prayer. If you’re serious about replacing fuel filter DIY style, the first thing you need is a decent set of flare nut wrenches. Standard open-end wrenches are a recipe for stripping those soft fuel line fittings, and trust me, once you round off a line, you’re looking at a much bigger mess than you bargained for. I always keep my magnetic parts tray handy too, because those small clips and washers have a habit of vanishing into the abyss of your engine bay the second you let go.
Beyond the wrenches, grab some safety glasses and a pair of nitrile gloves. Fuel is nasty, and it’s not something you want splashing in your eyes or soaking into your skin while you’re working. If you’re doing more thorough fuel system maintenance steps, having a vacuum pump or a basic pressure tester can help you confirm everything is flowing right before you bolt everything back together. It’s about being prepared so you aren’t stuck halfway through the job wondering why the car won’t prime.
Pro Tips to Keep the Job Clean and Your Engine Happy
- Grab a couple of shop rags and a drain pan before you even crack the lines. Fuel is messy, it smells like hell, and once it hits your driveway, it’s a pain to clean up.
- Don’t just yank the old filter out. If you’re working with quick-connect fittings, use a specialized disconnect tool rather than pliers. You’ll avoid snapping those plastic clips and turn a ten-minute job into a nightmare.
- Always double-check your flow direction. Most filters have a little arrow on the housing; if you put it in backward, you’re basically choking your engine and wasting your own time.
- Once the new filter is seated, prime the system. Instead of just cranking the engine for thirty seconds straight—which is hard on your starter—cycle the key to the “on” position a few times to let the pump build pressure first.
- Keep a close eye on your connections for the first few drives. A tiny, slow drip might not look like much at first, but it’s a massive fire hazard if it finds its way near a hot exhaust manifold.
The Bottom Line on Fuel Filters
Don’t wait for your car to sputter or stall before you take action; catching a clogged filter early saves you from much more expensive repairs like fuel pump failure.
You don’t need a fancy shop setup to get this done, just the right tools and a little patience to make sure you’re not dealing with fuel leaks later.
Keeping up with basic maintenance like this is exactly how you stop mechanics from overcharging you for “mysterious” engine issues that were actually just a dirty filter.
## Don't Let a Cheap Part Kill Your Engine
“A fuel filter is probably the cheapest thing you’ll ever buy for your car, but ignoring it is the fastest way to turn a simple maintenance job into a massive repair bill you definitely didn’t budget for.”
Nikolai·Osterman
Don't Let a Small Part Kill Your Ride
Look, swapping out that fuel filter isn’t some high-level engineering feat, but it is one of those jobs you can’t afford to put off. Between keeping an eye out for that sluggish acceleration and making sure you actually have the right wrenches ready, you’ve done the heavy lifting. Just remember that a clogged filter does more than just make your car run rough; it forces your fuel pump to work overtime, which is a fast track to a massive repair bill you definitely don’t want. If you stay on top of these little maintenance tasks, you’re essentially protecting the entire heart of your engine from unnecessary stress.
At the end of the day, I don’t want you to feel intimidated by what’s under the hood. Mechanics love to charge hundreds for things that you can honestly do in your own driveway with a bit of grease on your hands and some patience. Every time you pick up a wrench and tackle a job yourself, you’re taking back control from the shops that try to overcharge for the basics. Keep learning, keep getting your hands dirty, and don’t let anyone tell you that you aren’t capable of maintaining your own machine. You’ve got this.
Frequently Asked Questions
How do I know if I need an inline filter or an in-tank filter for my specific car?
Honestly, the easiest way to tell is to look under the hood or crawl under the chassis. If you see a small canister sitting in the fuel line between the tank and the engine, that’s your inline filter. If you can’t find anything obvious, your filter is likely inside the gas tank, integrated with the fuel pump assembly. Check your service manual or just pop the fuel door; if there’s no external line, it’s probably in-tank.
Is it safe to change the fuel filter while the engine is still warm, or should I wait for it to cool down?
Look, definitely wait for the engine to cool down. I’ve seen guys rush into this while the hood is still radiating heat, and it’s just asking for trouble. You’re dealing with fuel pressure and potentially spraying gasoline; you don’t want that happening while you’re sweating and working around a hot block. Let it sit for a bit. It’s much safer, you’ll have more steady hands, and you won’t end up with a nasty burn.
How much fuel am I actually going to lose on the ground when I disconnect the old lines?
Look, I’m not gonna lie to you—you’re definitely going to see some fuel hit the floor. Even if you relieve the pressure first, there’s always a little bit left sitting in the lines. You’re probably looking at a decent splash, maybe a cup or two depending on your setup. Just grab a drain pan or some shop rags before you crack those connections. Don’t wing it, or you’ll be cleaning gas off your driveway for an hour.
