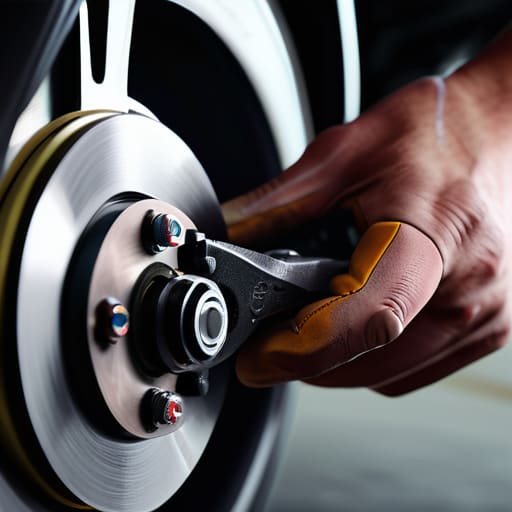
Ever pull into a shop only to have a mechanic tell you that you need a whole new braking system when all you really needed was a proper brake caliper service? It drives me crazy. I remember one Saturday back when I was helping my dad in the garage; we had a customer come in panicking about a “dead” caliper on his old sedan, but once we cleaned out the grit and lubricated the slide pins, the thing worked like new. Most shops will try to sell you the most expensive replacement part possible, but the truth is, a lot of the time, your calipers aren’t broken—they’re just stubborn.
I’m not here to give you some textbook lecture or a list of fancy tools you can’t afford. I’m going to walk you through exactly how to tackle this job yourself, from cleaning off the crusty buildup to making sure those pins move freely. You’re going to get the straight truth on what parts actually matter and how to avoid the common mistakes that end up costing you double. Grab your magnetic tray and let’s get to work.
Table of Contents
Guide Overview
Tools & Supplies
- Jack and jack stands for vehicle lifting
- Socket set and wrenches for caliper bolts
- C-clamp or brake piston compressor for piston retraction
- Wire brush for cleaning components
- Brake pads (one set per axle)
- Brake cleaner spray (1-2 cans)
- High-temperature brake grease (1 small tube)
- Brake fluid (1 bottle)
Step-by-Step Instructions
- 1. First things first, you gotta get the car off the ground. Don’t even think about working on a car held up by just a hydraulic jack—it’s a recipe for a disaster you don’t want. Use jack stands to secure the vehicle, and once it’s stable, take the wheel off and set it aside. I usually keep my wheel bolts in a little dish so they don’t roll under the workbench.
- 2. Once the wheel is out of the way, locate the caliper mounting bolts. Depending on what you’re driving, these might be on the back or the front of the caliper. Grab your socket set and loosen them up, but don’t just yank them out. If they feel stuck, give them a little tap with a wrench to break the tension, but don’t go overboard and strip the heads.
- 3. Now, carefully lift the caliper off the rotor. This is where most people mess up: do not let the caliper hang by the rubber brake hose. That hose is fragile, and if you stretch it, you’re looking at a much more expensive repair than just a service. Use a piece of old bungee cord or a coat hanger to tie the caliper to the suspension so it stays put.
- 4. Take a look at your brake pads. If they’re uneven or looking thin, swap them out for new ones. While you’ve got everything apart, grab a can of brake cleaner and scrub down the rotor. You want to get rid of any grit, dust, or old grease that’s hanging around. It makes a massive difference in how smooth your brakes feel once you’re back on the road.
- 5. Before you put the new pads in, you’ll probably need to compress the caliper piston back into its housing. You can use a C-clamp or a dedicated brake tool for this. Just make sure you check your brake fluid reservoir under the hood first; as you push the piston back, the fluid level will rise, and you don’t want it overflowing all over your engine bay.
- 6. Slide your new pads into the bracket, making sure they sit flush and aren’t cocked at an angle. If your kit came with some high-temp brake grease, apply a tiny bit to the back of the pads where they touch the piston. Don’t get any grease on the actual friction surface of the pad or the rotor, or you’ll ruin your stopping power instantly.
- 7. Once the pads are seated, slide the caliper back over them and tighten those mounting bolts back down. Don’t just “hand tighten” them—give them a good, firm pull with your wrench so they don’t vibrate loose. Finally, put the wheel back on, lower the car, and pump the brake pedal a few times before you even think about shifting into gear. You need to seat those pads against the rotor first.
Spotting the Signs of a Seizing Caliper Early
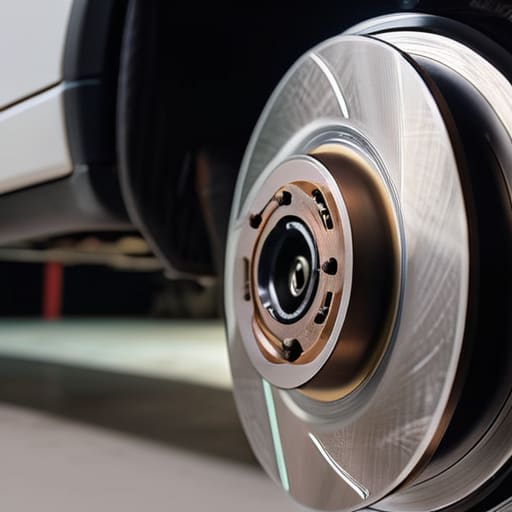
You don’t always have to wait for a total breakdown to know something is wrong. Usually, your car tries to tell you something is up long before you’re stranded on the shoulder. One of the biggest giveaways is checking your brake pad wear patterns. If you notice one pad is significantly thinner than the other on the same wheel, that’s a massive red flag. It means the piston isn’t retracting properly, which is a classic sign of a seizing caliper.
Keep an ear out for any weird grinding or a constant, low-pitched squeal even when you aren’t touching the pedal. If you feel a strange pulling sensation to one side when you hit the brakes, stop what you’re doing and take a look. Sometimes, you might even smell something sweet or acrid—that’s often just the heat from a stuck pad cooking the friction material. Catching these signs of a seizing caliper early can save you from a much more expensive job, like a full caliper piston replacement, down the road.
Decoding Strange Brake Pad Wear Patterns
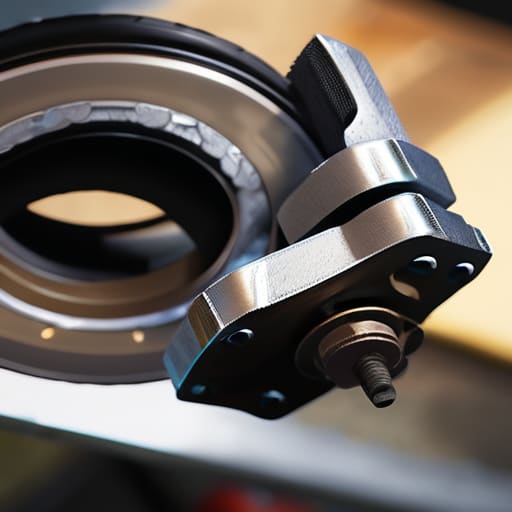
If you pull your pads out and they look like they’ve been chewed on, pay attention. One of the biggest giveaways of a failing unit is uneven brake pad wear patterns. If the inner pad is worn down to a metal nub while the outer pad looks brand new, you’re looking at a classic case of a stuck piston. It’s not just about the pads, though; sometimes the slide pins are just bone-dry and seized up. This is exactly why I’m such a stickler for proper brake caliper lubrication during every single teardown. If those pins can’t move freely, the caliper can’t center itself, and you’re basically dragging your brakes every time you hit the pedal.
You might also notice “tapered” wear, where the pad is thicker on one end than the other. That’s usually a sign that the caliper is tilting because it’s struggling to compress. Don’t just slap on new pads and call it a day—that’s how you end up needing a full caliper piston replacement a month later. Take a second to look at the hardware and make sure everything is sliding smooth.
Pro Tips to Save Your Sanity (and Your Wallet)
- Don’t even think about forcing that piston back in without a proper brake spreader tool; if you try to use a C-clamp on a modern caliper, you’re probably going to crack something or mess up the seal.
- Always, and I mean always, clean your contact points with a wire brush before putting things back together; if there’s even a tiny bit of grit left in that bracket, you’re just asking for the pads to bind up again.
- Get yourself a decent bottle of brake fluid and don’t settle for the cheap stuff—using the wrong spec is a fast track to a spongy pedal and a massive headache.
- Keep your grease organized; use a dedicated high-temp silicone brake lube for the slide pins, and for the love of everything, don’t get any on the actual friction surfaces of the pads or the rotors.
- Double-check your torque specs on the caliper bolts; I’ve seen too many guys just “feel” it’s tight enough, only to have a bolt shake loose halfway through a drive because they didn’t use a real torque wrench.
The Bottom Line on Your Brakes
Don’t wait for a smell or a pull to the side; if you notice uneven pad wear, your caliper is likely already starting to act up.
You don’t need a massive shop setup to fix this, but you do need to be patient with the cleaning process—don’t rush the brake cleaner part.
Most “expensive” brake jobs are just basic maintenance that a little bit of grease and the right socket set could have handled at home.
## The Truth About Your Brakes
“Mechanics love to charge a premium for ‘caliper replacement’ when half the time, you just need a good soak in some cleaner, a bit of grease, and the patience to get a stubborn piston moving again.”
Nikolai·Osterman
Don't Overthink It, Just Get It Done
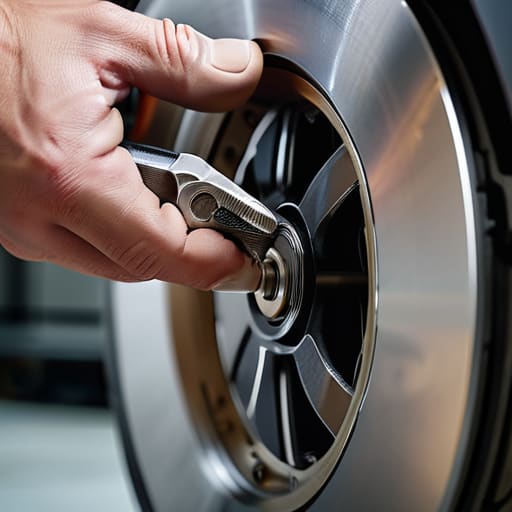
Look, servicing your calipers isn’t some mysterious ritual reserved for master techs with fancy diagnostic computers. If you’ve learned to spot that uneven pad wear or felt that weird pull when you hit the pedal, you’ve already done the hard part. Just remember: keep your cleaning thorough, make sure those slide pins are actually lubricated instead of just shoved back in, and always, always double-check your torque specs. It’s really just about being methodical and not cutting corners when it comes to the safety-critical stuff. If you take the time to do it right the first time, you aren’t just saving a massive headache at the shop—you’re making sure your car stays reliable for the long haul.
At the end of the day, I know how intimidating it feels to stare down a greasy brake assembly for the first time. It’s easy to think you’re going to mess something up or end up with a pile of leftover bolts, but that’s just part of the learning curve. Every time you get your hands dirty and successfully fix something yourself, you’re taking a bit of that power back from the big-name dealerships. Don’t let a little bit of brake dust or a stubborn bolt keep you from owning your machine. Keep your tools organized, stay patient, and I’ll see you in the next one.
Frequently Asked Questions
Is it actually worth replacing the whole caliper, or can I just swap out the seals and get back on the road?
Look, I get why you’d want to just swap the seals—it’s cheaper and feels easier. But honestly? If the caliper is seizing, the piston is likely pitted or the internal bore is corroded. Slapping new seals on a damaged surface is just a temporary band-aid that’ll fail you in a month. Save yourself the headache and the extra trips to the parts store: just buy a new unit. It’s better for your peace of mind.
How do I know if I need to bleed the brakes myself, or if I'm gonna end up with air in the lines and a mushy pedal?
If your brake pedal feels like you’re stepping on a wet sponge or it sinks straight to the floor, you’ve definitely got air in the lines. If you just swapped pads or opened the system, you’re gonna have to bleed them. But if the pedal is just a little soft after a long drive, you might just have old, moisture-heavy fluid. Don’t guess—if it feels mushy, bleed ’em. Better to do it yourself than trust a shop to do it right.
Can I just use any generic brake grease, or am I gonna ruin the rubber boots if I don't get the high-temp stuff?
Look, don’t just grab whatever cheap grease is sitting on your workbench. If you use regular lithium grease or something petroleum-based, it’s going to swell and tear those rubber boots in no time. Once those boots fail, dirt gets in, and you’re looking at a seized piston. Stick to a high-temp, silicone-based brake lubricant. It’s a small difference in price, but it’ll save you from having to redo the whole job next month.
