
I still remember the sound of a regular steel hammer hitting a seized suspension component back in my dad’s garage—that sharp, ringing crack that usually meant I’d just dented a perfectly good control arm. I was twelve, frustrated, and staring at a piece of metal that refused to budge no matter how hard I swung. That’s the moment I realized that brute force is useless if you don’t have control. Most people think you just need “more muscle” to fix a stuck part, but they’re wrong. You don’t need a bigger swing; you need a dead blow hammer to deliver that heavy impact without the annoying bounce-back that ruins your knuckles and your hardware.
I’m not here to sell you on some overpriced, professional-grade toolset that costs more than your monthly car payment. My goal is simple: I want to show you how to use a dead blow hammer effectively so you can stop fighting your car and start actually fixing it. I’ll walk you through exactly when to grab one, how to pick the right weight for the job, and how to avoid the rookie mistakes that turn a quick repair into a long night of swearing.
Table of Contents
- The Internal Weight Mechanism Explained Pure Force Without the Bounce
- Dead Blow vs Rubber Mallet Choosing the Right Muscle for the Job
- Pro Tips for Not Wrecking Your Parts (or Your Hands)
- The Bottom Line: When to Reach for the Dead Blow
- The Difference Between Fixing and Breaking
- Making the Right Call for Your Toolbox
- Frequently Asked Questions
The Internal Weight Mechanism Explained Pure Force Without the Bounce
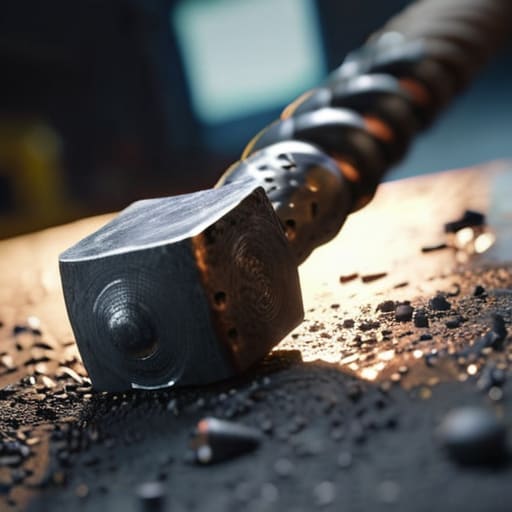
So, what’s actually happening inside that head when you swing it? Unlike a standard hammer that just bounces right back off the metal, the internal weight mechanism explained is pretty straightforward: there’s a loose weight—usually steel shot or sand—suspended inside the casing. When you strike a surface, that weight keeps moving forward for a split second after the face hits, essentially soaking up the energy that would normally cause a rebound.
This is the massive difference in the dead blow vs rubber mallet debate. A rubber mallet is great for soft stuff, but it lacks the “oomph” needed for stubborn bolts or seated components. Because that internal weight shifts on impact, you get a concentrated punch of force that drives the part home without the tool jumping back into your knuckles. It’s all about transferring the momentum directly into the job rather than losing it to a vibration or a bounce. When I’m trying to seat a control arm without marring the finish, that extra bit of controlled momentum is exactly what saves me from a headache.
Dead Blow vs Rubber Mallet Choosing the Right Muscle for the Job

Look, I’ve seen plenty of guys grab a standard rubber mallet when they’re struggling with a stuck suspension component, thinking it’s the same thing. It’s not. A rubber mallet is great for light tapping, but the second you hit something with real force, that rubber bounces back. You end up fighting the tool instead of the part. When you’re dealing with dead blow vs rubber mallet scenarios, the difference is all about energy transfer. The dead blow absorbs the shock internally, meaning the energy goes into the bolt or the housing rather than vibrating back up your arm.
If you’re working on something sensitive under the hood, like a plastic trim piece or a painted fender, you’re looking for preventing surface damage with tools. While a dead blow is a beast for getting things moving, a rubber mallet is often safer for purely cosmetic stuff where you don’t want to leave a mark. But if you’re in the middle of a heavy repair and that part just won’t budge, don’t waste your energy on a bouncy mallet. Switch to the dead blow and actually make the impact count.
Pro Tips for Not Wrecking Your Parts (or Your Hands)
- Don’t go overboard on the weight. If you’re trying to seat a delicate trim piece or a sensor housing, a 4oz or 8oz dead blow is your best friend. Using a heavy 2lb hammer when you don’t need to is a fast way to crack plastic or bend a bracket.
- Check the casing before you swing. Since the weight is loose inside, if the outer shell is cracked or peeling, those little steel shot pellets can fly out mid-swing. It’s a mess for your engine bay and a total pain to clean up.
- Use it for “persuasion,” not “destruction.” A dead blow is perfect for when a bolt or a component is stuck due to rust or a tight fit. Give it a few controlled taps rather than one massive, uncontrolled swing. You want the energy to go into the part, not into your wrist.
- Keep it clean if you’re working near an open engine. I’ve seen guys use a dirty hammer on a clean rebuild, and suddenly there’s grease or grit everywhere. Wipe the face down before you start tapping on anything sensitive like a gasket or a seal.
- Watch your angle of attack. Even though it doesn’t bounce like a standard hammer, hitting something at a sharp angle can still slip and gouge the surface. Aim to hit square so that internal weight shifts forward and does the work for you.
The Bottom Line: When to Reach for the Dead Blow
Don’t use a standard hammer on sensitive parts; the dead blow’s internal weight kills the bounce, so you’re putting the energy into the bolt or casing instead of wasting it on a rebound.
If you’re stuck between a rubber mallet and a dead blow, remember that rubber is for light tapping, but the dead blow is your go-to when you need real, controlled force to seat something without marring the surface.
Treat your dead blow as a precision tool, not a sledgehammer—it’s about directed impact, which is the difference between a successful repair and a cracked housing.
The Difference Between Fixing and Breaking
Look, there’s a fine line between getting a stubborn part to seat and accidentally mushrooming a bolt head because you used the wrong tool. A dead blow hammer is basically your insurance policy; it gives you that solid, heavy thud you need to move things without that annoying kickback that ruins your aim and your knuckles.
Nikolai·Osterman
Making the Right Call for Your Toolbox
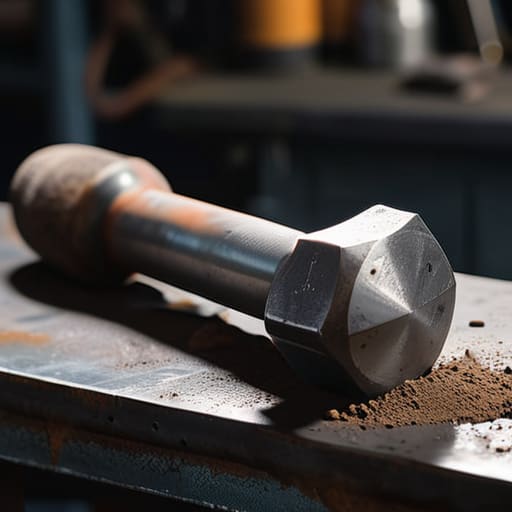
Look, at the end of the day, a dead blow hammer isn’t just some luxury item you pick up to look professional; it’s a tool that actually respects the work you’re doing. We’ve talked about how that internal weight stops the annoying bounce-back and how it differs from your standard rubber mallet when you’re dealing with something a bit more stubborn. If you’re trying to seat a component without scarring the metal or if you’re fighting a stuck bolt that just won’t budge, this is the tool that gives you that controlled, heavy impact you need. Don’t waste your energy—or your knuckles—trying to force things with the wrong gear when a properly weighted dead blow can do the heavy lifting for you.
My dad always told me that the difference between a hack and a real tech is knowing exactly which tool to grab before you even start the job. You don’t need a massive, expensive workshop to do things right; you just need to be smart about the gear you keep in your hands. Grab a decent dead blow, keep your patience, and stop fighting your car. Once you start using tools that actually work with you instead of against you, you’ll realize that maintenance isn’t scary—it’s just a series of small, manageable wins. Now, get back under the hood and get to work.
Frequently Asked Questions
Can I use a dead blow hammer on aluminum parts without leaving marks, or will it still dent them?
Look, I’ve definitely seen guys dent an aluminum housing because they thought a dead blow was a magic wand. It’s way safer than a steel hammer, but aluminum is soft—it’ll still take a hit if you’re swinging heavy. If you’re worried about marring a sensitive part, throw a scrap piece of wood or a thick piece of leather between the hammer and the metal. It acts as a buffer and saves you a massive headache.
How do I know if the hammer is too heavy for the specific job I'm doing?
Look, if you’re swinging a hammer and you feel like you’re fighting the tool more than the part, it’s too heavy. If you can’t control the strike or if you’re constantly overshooting your mark, put it down. You want precision, not a demolition derby. If you’re working on something small, like a sensor housing or a delicate bracket, a massive hammer is just going to cause more headaches than it solves.
Since they're filled with shot or sand, do these hammers eventually leak or lose their weight over time?
Honestly, it’s a valid concern, but you don’t really need to sweat it. Most decent ones use steel shot or fine sand sealed tight inside a heavy-duty casing. Unless you’re absolutely punishing the head against a sharp metal edge or dropping it onto concrete every single day, they aren’t going to leak. If you see sand spilling out, that’s your sign the casing is cracked and it’s time to grab a new one.
