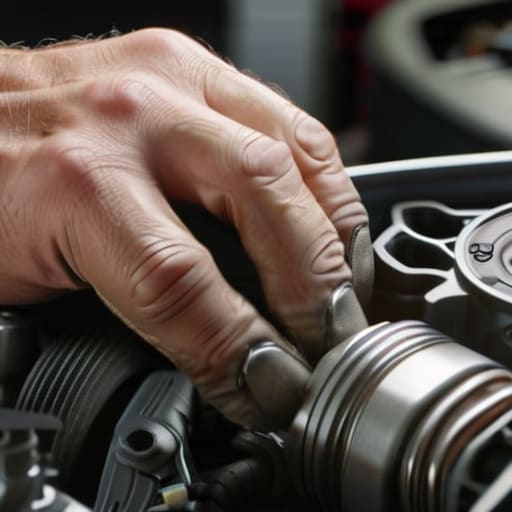
You see your temperature gauge dancing into the red zone and immediately think you’re looking at a massive, multi-thousand dollar cooling system failure, right? Most shops will try to sell you a whole new radiator or a water pump just to pad their margins, but the truth is usually way simpler. Half the time, you’re just dealing with a stuck valve, and a quick thermostat replacement is all it takes to get your engine back to its happy place. I learned this the hard way back when I was helping my old man in the garage; we spent hours chasing a phantom leak only to realize a ten-dollar piece of metal was the real culprit all along.
I’m not here to give you some textbook lecture or a list of fancy diagnostic tools you don’t own. I’m going to show you exactly how to swap that part out using basic tools and a little bit of patience. We’ll walk through draining the coolant, accessing the housing, and making sure you don’t end up with a mess on your driveway. By the time we’re done, you’ll have the confidence to stop overpaying the shop and keep your own ride running smooth.
Table of Contents
- Step-by-Step Instructions
- Spotting the Signs of a Stuck Thermostat Before Its Too Late
- The Truth About Engine Overheating Causes and Your Cooling System
- Pro Tips to Keep You From Making a Mess of It
- The Bottom Line on Your Thermostat
- ## The Real Cost of Waiting
- Don't Let the Shop Win
- Frequently Asked Questions
Guide Overview
Tools & Supplies
- Screwdriver (Phillips or flathead for terminal screws)
- Smartphone (to take photos of existing wiring)
- Voltage tester (to ensure power is off)
- New thermostat (1 unit)
- Wire labels (1 pack for organizing wires)
Step-by-Step Instructions
- 1. First things first, make sure the engine is completely cold. I can’t stress this enough—if you try to mess with the cooling system while it’s still warm, you’re asking for a face full of scalding coolant. Once you’re sure it’s safe, jack up the car if you need more room, but mostly you just need to get your tools ready and pop the hood.
- 2. Locate the thermostat housing. It’s usually where the upper radiator hose meets the engine block. You’ll likely see a metal or plastic cover held on by a couple of bolts. Before you touch a single screw, drain some of the coolant into a catch pan. If you don’t, the second you pull that housing off, it’s going to pour all over your driveway and your shoes.
- 3. Now, grab your socket wrench and start loosening those housing bolts. Keep an eye on them—I always keep my magnetic parts tray handy so these little guys don’t end up lost in the engine bay. Once the bolts are out, carefully wiggle the housing away from the engine. You might have to give it a little nudge if the old gasket is stuck, but don’t force it too hard or you’ll crack something.
- 4. Pull the old thermostat out of the seat. While you’re at it, take a good look at the old gasket or O-ring. If it looks flattened or shredded, that’s your culprit. Use a rag to clean the mating surfaces on the engine block until they’re spotless. If there’s any old residue or crust left behind, your new seal won’t sit right, and you’ll be dealing with a leak before you even finish the job.
- 5. Take your new thermostat and seat it into the housing. Make sure it’s facing the right direction—most have a little “bump” or a specific orientation so you don’t install it backward. Put the new gasket in place, then line up the housing and tighten the bolts back down. Don’t go overboard with the wrench; you just want them snug and even so you don’t strip the threads or warp the housing.
- 6. Refill your coolant slowly. Don’t just dump it all in at once; you want to avoid trapping huge air pockets in the system. Once it’s topped off, start the engine and let it run for a bit. Keep an eye on your temperature gauge to make sure it’s actually climbing like it should. If it stays stuck at low or starts spiking, you might have an air bubble trapped in there, and you’ll need to bleed the system.
- 7. Finally, keep a close eye on the area around the housing for the next few drive cycles. It’s totally normal to see a tiny bit of moisture as things settle, but if you see a steady drip, you probably didn’t get that gasket seated perfectly. Just tighten it up a hair more or double-check your work. Once it stays dry, you’re officially done and you just saved yourself a massive shop bill.
Spotting the Signs of a Stuck Thermostat Before Its Too Late
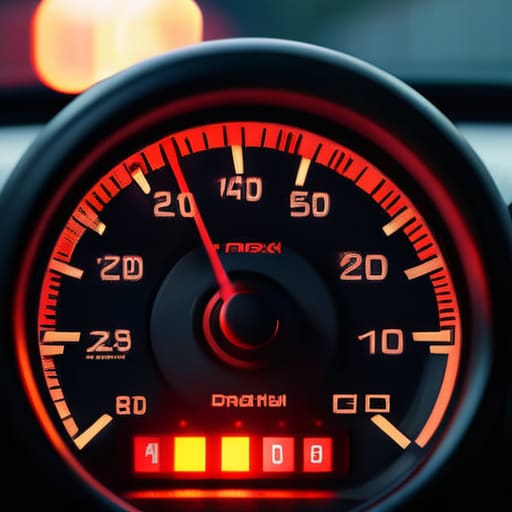
You don’t want to be stuck on the shoulder of a highway with steam pouring out of your hood, so you’ve got to learn how to listen to your car. One of the biggest engine overheating causes is a thermostat that’s decided to stay shut, blocking the flow of coolant to your radiator. If you notice your temp gauge dancing toward the red zone while you’re just cruising, or if your heater suddenly starts blowing nothing but ice-cold air even when the engine is warm, that’s a massive red flag. It usually means the thermostat is stuck closed, trapping the heat right where you don’t want it.
Another thing to watch for is some weird behavior with your dash lights. Sometimes, you’ll see coolant temperature sensor symptoms like erratic readings or a light that flickers on and off for no apparent reason. It might just be a bad sensor, but I’ve seen plenty of cases where a failing thermostat is actually throwing the whole system out of whack. If your car feels like it’s struggling to maintain a steady temperature, don’t just ignore it. Catching these signs early means you can swap the part out before you end up with a warped head gasket or a much bigger repair bill.
The Truth About Engine Overheating Causes and Your Cooling System
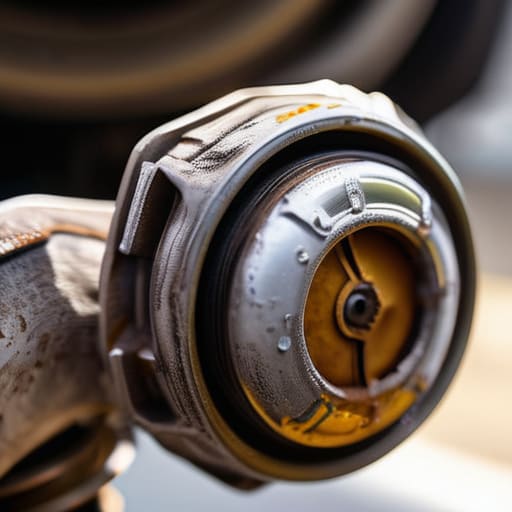
Look, when your temp gauge starts climbing toward the red, it’s easy to panic and assume your entire engine is toast. But before you start planning for a total rebuild, you need to understand the actual engine overheating causes. A lot of people jump straight to a radiator replacement when the real culprit is just a cheap, stuck thermostat that isn’t letting fluid flow. It’s often a simple mechanical failure rather than a massive structural issue.
While you’re diving in, keep an eye out for other red flags. Sometimes what feels like a thermostat issue is actually related to coolant temperature sensor symptoms, like your gauge acting erratic or the cooling fans not kicking on when they should. If you notice any weeping around the housing while you’re working, don’t just tighten the bolts harder. You might need to look into replacing the thermostat gasket to ensure you get a proper seal. Taking a second to check these small details during your maintenance routine can save you from a massive headache—and a much larger repair bill—down the road.
Pro Tips to Keep You From Making a Mess of It
- Don’t just swap the thermostat; check the housing too. If the metal housing is corroded or pitted, a new thermostat won’t save you from a leak. It’s better to replace the whole assembly now than to find yourself stranded later because of a crusty old housing.
- Always grab a fresh gasket or a tube of high-quality RTV silicone. Reusing an old gasket is a rookie mistake that’ll lead to a slow drip, and trust me, cleaning up dried coolant from a leak is a massive pain in the ass.
- Get the air out of the system. Once you’ve got everything bolted back together, you need to bleed the cooling system. If you leave an air pocket trapped in there, your car’s gonna overheat even with a brand-new thermostat.
- Watch your temperature carefully on the first drive. After you finish the job, take it for a quick spin and keep a close eye on the gauge. You want to make sure it’s hitting operating temp like it should and staying steady.
- Use the right coolant for your specific engine. Don’t just grab whatever is on sale at the grocery store. Mixing different types of coolant can create a sludge that clogs up your radiator and makes your hard work totally pointless.
The Bottom Line on Your Thermostat
Don’t wait for the temp gauge to hit the red zone; if your heater’s blowing cold or your engine is acting moody, swap that thermostat before you cook your head gasket.
You don’t need a specialized shop tool to get this done, just a decent socket set, some fresh coolant, and enough patience to make sure you don’t leave any old gaskets behind.
Stop letting shops charge you a massive labor fee for a part that’s basically just a metal housing and a spring—once you know the drill, you can handle this one yourself.
## The Real Cost of Waiting
“A shop will charge you a premium to tell you your thermostat is shot, but the real price is the engine damage you’ll take if you keep driving while it’s stuck closed. Don’t wait for the steam to start hitting the hood; just swap the part, save your coolant, and keep your money in your pocket.”
Nikolai·Osterman
Don't Let the Shop Win
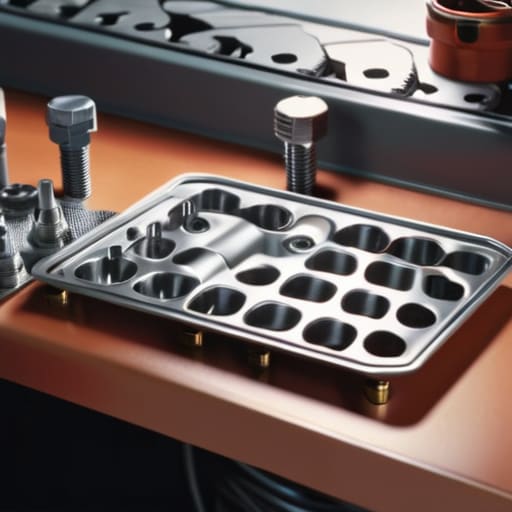
At the end of the day, swapping out a thermostat isn’t some high-level engineering feat; it’s just about being methodical. You’ve learned how to spot the warning signs of overheating, how to drain the coolant without making a massive mess, and how to swap that housing out without stripping your bolts. Just remember: always double-check your hose clamps and never reuse old, crusty gaskets if you can avoid it. If you take your time and keep your workspace organized—maybe keep a magnetic tray handy like I do—you’ll avoid the kind of headaches that turn a simple fix into a multi-day project. It really comes down to respecting the process and not rushing through the small stuff.
I know it can feel intimidating when you’re staring at a steaming engine bay, but once you get that first bolt tightened and hear the engine running smooth again, that feeling is unmatched. You didn’t just save a few hundred bucks in labor costs; you actually earned the right to say you maintained your own machine. Every time you pop the hood, you’ll know exactly what’s going on under there. Stop viewing your car as a mysterious black box and start seeing it for what it is: a machine that you are completely capable of mastering. Keep turning wrenches and stay curious.
Frequently Asked Questions
Do I really need to replace the entire thermostat housing, or can I just swap the wax pellet part itself?
Look, if you’re just swapping the wax pellet—the actual thermostat element—you’re fine, provided the housing itself isn’t cracked or corroded. But honestly? Most of the time, the housing is cheap plastic or aluminum that’s seen better days. If you see any signs of crusty coolant buildup or warping around the gasket surface, just replace the whole assembly. It saves you from a massive headache and a potential overheat later on.
How do I know if I should use a standard thermostat or a performance-based one for my daily driver?
Look, if this is just your daily commuter, stick with the standard OEM-spec thermostat. It’s designed to keep your engine at the perfect operating temperature for fuel economy and longevity. Performance thermostats usually open earlier, which is great for track days, but for a street car, it can actually make your engine run too cold, killing your MPG and causing extra wear. Unless you’re building a dedicated tuner, keep it simple and go stock.
Is it worth bleeding the air out of the cooling system after I'm done, or will the car just do that on its own once I start driving?
Look, don’t just hop in and drive away. If you leave air pockets trapped in there, you’re asking for a massive overheat, and that’s how you warp a head gasket. Your car won’t just “fix it” on its own. You need to bleed that system manually. Grab a spill-proof funnel, get the engine running, and let that air escape through the bleeder valve or radiator cap. Do the work now so you aren’t stranded later.
