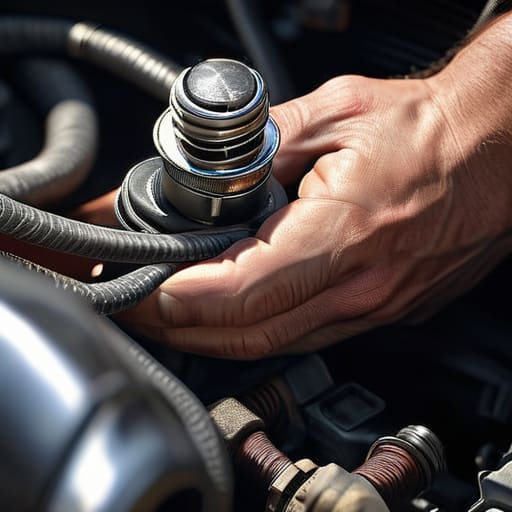
I was working on a beat-up Silvia last weekend when the engine started stumbling like it was possessed, throwing a misfire code that had the owner convinced they needed a whole new ignition system. Most shops would see that and immediately start quoting you a bill for sensors and coils that you probably don’t even need. But honestly? Half the time, it’s just a matter of a cracked housing or a wire that’s seen too many winters. A proper spark plug wire replacement isn’t some high-tech mystery that requires a specialized diagnostic computer; it’s usually just a sign that your rubber has gotten old and crusty.
I’m not here to sell you on some fancy, overpriced kit or tell you that you need a master’s degree to get the job done. I’m going to walk you through exactly how to spot the bad ones, how to keep from losing your mind when you can’t remember which wire goes where, and how to swap them out without breaking a sweat. You’re going to get the real, grease-under-the-fingernails truth so you can stop overpaying mechanics for something you can do in your own driveway with a basic socket set and a little bit of patience.
Table of Contents
- Step-by-Step Instructions
- Spotting Electrical Resistance in Wires Before They Fail
- Mastering Spark Plug Boot Inspection and Dielectric Grease Application
- Pro Tips to Keep You From Making a Mess of It
- The Bottom Line on Your Ignition System
- ## The Truth About the Small Stuff
- Getting Back on the Road
- Frequently Asked Questions
Guide Overview
Tools & Supplies
- Socket wrench set for loosening clamps or components
- Dielectric grease for sealing connections
- Flashlight for visibility in engine bay
- Replacement spark plug wire set (full set for engine type)
- Shop rags for cleaning debris
Step-by-Step Instructions
- 1. First things first, grab your magnetic parts tray and clear a spot on your workbench. You’re going to want to pull these wires one by one, not all at once, because if you mix up which wire goes to which cylinder, you’re going to have a very bad time when you try to start the engine.
- 2. Pop the hood and locate your spark plug wires. Before you even touch a tool, take a quick photo of the whole setup with your phone. It might look simple now, but once you start pulling things around, you’ll definitely want a visual reference to make sure everything goes back exactly where it belongs.
- 3. Grab your pliers—ideally a pair of needle-nose ones—and gently pull on the boot of the wire. You want to grip the rubber part, not the actual wire itself, or you might tear the insulation. Give it a firm, steady tug until it pops off the spark plug, and then do the same at the distributor or ignition coil end.
- 4. Once you’ve got the old, crusty wire out, take a second to look down into the spark plug well. If you see any dirt, oil, or debris sitting down there, use a bit of compressed air or a clean rag to wipe it out. You don’t want that junk falling into your engine once you seat the new wire.
- 5. Take your new wire and match it up to the old one to make sure the length is right. Slide the boot onto the spark plug first, making sure it’s seated firmly all the way down. Then, connect the other end to the coil or distributor. You should feel or hear a slight click when it’s locked in place.
- 6. Repeat this process for the rest of the wires, working through them one at a time. I know it’s tempting to just rip them all out to save time, but patience is key here. If you go one by one, you won’t have to deal with the headache of a misfire later.
- 7. Once you’ve finished the last one, double-check that every single boot is pushed on tight and that no wires are resting against hot engine parts like the exhaust manifold. Give the wires a quick wiggle to ensure they’re secure, and you’re officially ready to fire it up.
Spotting Electrical Resistance in Wires Before They Fail
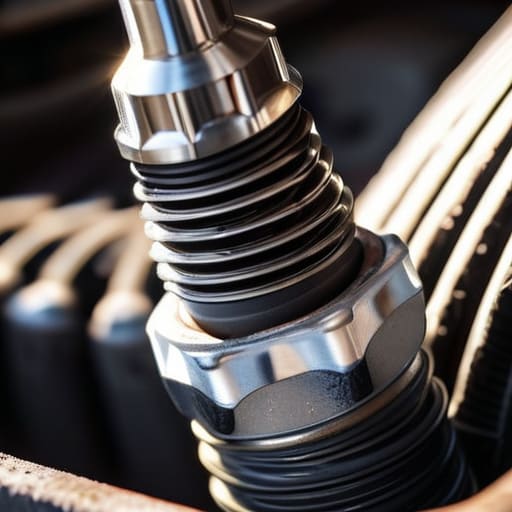
You don’t always have to wait for the car to start acting up to know something is wrong. If you’re paying attention, you can catch issues before they leave you stranded. One of the easiest things to do during a routine spark plug boot inspection is to look for physical signs of heat damage or cracks in the rubber. If the insulation looks brittle or has those weird white, chalky marks on it, that’s a huge red flag. It usually means the electricity is leaking out where it shouldn’t, which is a fast track to some nasty engine misfire symptoms when you’re trying to merge onto the highway.
Another pro tip is to check for “carbon tracking.” If you see tiny black lines running down the side of the wire, that’s literally a path where the spark is jumping through the insulation instead of going to the plug. If you want to be really thorough, you can use a multimeter to check for excessive electrical resistance in wires. If the reading is way higher than what the service manual says, those wires are toast. Don’t wait for a total breakdown; catching it early saves you a lot of headache.
Mastering Spark Plug Boot Inspection and Dielectric Grease Application
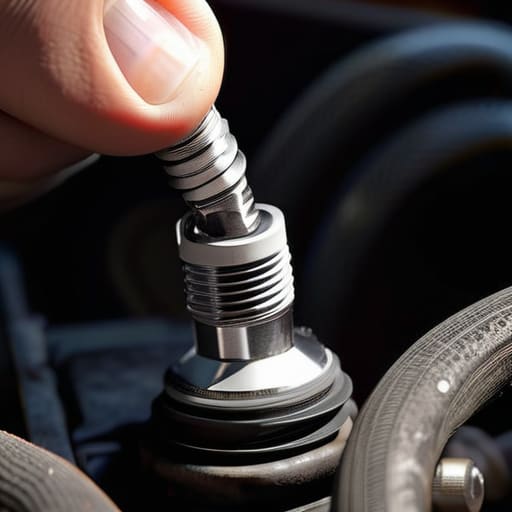
While you’re swapping out those wires, don’t just yank them off and call it a day. You really need to perform a proper spark plug boot inspection while you’ve got the engine open. Grab the rubber ends and give them a quick look for any cracks, dry rot, or white powdery residue inside. If the rubber feels brittle or looks like it’s about to crumble in your hands, that’s a massive red flag. Ignoring a bad boot is a quick way to end up with frustrating engine misfire symptoms even after you’ve put in the work to install brand-new wires.
Once you’ve confirmed the boots are actually decent, don’t skip the dielectric grease. This isn’t just some extra fluff; a little bit of dielectric grease application on the inside of the boot creates a moisture barrier and prevents the rubber from sticking to the ceramic of the plug. It makes your next tune-up way easier because you won’t be fighting a seized boot next time. Just a small dab is all you need—don’t go overboard and turn it into a greasy mess, or you’ll just be cleaning up more than you fixed.
Pro Tips to Keep You From Making a Mess of It
- Label everything before you pull a single wire. I know it sounds obvious, but once those old wires are off, they all look the same, and nothing kills a weekend faster than trying to guess which coil goes to which cylinder. Use some masking tape or even just a sharpie on a piece of paper to map it out.
- Don’t go pulling on the actual wire. This is a big one. If you grab the wire and yank it to get it off the boot, you’re eventually going to tear the internal core or pull the wire right out of the end. Always grab the boot itself—the rubber part—and pull firmly.
- Keep your workspace clean, especially around the spark plug holes. If you’ve got a bunch of grit or dirt sitting in those wells, it’s going to fall straight down into the combustion chamber the second you pull the old wires out. Use some compressed air to blow the junk out first.
- Check your connections for a “click.” When you’re snapping those new wires back on, you should feel and hear a solid seat. If it feels mushy or loose, it’s not making a good connection, and you’re just asking for a misfire down the road.
- Don’t cheap out on the wires. I see guys buy the absolute cheapest set they can find online just to save ten bucks, but those cheap cores can’t handle the heat or the electrical load. Stick to a decent brand; it’s way better than having to do this entire job over again in three months.
The Bottom Line on Your Ignition System
Don’t wait for a dead-on-the-highway misfire to act; if your wires look crusty or your engine feels sluggish, swap them out before they leave you stranded.
A little bit of dielectric grease goes a long way in preventing that annoying boot-sticking issue, so don’t skip it just to save two minutes.
You don’t need a shop’s diagnostic computer to do this right—just grab your basic socket set, stay organized with your parts tray, and take your time.
## The Truth About the Small Stuff
“Mechanics love to charge you a premium for ‘electrical diagnostics,’ but honestly? Most of the time, you’re just looking at a cracked boot or a wire that’s seen too many winters. Don’t let a twenty-dollar part turn into a three-hundred-dollar shop bill just because you didn’t want to get your hands dirty.”
Nikolai·Osterman
Getting Back on the Road
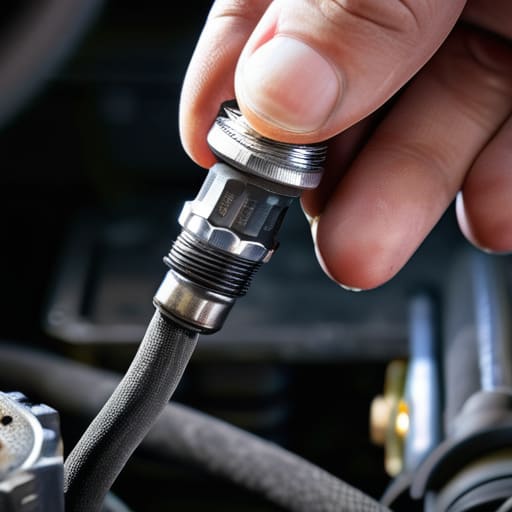
Look, replacing these wires isn’t some high-level engineering feat; it’s just about being methodical. We covered how to spot those crusty, high-resistance wires before they leave you stranded, how to properly inspect your boots, and why that little bit of dielectric grease makes a massive difference in preventing future headaches. If you took the time to double-check your connections and ensured every boot was seated tight, you’ve already done more for your engine than most people ever bother to do. Just remember: don’t rush the seating process. If those wires aren’t snapped on firm, you’re just asking for a misfire down the road.
At the end of the day, the goal isn’t just to fix a car; it’s to take the power back from the shops that try to overcharge you for five minutes of labor. Every time you get your hands dirty and successfully swap out a part, you’re proving that you don’t need a specialized degree to maintain your own ride. It might be intimidating the first time you pull those old wires off, but once you realize it’s just a matter of having the right tool and a bit of patience, you’ll start looking at every other repair with a lot more confidence. Keep that magnetic tray handy and keep turning wrenches.
Frequently Asked Questions
Do I really need to replace the whole set at once, or can I just swap out the one wire that looks fried?
Look, you can just swap the one fried wire, but it’s usually a bad move. If one wire has gone to hell, the others aren’t far behind—they’ve all been through the same heat cycles and miles. Replacing just one is like patching a single hole in a worn-out tire; you’re just inviting another breakdown next week. Grab the whole set. It saves you from tearing the engine apart twice.
I noticed some white crusty stuff inside my boots—is that normal or am I looking at a bigger electrical issue?
That white, crusty stuff is actually pretty common, but it’s definitely a sign you shouldn’t ignore. It’s usually oxidation or corrosion building up where the terminal meets the spark plug. It creates resistance, which messes with your spark and can lead to misfires. Since you’ve already got the boots off, clean that connection well and make sure you’re using plenty of dielectric grease next time. It acts as a barrier to keep that gunk from coming back.
How do I make sure I don't mix up the firing order and end up with a car that won't even start?
Look, nothing kills your vibe faster than finishing a job only to have the engine cough and die because you swapped two wires. Before you pull anything off, grab your phone and snap a few clear photos of exactly how the wires are routed. If you’re still unsure, check your owner’s manual or look for the firing order printed right on the distributor cap. Don’t guess—just verify before you plug them back in.
