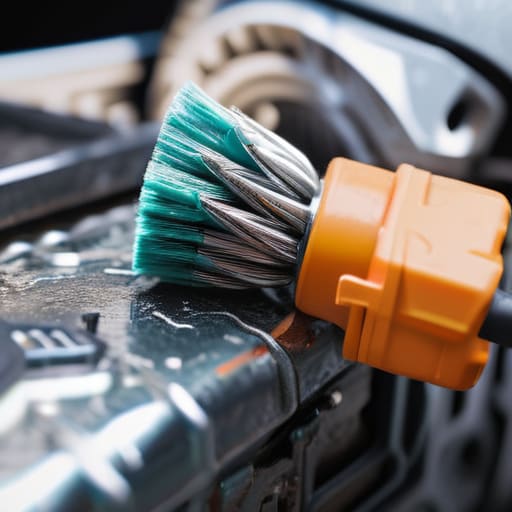
I was staring at my dad’s old sedan last Tuesday, cursing under my breath because the engine just wouldn’t turn over, even though the battery was brand new. I felt like a total idiot, but after a quick look, I realized the culprit wasn’t some expensive electrical failure—it was just a nasty layer of white, crusty oxidation choking the life out of the connections. Most people think they need a whole new alternator or a shop visit when their car acts up, but half the time, a little battery terminal cleaning is the only thing standing between you and a dead engine.
I’m not here to sell you on some overpriced, fancy chemical spray that promises miracles. I just want to show you how to do this right with stuff you probably already have in your garage. In this guide, I’m going to walk you through the exact process I use at the shop to clear out that buildup and ensure your connection is solid. We’re going to keep it simple, keep it cheap, and make sure you don’t get ripped off by a mechanic for a fix you could’ve handled in ten minutes.
Table of Contents
- Step-by-Step Instructions
- Mastering Corrosion Removal Methods With Simple Household Tools
- Preventing Terminal Oxidation and Tightening Battery Clamps for Good
- Pro Tips to Keep Your Connection Solid
- The Bottom Line on Keeping Your Battery Alive
- ## The Real Cost of Neglect
- Don't Leave It to Chance
- Frequently Asked Questions
Guide Overview
Tools & Supplies
- Wire brush or battery terminal brush for scrubbing corrosion
- Wrench or socket set for loosening terminal nuts
- Rag or microfiber cloth for wiping surfaces
- Baking soda and water mixture (1 tablespoon baking soda to 1 cup water)
- Distilled water for rinsing
- Petroleum jelly or dielectric grease for protection
Step-by-Step Instructions
- 1. First things first, you need to get your hands on a 10mm wrench—that’s the most common size for terminal bolts, but double-check yours just in case. Once you’ve got it, loosen the nut on the negative terminal (the one with the minus sign) first. I always tell people: always start with the negative so you don’t accidentally create a massive spark if your wrench touches the frame while you’re working.
- 2. Now that the negative cable is off, move over to the positive terminal and loosen that one too. Once both cables are disconnected, pull them away from the battery posts and set them aside. Make sure they aren’t touching anything metal while you’re working, or you might accidentally short something out.
- 3. Take a look at those battery posts. If you see that nasty, white, crusty powder, that’s corrosion, and it’s basically a wall blocking your electricity. Grab a stiff wire brush or even an old toothbrush if you’re working in a tight spot. Scrub the terminals and the inside of the cable clamps until you see the actual metal again. It’s a bit of a workout, but don’t stop until it’s shiny.
- 4. If the buildup is really thick and stubborn, you can make a quick DIY cleaning solution. Mix a little bit of baking soda and water into a paste and apply it to the corrosion. It’ll fizz up like crazy—that’s just the chemical reaction working its magic. Scrub it again, then rinse the whole mess off with some fresh water and dry everything thoroughly with a rag.
- 5. Before you put everything back together, take a second to check the battery cables for any cracks or fraying. If the wires look like they’re about to snap, no amount of cleaning is going to fix the problem; you’ll need to replace the whole cable. If they look solid, go ahead and slide the positive terminal back onto the post first, then the negative.
- 6. Tighten those nuts down so the clamps are rock solid. You shouldn’t be able to wiggle the cables by hand at all. If they’re loose, your car might struggle to start or even die while you’re driving, which is exactly the kind of unreliable mess we’re trying to avoid.
- 7. As a final pro tip, grab a tiny bit of petroleum jelly or some dedicated terminal protector spray and smear it over the clean connections. This creates a barrier that keeps oxygen and moisture away, which means you won’t have to deal with this same headache again in a few months.
Mastering Corrosion Removal Methods With Simple Household Tools
Look, you don’t always need to run out and buy some expensive, specialized chemical cleaner from the auto parts store. Most of the time, you can handle the heavy lifting with stuff you already have in your kitchen. My go-to is a simple baking soda and water solution. Just mix a few tablespoons of baking soda into a small cup of warm water and pour it directly onto those crusty, blue-green deposits. You’ll actually see it start to fizz and bubble—that’s the chemical reaction working to neutralize the acid. It’s a lifesaver for basic automotive battery maintenance when you’re working on a budget.
Once you’ve scrubbed everything clean with an old toothbrush or a wire brush, don’t just slap the cables back on and call it a day. This is where most people mess up. To actually help with preventing terminal oxidation in the future, I always recommend a quick dielectric grease application once the connections are dry. Slather a thin layer over the metal posts and the inside of the clamps. It creates a barrier that keeps moisture and air from getting back in there, so you aren’t stuck repeating this whole process in three months.
Preventing Terminal Oxidation and Tightening Battery Clamps for Good
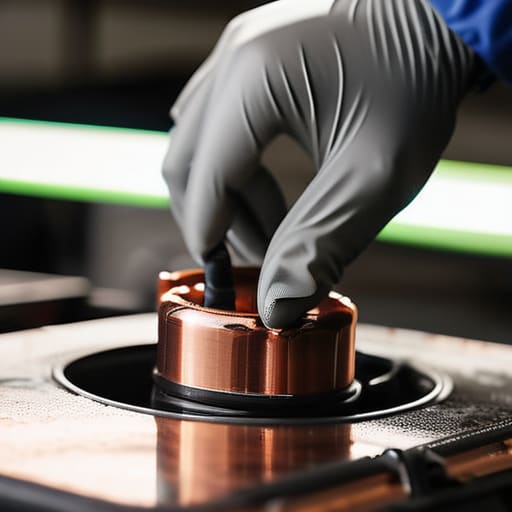
Once you’ve got everything shiny and clean, you can’t just bolt it all back together and walk away. If you want to stop the cycle of constant scrubbing, you need to focus on preventing terminal oxidation before it even starts. I always keep a small tub of dielectric grease in my kit for this exact reason. After you’ve tightened everything down, smear a thin layer over the metal connections. It creates a barrier that keeps moisture and oxygen from hitting the lead, which is basically what causes that nasty white crust to grow in the first place.
While you’re at it, don’t overlook the physical connection itself. There is nothing worse than a car that cranks slowly because of a loose connection. When you’re tightening battery clamps, make sure they aren’t just “snug”—they need to be firm enough that you can’t wiggle them by hand. If you can move the terminal even a tiny bit, you’re asking for intermittent electrical issues or a dead battery. A solid, grease-protected connection is the secret to making your automotive battery maintenance actually last.
Pro Tips to Keep Your Connection Solid
- Always disconnect the negative terminal first; it’s a simple safety move that keeps you from accidentally shorting out your electrical system if your wrench touches something it shouldn’t.
- Don’t just tighten the clamps until your knuckles bleed; you want them snug enough that they don’t wiggle, but if you overdo it, you’ll strip the threads and end up with a much bigger headache.
- If you see a massive amount of white, crusty powder, don’t just scrape it off with a screwdriver—you’ll likely just mash it deeper into the metal, so use a dedicated wire brush to actually lift it out.
- Keep a can of terminal protector spray or even just a thin layer of petroleum jelly in your toolbox; it creates a barrier that stops oxygen from hitting the metal and starting that corrosion cycle all over again.
- Check your connections every few months, especially if you’ve been driving in heavy rain or extreme heat, because vibration and weather can loosen things up more than you’d think.
The Bottom Line on Keeping Your Battery Alive
Don’t wait for a dead engine to check your terminals; catching that white, crusty buildup early is way easier than dealing with a car that won’t crank on a Monday morning.
You don’t need a fancy shop kit to fix this—a simple wire brush, some baking soda, and a bit of elbow grease are usually all it takes to get things flowing again.
Once you’ve got them clean, don’t just walk away; apply a little protectant and make sure those clamps are tight so you aren’t constantly fighting the same problem next month.
## The Real Cost of Neglect
“A mechanic might charge you a hundred bucks just to scrape some green crust off your battery, but it’s really just five minutes of your time and a wire brush. Don’t let a little oxidation turn a simple fix into a dead car and an empty wallet.”
Nikolai·Osterman
Don't Leave It to Chance
Look, keeping your battery terminals clean isn’t some high-level engineering feat; it’s just basic maintenance that keeps you from getting stranded. We’ve covered everything from using a simple wire brush to scrubbing away that nasty white crust, to making sure your clamps are actually tight enough to hold a charge. Remember, once you’ve cleared the junk away, applying a bit of petroleum jelly or a dedicated protector is what actually makes the difference in stopping that oxidation from creeping back next week. Don’t just clean it and walk away—seal the deal so you aren’t doing this same job again in a month.
At the end of the day, my goal is to make sure you feel confident every time you turn that key in the ignition. You don’t need to drop a few hundred bucks at a shop just to have someone spray some cleaner on your battery and call it a day. If you can handle a screwdriver and a bit of elbow grease, you can handle this. Taking ownership of these small, greasy tasks is how you stop getting ripped off and start truly understanding your machine. Keep that magnetic tray handy, stay focused, and just keep turning wrenches.
Frequently Asked Questions
Is it actually dangerous to clean the terminals while the battery is still connected to the car?
Look, I’m not going to tell you it’s impossible, but it’s definitely not smart. If your wrench slips and touches both the positive terminal and a metal part of the car at the same time, you’re going to see a massive spark and potentially fry your car’s electronics. I’ve seen it happen. Do yourself a favor: disconnect the negative cable first. It takes ten seconds and keeps you from turning a simple cleaning job into a massive headache.
How do I know if my battery is actually dying versus just having dirty connections?
It’s a classic headache, but here’s the deal: if your car cranks slow or the lights dim when you try to start it, that’s usually a connection issue. If the car starts fine but dies randomly while you’re driving, or if the battery is more than three or four years old, the cell itself is likely toast. Clean those terminals first. If the symptoms stick around, grab a multimeter and check the voltage.
If I see a ton of white powder, does that mean my battery is leaking acid or is it just normal corrosion?
Look, seeing that white, crusty powder is super common, so don’t panic. Usually, it’s just a reaction between the battery gases and your terminal connections—standard corrosion. However, if you notice the battery casing itself looks wet, smells like rotten eggs, or has actual liquid seeping out, that’s a different story. That means you’ve got an acid leak, and you need to swap that battery out immediately before it eats through your car’s wiring.
