I remember sitting on the oil-stained concrete of my dad’s garage when I was twelve, watching him struggle with a rusted-on canister while a local shop owner tried to tell him it was a “specialized procedure” that required a professional lift. That was the first time I realized how much money people bleed out just because they’re intimidated by a little bit of grime. The truth is, an oil filter replacement isn’t some high-level engineering feat that requires a master’s degree; it’s a basic chore that most shops will try to tack on as an “extra service” to pad their bill.
I’m not here to give you some polished, textbook lecture that leaves you more confused than when you started. Instead, I’m going to walk you through the real-world way to get this done, from picking the right filter to making sure you don’t end up with a mess all over your driveway. I’ll show you the exact tools you actually need—and the ones you can skip—so you can stop overpaying the mechanic and start taking control of your own machine.
Table of Contents
- Step-by-Step Instructions
- The Essential Automotive Maintenance Tools You Actually Need
- Preventing Engine Sludge With Synthetic vs Conventional Oil
- Five Ways to Stop Making a Mess of Your Oil Change
- The Bottom Line on Your Next Oil Change
- The Real Cost of Cutting Corners
- Don't Let the Shop Charge You for This
- Frequently Asked Questions
Guide Overview
Tools & Supplies
- Socket wrench and socket set for drain plug
- Oil filter wrench for removal
- Drain pan to catch old oil
- Funnel for clean oil pouring
- New oil filter (1 unit)
- Engine oil (specific volume per manual)
- Nitrile gloves for hand protection
- Shop rags or paper towels for cleanup
Step-by-Step Instructions
- 1. First things first, get your car up on a jack and secure it with jack stands. I can’t stress this enough—never, and I mean never, trust a hydraulic jack alone when you’re sliding underneath a vehicle. Once you’re safely positioned, locate the oil filter. It’s usually a small, cylindrical canister tucked near the bottom of the engine block, but depending on what you’re driving, it might be a bit of a pain to reach.
- 2. Grab your oil filter wrench and get a good grip on that old filter. Since the oil is warm (but not scalding!), it should loosen up a bit easier, but don’t be surprised if it’s stuck tight. Once you break the seal, slowly unscrew it by hand. Keep a drain pan right underneath because that old, dirty oil is going to start pouring out the second that seal breaks.
- 3. While the old filter is coming off, take a clean rag and wipe down the mounting surface on the engine block. You want that area to be completely spotless before the new filter goes on. If there’s grit or old gasket material sitting there, it can prevent a proper seal and cause a nasty leak down the road.
- 4. Now, grab your new filter and look at the rubber O-ring on top. This is where most people mess up: take a little bit of your fresh engine oil on your finger and smear it all over that new gasket. This helps the seal seat properly and ensures you don’t accidentally “double-gasket” it, which is a total nightmare to fix once things get hot.
- 5. Thread the new filter onto the mounting stud by hand. You want to turn it until it’s snug, but don’t go overboard with a wrench here. Over-tightening is a rookie mistake that can strip the threads or crack the housing. Usually, once the gasket touches the base, a quarter or half-turn more is all you need to get it secure.
- 6. Once the filter is on, get back under there and make sure your drain plug is tightened back up on the oil pan. Double-check that everything looks clean and there aren’t any immediate drips. If you’re feeling good, lower the car, start the engine, and let it run for a minute while you watch for leaks like a hawk.
- 7. Finally, check your dipstick to make sure your oil level is where it needs to be. If it’s low because you lost some during the swap, top it off with the correct grade. Once you’re satisfied that everything is tight and the level is right, you’re officially done. You just saved yourself a trip to the shop and a massive markup on labor.
The Essential Automotive Maintenance Tools You Actually Need
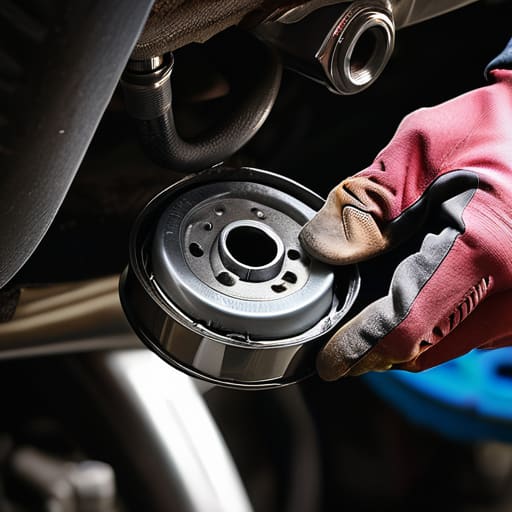
Look, you don’t need a massive rolling tool chest to get this done, but you can’t exactly wing it with a pair of pliers and a prayer. First off, grab a decent oil filter wrench. I’ve seen guys try to manhandle a stuck filter with a rag, and all they end up doing is stripping the casing or bruising their knuckles. If you’re working on something tight, a cap-style wrench is a lifesaver. Also, don’t forget a solid socket set for that drain plug removal; if you round off that bolt because you used a cheap, loose wrench, you’re looking at a much bigger headache than a simple oil change.
Beyond the heavy stuff, keep a few small things on hand to make life easier. A pair of nitrile gloves is non-negotiable unless you enjoy having black grease under your fingernails for a week. I also always keep a clean rag and some fresh oil nearby for oil filter installation tips, specifically for lubricating the new gasket. If you run that new seal dry, it’s way more likely to bind or leak. It’s these tiny, cheap habits that actually keep your engine running clean and stop you from wasting money at the shop.
Preventing Engine Sludge With Synthetic vs Conventional Oil

Look, swapping the filter is only half the battle if you aren’t paying attention to what’s actually flowing through it. I see guys all the time who do the work but still end up with a mess because they’re choosing the wrong lubricant. When you’re weighing synthetic vs conventional oil, remember that synthetic is basically insurance for your engine. It handles heat way better and doesn’t break down into that nasty, black gunk nearly as fast. If you want to focus on preventing engine sludge long-term, go synthetic. It keeps the internals clean so you aren’t fighting through thick, sludge-filled passages during your next service.
It’s also worth noting that the quality of your oil dictates how hard your filter has to work. A cheap conventional oil can leave behind more residue, which puts extra stress on the filtration media. While you’re down there, make sure you’re checking your oil level religiously. Even with the best synthetic, running low is the fastest way to turn a simple maintenance task into a massive repair bill. Don’t cut corners here; consistency is everything when it comes to keeping your engine healthy.
Five Ways to Stop Making a Mess of Your Oil Change
- Lube the new gasket with a bit of fresh oil before you screw it on; if you try to tighten a dry seal, it’s probably going to leak on your driveway by tomorrow morning.
- Hand-tighten only—seriously. If you go at it with a wrench and crank it down, you’re going to have a nightmare of a time getting it off next time, or worse, you’ll crack the housing.
- Keep a drain pan positioned exactly under the filter before you loosen it. Oil tends to pool in the old filter and then dumps all at once, so if you aren’t ready, you’re going to be cleaning grease off your shoes for an hour.
- Check the old filter for the rubber O-ring when you pull it off. I’ve seen so many rookies leave the old gasket stuck to the engine block, then they put the new filter on top and wonder why they have a massive leak.
- Don’t just buy the cheapest filter on the shelf because it’s a couple bucks less. A decent filter actually holds up under pressure, whereas the bottom-tier stuff can fail and leave you with a very expensive paperweight.
The Bottom Line on Your Next Oil Change
Don’t get intimidated by the mess; as long as you have a decent wrench and a way to catch the old oil, you can swap a filter in ten minutes without paying a shop’s labor rate.
Always double-check that the old rubber gasket didn’t get stuck to the engine block—if you double-gasket it, you’re looking at a massive, expensive leak.
Stick to a consistent schedule and use quality oil, because preventing sludge is way cheaper and easier than trying to clean it out of a dead engine later.
The Real Cost of Cutting Corners
Look, some shops will try to tell you an oil filter is just a tiny piece of metal that doesn’t matter much, but they’re lying. That little canister is the only thing standing between your engine running smooth and it turning into a pile of expensive scrap metal because of trapped grit. Don’t be cheap—swap the filter every single time you change the oil, or you’re basically just recirculating all that old junk right back into your engine.
Nikolai·Osterman
Don't Let the Shop Charge You for This
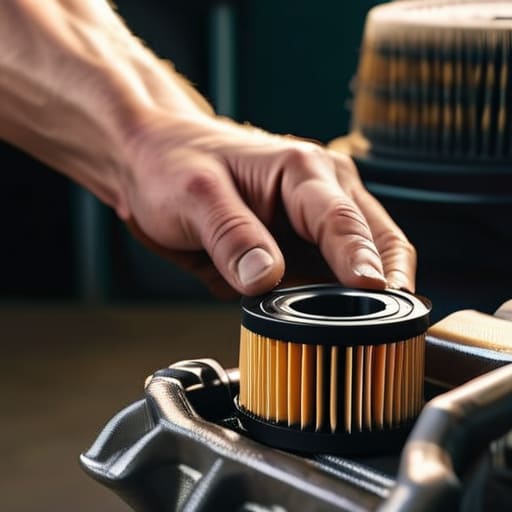
Look, swapping an oil filter isn’t some high-level engineering feat that requires a specialized degree or a massive lift. All you really did was grab the right wrench, make sure you lubricated that new gasket, and tightened it down just enough to seal it. If you followed these steps, you’ve already saved yourself a chunk of change that most shops would have tacked onto your bill without a second thought. Just remember: always double-check that the old seal didn’t stick to the engine block before you spin the new one on. It’s a small detail, but it’s the difference between a clean job and a massive, greasy mess on your driveway.
At the end of the day, keeping your car on the road shouldn’t feel like a mystery designed to keep your wallet empty. Every time you get your hands a little dirty doing your own maintenance, you’re taking the power back from the big service centers. It’s about more than just saving money; it’s about actually knowing your machine and understanding how it works. So, don’t be intimidated by a little bit of oil or a tight bolt. Grab your tools, stay focused, and just keep turning. You’ve got this.
Frequently Asked Questions
Do I really need to lubricate the new gasket with oil, or is that just something mechanics do to look busy?
Look, I get why you’d think that. It seems like one of those “extra” steps shops add to pad the bill, but it’s actually huge. If you screw that new rubber gasket on bone-dry, it can bunch up or pinch as you tighten the filter. That leads to a nasty leak halfway down the road. Just dip your finger in some fresh oil, smear it on the seal, and you’re good to go.
What happens if I accidentally strip the threads on the oil filter housing while I'm unscrewing it?
Look, don’t panic, but don’t try to force it either. If you feel the housing slipping or the threads getting chewed up, stop immediately. If you keep cranking, you’re going to turn a simple fix into a massive headache involving a replacement housing or, worse, a cracked engine block. If it’s stripped, you’ll likely need to replace the housing assembly. It’s a bummer, but it beats a total engine failure.
Can I just use any random filter from the shelf, or does it actually matter if it’s a specific brand for my car?
Look, I get the temptation to just grab whatever’s cheapest on the shelf, but don’t do that to your engine. Not all filters are built the same. Some cheap ones have flimsy bypass valves that won’t open when they should, which is a recipe for disaster. Stick to a reputable brand that matches your car’s specs. It’s a few extra bucks now to avoid a massive repair bill later. Don’t cheap out on the internals.
