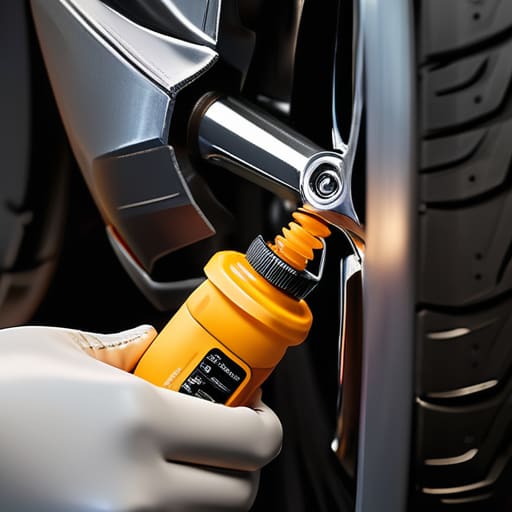
I remember sitting in my dad’s garage when I was twelve, staring at a brake pedal that felt like stepping on a wet sponge. I was terrified that I’d somehow ruined the entire system just by opening a single valve, and honestly, most shops will try to make you feel that same way so they can charge you three hundred bucks for a basic service. But here’s the truth: the whole brake bleeder procedure isn’t some dark magic reserved for master techs with expensive diagnostic computers. It’s just about managing pressure and making sure you don’t let any air sneak back into those lines while you’re working.
I’m not here to give you some textbook lecture or a list of fancy tools you don’t actually need. Instead, I’m going to walk you through the exact way I handle this at the shop, from the first pump of the pedal to that final, firm stop. We’re going to cover how to spot air bubbles, how to keep your brake fluid from ruining your paint, and how to get it done right the first time. Let’s get to work.
Table of Contents
Guide Overview
Tools & Supplies
- Wrench (Flare nut or box wrench to fit bleeder valve)
- Vacuum Pump or Syringe (to assist fluid extraction)
- Clear Tubing (to connect valve to container)
- Jack and Jack Stands (to lift and secure the vehicle)
- Brake Fluid (1-2 bottles, matching vehicle DOT specification)
- Catch Container (to collect old fluid)
- Rags (to clean spills and residue)
Step-by-Step Instructions
- 1. First things first, you gotta grab a fresh bottle of brake fluid that actually matches what your manual says—don’t go using some old, mystery bottle you found under the sink. Jack up the car, secure it on sturdy jack stands, and get all four wheels off so you can actually see the calipers. If you’re working alone, make sure you’ve got a clear workspace because things are about to get pretty messy.
- 2. Head over to the master cylinder under the hood and top it off. This is the most important part: if you let that reservoir run dry while you’re working, you’ll suck air into the whole system and end up having to start the entire process over from scratch. Keep a close eye on the level throughout the whole job; I always keep a spare bottle right next to me just in case.
- 3. Now, find the bleeder screw on the caliper. It’s usually a little metal nipple sticking out, and you’ll need a clear piece of plastic tubing that fits snugly over it. Attach one end of the tube to the screw and drop the other end into a clean glass jar with a little bit of brake fluid already in the bottom. This helps prevent air from being sucked back into the lines when you let go.
- 4. This is where you need a buddy, or you’ll be doing a lot of extra running back and forth. Have your helper sit in the driver’s seat and pump the brake pedal a few times before telling them to hold it down firm. Once they’ve got the pedal pinned to the floor, you go ahead and crack that bleeder screw open just a fraction of a turn. You’ll see air bubbles and old, dark fluid rushing through the tube.
- 5. Keep that screw open until the flow slows down, but don’t let them release the pedal while the screw is open. If they lift their foot while the valve is loose, you’re just letting air right back into the system. Once the fluid looks steady, tighten the screw back up, and then tell them they can let the pedal up. It’s all about that rhythm.
- 6. Repeat this whole process for every single wheel, but if you want to do it the right way, start with the one furthest from the master cylinder—usually the passenger rear. Work your way closer to the engine one wheel at a time. You’ll know you’re done when the fluid coming through the tube looks clear and you don’t see a single annoying little bubble popping in the jar.
- 7. Once you’ve hit all four corners, double-check your fluid level in the reservoir one last time and tighten the cap. Before you even think about driving, pump the brakes a few times while the car is still parked to make sure the pedal feels firm and responsive. If it feels spongy like a marshmallow, you’ve still got air in there and you need to go back and hit it again.
Essential Brake Bleeding Tools You Actually Need
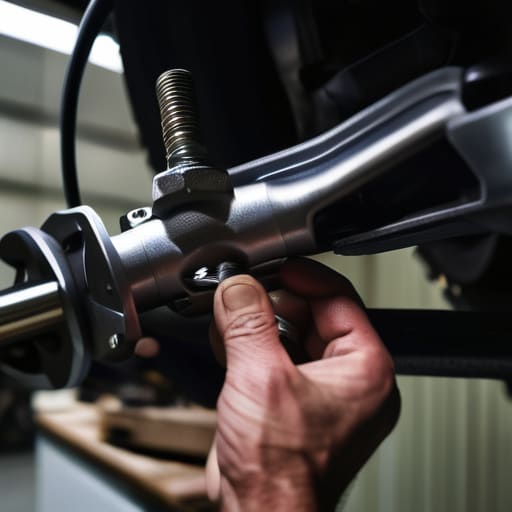
Look, you don’t need to drop a fortune on a professional shop setup to get this done, but you can’t just wing it with a pair of pliers and a prayer. First off, grab a decent set of flare nut wrenches. Using a standard open-end wrench on a brake caliper bleeder valve is a rookie mistake that’ll leave you with a rounded-off bolt and a much bigger headache than you started with. I always keep my magnetic parts tray handy because those little caps and bolts love to disappear into the garage floor the second you look away.
You’ll also need a clear plastic hose that fits snugly over the nipple and a clean catch bottle. If you’re doing this solo, a vacuum bleeder can save your sanity, but even a basic gravity setup works if you’re patient. Most importantly, keep a close eye on your brake fluid reservoir levels throughout the whole process. If that reservoir runs dry while you’re working, you’ve just sucked a massive gulp of air back into the system, and you’ll have to start the entire job from scratch.
How to Remove Air From Brake Lines Like a Pro
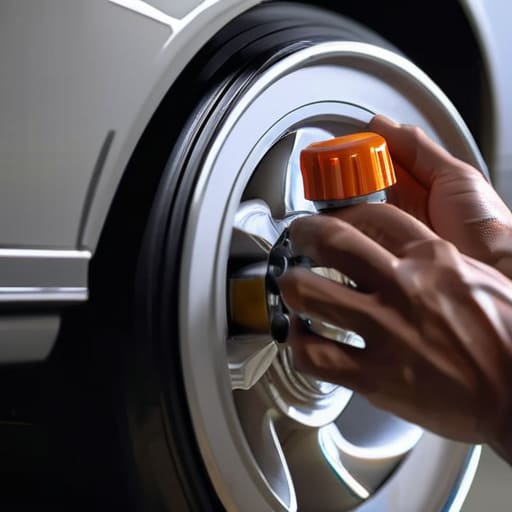
Look, once you’ve got your tools laid out, the real trick to knowing how to remove air from brake lines isn’t just about the mechanical movement; it’s about the rhythm. If you’re working solo or even with a buddy, you have to be incredibly disciplined about checking your brake fluid reservoir levels every single time you pump the pedal. If that reservoir runs dry halfway through the process, you’ve just sucked a massive gulp of air back into the system, and you’re basically starting from scratch. I’ve seen guys spend hours on a job only to realize they skipped this one simple check, turning a quick fix into a massive headache.
Another thing to watch for is the consistency of your work. When you’re loosening that brake caliper bleeder valve, don’t just crank it open and hope for the best. You want a steady, controlled flow. If you see bubbles that look like foam rather than distinct pockets of air, you’re likely agitating the fluid too much. After you think you’re finished, the ultimate test is your brake pedal feel after bleeding. If it still feels spongy or dives toward the floor, you’ve still got air trapped in a corner somewhere. Don’t settle for “good enough”—keep at it until it feels rock solid.
Pro Tips to Keep You From Messing This Up
- Start with the wheel furthest from the master cylinder. If you start with the one closest, you’re just going to push air around instead of actually getting it out of the lines.
- Keep a constant eye on your brake fluid reservoir. If that level drops too low while you’re pumping the pedal, you’ll suck air right back into the system and have to start the whole headache all over again.
- Don’t go full throttle on the pedal. If you’re doing it manually, use steady, controlled pumps. If you stomp it like you’re racing, you’re more likely to miss the window when the bleeder is open and spray fluid everywhere.
- Clean your bleeder valves before you even touch them. I’ve seen guys snap a crusty, rusted valve right off the caliper because they didn’t spray some brake cleaner on it first. A little prep saves a lot of money.
- Always use fresh fluid. Don’t try to be cheap and reuse the old, murky stuff sitting in the reservoir. Fresh fluid is the only way to ensure you aren’t just bleeding air into a system full of moisture and junk.
The Bottom Line on Getting it Done Right
Don’t rush the process; if the pedal feels spongy, you’ve still got air in the lines and need to keep bleeding until it’s firm.
Keep an eye on your reservoir level like a hawk—if you let it run dry while bleeding, you’ll suck air back in and have to start the whole mess over.
You don’t need a fancy shop setup to do this, just the right basic tools and enough patience to make sure every bubble is out before you hit the road.
The Truth About the Bleed
Most people think a spongy brake pedal is a sign of a massive failure, but usually, it’s just a handful of air bubbles that you could’ve fixed yourself with twenty minutes of patience and a decent wrench.
Nikolai·Osterman
Don't Leave It to Chance
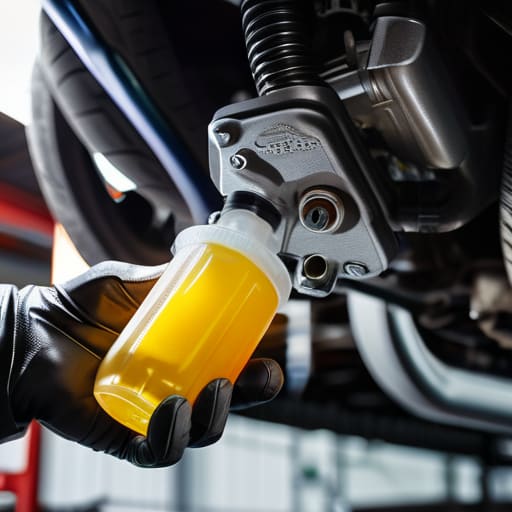
Look, bleeding your brakes isn’t some high-level engineering feat, but it does require you to stay focused. You’ve got your tools ready, you know how to work that bleeder valve, and most importantly, you know how to spot when that air is finally gone. Just remember: keep an eye on that master cylinder reservoir so you don’t run it dry mid-process, or you’ll be starting this whole headache all over again. If you follow the steps, keep your lines clean, and never rush the pump, you’re going to end up with a pedal that feels firm and responsive instead of that mushy, dangerous sensation.
At the end of the day, the goal isn’t just to get the job done; it’s about having the confidence to trust your own hands. There’s a specific kind of satisfaction that comes from pulling into your driveway knowing you didn’t pay a shop a couple hundred bucks for something you did yourself in your own garage. It’s about taking ownership of your machine and making sure it stays safe on the road. So, grab your wrench, get a little grease on your hands, and stop letting the fear of a little technicality keep you from maintaining your own ride. You’ve got this.
Frequently Asked Questions
What happens if I accidentally let the master cylinder run dry while I'm bleeding the lines?
Man, that’s a headache you definitely want to avoid. If that master cylinder runs dry, you’ve basically sucked a massive gulp of air straight into the entire system. It’s not just a little bubble anymore; you’re looking at a total reset. You’ll have to bleed every single corner again, and honestly, it might take a few tries to get it feeling firm again. Keep a close eye on that reservoir level—don’t let it dip.
Do I really need a second person to pump the pedal, or is there a way to do this solo with a vacuum pump?
Look, I’ll be real with you: having a buddy pump the pedal is definitely easier, but it’s not the only way. If you’re flying solo, a vacuum pump is a solid workaround. It’ll suck the air and fluid through the caliper on its own. Just a heads-up though—cheap vacuum pumps can sometimes suck in extra air if the seals aren’t perfect. If you go that route, just take it slow and stay focused.
How do I know for sure when all the air is actually out and I'm not just seeing bubbles from the fluid itself?
That’s a fair question, and honestly, it’s where most people get nervous. You’re looking for a steady, solid stream of fluid through the clear hose. If you see tiny, consistent bubbles, that’s usually just aeration from the fluid itself—don’t sweat it. But if you see a burst of bubbles followed by a clear stream, that’s air leaving the lines. Once the pedal feels firm and doesn’t sink to the floor, you’re golden.
