I was staring at my dad’s old sedan last weekend, listening to that high-pitched, rhythmic squeal that just eats at your nerves, when I realized how many people panic when they hear that sound. Most shops will see a chirping belt and immediately try to upsell you on a whole new tensioner assembly or some other expensive nonsense you don’t actually need. The truth is, a serpentine belt replacement isn’t some complex surgical procedure; it’s just a job that requires a steady hand and the right socket. I’ve spent enough time with grease under my fingernails to know that once you get past the intimidation factor, it’s actually one of the most straightforward ways to keep your car from leaving you dead in a parking lot.
I’m not here to give you some textbook lecture or a list of fancy diagnostic tools you’ll never use. Instead, I’m going to walk you through the real-world process of swapping that belt out without breaking a sweat or your bank account. We’ll cover exactly how to find your tensioner, how to avoid those annoying little slips, and the one mistake most beginners make that ends up stripping their bolts. Grab your magnetic tray and let’s get to work.
Table of Contents
Guide Overview
Tools & Supplies
- Socket set and ratchet to loosen tensioner bolts
- Breaker bar or long-handle wrench for extra leverage on tensioner
- Serpentine belt routing diagram or smartphone for photos
- Flashlight to see tensioner and pulleys clearly
- Replacement serpentine belt (1)
- Microfiber cloth for cleaning pulley grooves (1)
Step-by-Step Instructions
- 1. First thing you need to do is grab a flashlight and a diagram of your belt routing. Before you even touch a wrench, take a clear photo of how the belt wraps around the pulleys. If you don’t, you’re going to be staring at a confusing mess of rubber ten minutes from now and wondering where that one little tensioner pulley was supposed to go.
- 2. Once you’ve got your photo, find the belt tensioner. It’s usually a spring-loaded arm that keeps the belt tight. You’ll likely need a long-handled ratchet or a breaker bar to get enough leverage here. Position your tool on the tensioner bolt and slowly apply pressure to compress the spring. Don’t go slamming it; you want a smooth, controlled movement so you don’t snap anything.
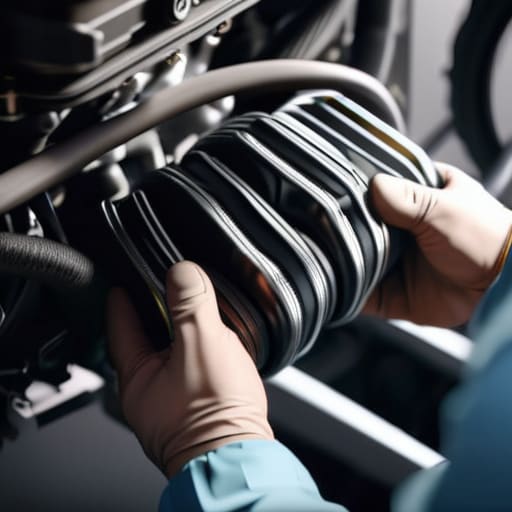
- 3. While you’re holding that tensioner back with one hand, use your other hand to slide the old belt off the topmost pulley. Once it’s loose, let the tensioner snap back into place and get that old belt out of there. Check the belt one last time for any weird fraying or chunks missing—if it looks like that, you definitely made the right call replacing it.
- 4. Now, grab your new belt and look at the ribs on the inside. You want to make sure those ribs line up perfectly with the grooves on every single pulley. I always take my time here because getting it off-center by even a millimeter can cause the belt to shred itself within the first few miles of driving.
- 5. Start by looping the new belt around the largest pulley or the one that’s easiest to reach. Work your way around the engine, feeding it through the routing you photographed earlier. It’s a bit of a puzzle, but as long as you’re following your picture, you’ll eventually find the rhythm.
- 6. The final stretch is the hardest part. You’ll need to rotate the tensioner one last time to create enough slack to slip the belt over the final pulley. This is where you might want to use a small pry bar or even a screwdriver to help guide the belt into the groove if it’s being stubborn. Once the belt is seated, let go of the tensioner and watch it settle.
- 7. Before you go closing the hood, do a quick visual inspection. Make sure every single rib is sitting deep in its groove and that nothing looks crooked. If you have a second, start the engine just to let it idle for a minute. Listen for any squealing or slapping sounds—if it sounds smooth, you’re good to go.
Spotting Worn Belt Cracks and Fraying Before They Fail
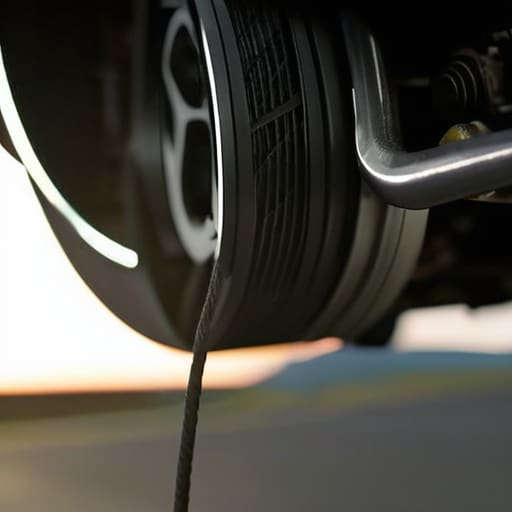
You don’t want to be the person stuck on the shoulder of a highway because your engine accessory drive belt decided to quit mid-commute. Usually, the car gives you a heads-up if you’re actually paying attention. Keep an eye out for serpentine belt symptoms like high-pitched squealing when you start the engine or a sudden loss of power steering. If you hear that chirping sound, it’s basically your car screaming for help.
When you’re actually looking at the belt itself, grab a flashlight and get close. You’re looking for more than just surface dust; you want to spot actual worn belt cracks and fraying along the ribbed side. If you see chunks of rubber missing or deep cracks that stay open even when the belt is under tension, that thing is a ticking time bomb. While you’re down there, do a quick alternator pulley inspection too. If the pulley is wobbling or looks burnt, a brand-new belt won’t fix a mechanical issue that’s already chewing it up. Catching these small signs early is the difference between a quick weekend project and a massive repair bill.
Mastering the Serpentine Belt Routing Diagram and Essential Tools
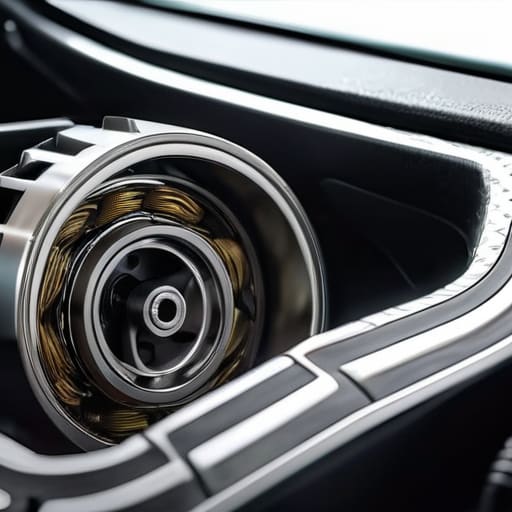
Before you even touch a wrench, you need to know exactly where everything goes. I’ve seen so many guys finish a job only to realize they’ve got a leftover belt or, worse, they’ve routed the engine accessory drive belt around the wrong tensioner. Don’t guess. Most cars have a serpentine belt routing diagram printed on a sticker right under the hood, but if yours is missing or faded, grab your phone and snap a high-res photo of the current setup before you loosen anything. It’s a lifesaver when you’re staring at a pile of pulleys trying to remember the exact path.
As for your gear, don’t expect to get much done with just a standard screwdriver. You’re going to need a decent set of automotive belt replacement tools, specifically a long-handled breaker bar or a dedicated tensioner tool to get enough leverage to release the spring pressure. While you’ve got the belt off, do a quick alternator pulley inspection to make sure the bearings aren’t shot. If you’re seeing any wobble or hearing a grinding noise, that’s a sign you need to fix more than just the rubber.
Pro Tips to Keep You From Making a Mess of It
- Double-check that routing diagram one last time before you pull the old belt off. Once that thing is gone, it’s way easier to forget exactly how the tensioner wants it laid out, and nobody wants to be fighting a belt that’s sitting in the wrong groove.
- Don’t just swap the belt and call it a day; take a quick look at your pulleys while you’re in there. If you see any wobble or hear a squeak coming from a bearing, replace the pulley now, otherwise, your brand new belt is gonna be dead in a month.
- Use a long-handled breaker bar or a decent ratchet to get leverage on the tensioner. You don’t want to be straining your wrists or slipping and smashing your knuckles against the frame because you were trying to force it with a tiny tool.
- Keep your hands clean of any oil or grease when you’re handling the new belt. Even a little bit of lubricant on the ribbed side can cause it to slip and squeal the second you fire the engine back up.
- Once the new belt is on, start the car and let it idle for a minute while you watch it from a safe distance. If you see any jumping or hear a high-pitched chirp, shut it down immediately—you probably have a tensioner issue or the belt isn’t seated right.
The Bottom Line on Your Belt
Don’t wait for a loud squeal or a snapped belt to take action; if you see cracks or fraying during a routine check, swap it out immediately before it leaves you stranded.
Keep your routing diagram handy and double-check it twice—getting the belt path wrong is a massive headache you don’t need.
You don’t need a shop full of expensive gear to do this right, just a solid socket set, a bit of patience, and the guts to do it yourself.
The Real Cost of Ignoring a Squeak
A squealing belt isn’t just an annoying sound; it’s your car’s way of telling you that you’re about to be stranded on the shoulder of a highway. Don’t wait for it to snap and take your alternator or water pump down with it—spend twenty bucks on a new belt now so you don’t spend five hundred at the shop later.
Nikolai·Osterman
You've Got This
Look, swapping a serpentine belt isn’t some high-level engineering feat; it’s just about being methodical. We covered how to spot those tiny cracks before they turn into a roadside nightmare, how to grab the right tensioner tools, and—most importantly—how to follow that routing diagram so you don’t end up with a handful of extra pulleys and a lot of regret. If you kept your workspace clean and double-checked that the belt is seated perfectly in every groove, you’ve already done the hard part. Just remember: don’t rush the final inspection. Take an extra minute to spin the components by hand and make sure everything moves smoothly before you turn the key.
At the end of the day, the goal here isn’t just to fix a car; it’s to take back control. Every time you pick up a wrench and handle a repair yourself, you’re making sure you aren’t just another customer getting hit with a massive labor bill for something simple. It might feel intimidating the first time you’re staring down a crowded engine bay, but I promise you, the feeling of independence is worth every bit of grease under your fingernails. Keep practicing, keep learning, and stop letting the shops dictate what your car is worth. I’ll see you in the next one.
Frequently Asked Questions
How do I know if it's just the belt making that squealing noise or if one of my pulleys is actually shot?
That squeal is annoying, but it’s basically your car’s way of screaming for help. To tell if it’s just the belt or a pulley, grab a spray bottle with a little water. While the engine’s running, lightly mist the belt. If the noise goes away instantly, the belt is likely the culprit. If the squeal stays the same or gets worse, you’re looking at a bad bearing in one of your pulleys.
Do I really need to buy a brand-name belt, or can I grab a cheaper one from the local parts store?
Look, I get it—every dollar counts when you’re maintaining a car. Honestly? You don’t need to drop a fortune on a “premium” brand name, but don’t just grab the absolute cheapest generic one on the shelf either. Stick to the reputable house brands at your local parts store. They’re usually made by the same people making the big names, just without the fancy box. Avoid the bottom-of-the-barrel stuff; it’ll squeal or snap way too soon.
What happens if I accidentally let the tensioner snap back too fast while I'm swapping the belt?
Look, I’ve been there. If that tensioner snaps back like a mousetrap, don’t panic, but don’t just ignore it either. The biggest risk is you snapping the internal spring or, even worse, bending the mounting bolt. If the tensioner feels “loose” or won’t hold steady after that, the internal mechanism is toast and you’ll need a new one. Just take a breath, check for any weird wobbles, and move slow next time.
