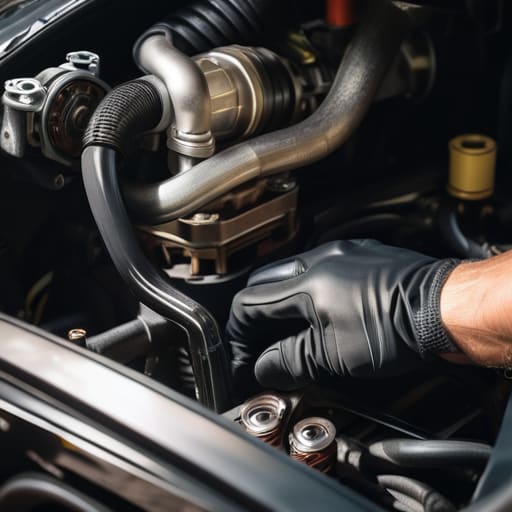
I was halfway through a shift at the shop last Tuesday when a customer rolled in, looking absolutely defeated because his alternator had died mid-commute. He’d been quoted three hundred bucks just to look at it, when the real culprit was nothing more than a shredded, $25 serpentine belt. It’s honestly frustrating how many people think a drive belt replacement is some high-level surgical procedure that requires a master technician and a massive invoice. Most of the time, you’re just looking at a bit of tension and a few basic wrenches, but mechanics will charge you a premium just because you don’t know which way the pulleys spin.
I’m not going to bore you with a textbook lecture or pretend this is rocket science. Instead, I’m going to show you exactly how to spot the cracks before they snap and walk you through the real-world process of swapping it out yourself. We’ll cover the specific tools you actually need—and the ones you can skip—so you can get back on the road without getting ripped off.
Table of Contents
Guide Overview
Tools & Supplies
- Socket set and ratchet for loosening tensioner bolts
- Serpentine belt tool or long-handled breaker bar for tensioner release
- Flashlight to inspect pulleys and belt routing
- Diagram or photo of original belt routing
- Replacement serpentine belt (vehicle specific)
- Microfiber cloth for cleaning pulley grooves
Step-by-Step Instructions
- 1. First thing you need to do is grab a flashlight and get a good look at the setup. Before you even touch a wrench, you need to figure out how your specific engine is laid out. Most cars use a serpentine belt that snakes around several pulleys, so take a clear photo of the routing with your phone. If you don’t, you’re going to be staring at a pile of pulleys later wondering where the hell this goes.
- 2. Once you’ve got your photo, you need to find the tensioner. This is the part that actually keeps the belt tight against the pulleys. Usually, there’s a bolt on the tensioner assembly that you can turn with a long-handled wrench or a breaker bar. You’ll need to apply some muscle to rotate the tensioner and release the pressure on the belt. It might be a bit stiff, so don’t be afraid to lean into it.
- 3. With the tension released, you can finally slide the old belt off the pulleys. I always recommend starting from the side furthest away from the tensioner so the belt doesn’t unexpectedly snap back and hit your knuckles. As you pull it off, just make sure you aren’t accidentally knocking any other components out of alignment.
- 4. Before you even think about putting the new belt on, take a clean rag and wipe down the pulleys. If there’s grit, oil, or old rubber residue on there, your new belt won’t seat right and it’ll start screaming like a banshee within a week. You want those grooves to be as clean as possible so the grip is even.
- 5. Now, grab your new belt and start routing it around the pulleys following that photo you took earlier. This is the part where you need serious patience. Try to work your way around until you reach the tensioner again. It’s a bit of a puzzle, and if you skip one pulley, you’re going to realize it the second you try to start the engine.
- 6. Once the belt is seated in all the grooves, use your wrench to rotate the tensioner one last time to create the gap. Carefully slip the belt over the final pulley. After it’s in, slowly release the tensioner so it applies pressure to the belt. Give the belt a little tug in a few different spots just to make sure it’s actually sitting deep in the grooves and hasn’t jumped a tooth.
- 7. The final step is the “sanity check.” Pop the hood, make sure everything looks tight, and then start the engine. Listen closely. If you hear a high-pitched squeal, you probably have a misaligned belt or it’s not tight enough. If it sounds smooth, you just saved yourself a couple hundred bucks in labor costs.
Listen Closely Decoding Those Serpentine Belt Symptoms
If you aren’t sure whether you actually need to swap that belt out, start by using your ears. Most people ignore that high-pitched chirping or screeching, but that’s usually your car’s way of begging for help. If you hear a rhythmic squeal that gets faster as you rev the engine, you’re likely dealing with a slipping engine accessory drive belt. It might just be a loose tensioner, but more often than not, the rubber has glazed over or developed tiny cracks that lose their grip. Don’t just turn up the radio to drown it out; listen to what the metal is telling you before it decides to snap entirely.
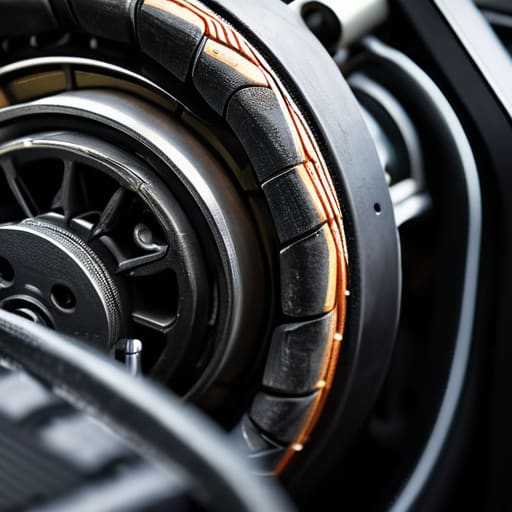
Another thing to watch for is how your electronics are acting. Since that belt runs your alternator, a worn-out belt can cause your headlights to flicker or your battery light to dance on the dash. While you’re under the hood, do a quick visual check for fraying or chunks missing from the ribs. It’s a massive difference between a quick fix and a total breakdown, so keep an eye on those serpentine belt symptoms before you’re stuck waiting for a tow truck.
The Real Difference Timing Belt vs Serpentine Belt
Look, I see this mistake all the time in the shop: someone hears a noise, assumes it’s just a loose rubber strap, and ends up ignoring a ticking time bomb. You really need to understand the timing belt vs serpentine belt distinction before you start turning wrenches. The serpentine belt—or your engine accessory drive belt—is what runs your alternator, AC, and power steering. If it snaps, you’ll lose power steering and the car will die, but usually, you’re just stuck on the shoulder. It’s a massive headache, but it’s rarely a “game over” scenario for the engine itself.
The timing belt, however, is a completely different beast. It syncs the crankshaft and camshaft, and if that thing goes, your engine’s valves and pistons are going to meet each other in a very expensive metal collision. While you can often handle a serpentine belt job with basic drive belt installation tools, a timing belt job is a heavy-duty surgical procedure. Don’t confuse the two, or you’ll turn a simple afternoon of maintenance into a total engine rebuild.
Pro Tips to Keep You From Screwing This Up
- Grab a routing diagram or just snap a photo of the belt before you pull it off. Trust me, once that tensioner releases, the belt is going to fly off, and trying to remember which pulley it wrapped around is a massive headache you don’t need.
- Don’t just swap the belt and call it a day; check your tensioner and idler pulleys while you’re in there. If a pulley feels gritty or makes a whining noise when you spin it by hand, replace it now. It’s way easier than tearing everything apart again in a month.
- Use a decent quality serpentine belt. I know, the cheap ones at the big-box stores look the same, but they tend to squeal or snap way too early. Spend the extra ten bucks on a name brand so you aren’t back in my shop next week.
- Keep your hands clear of the pulleys when you’re cranking the engine to test it. I’ve seen guys get too confident and almost lose a finger because they wanted to see if the squeak was gone while the belt was still moving.
- If you feel any weird vibration or hear a chirp right after you install it, don’t ignore it. It usually means the tension isn’t right or the belt is slightly misaligned on one of the grooves. Better to fix it now than wait for it to shred.
The Bottom Line Before You Start Wrenching
Don’t ignore the squeal; if your belt is chirping or looks cracked, it’s already on borrowed time, so swap it before it snaps and leaves you stranded.
Know the difference between your serpentine and timing belts, because while a bad serpentine belt is a nuisance, a snapped timing belt is a total engine killer.
You don’t need a shop’s worth of expensive gear to do this—just get the right tensioner tool and a little patience, and you’ll save yourself a massive markup at the dealership.
## The Cost of Waiting
A drive belt is one of those cheap parts that’ll cost you a fortune if you ignore it; it’s better to spend twenty bucks and an hour in your driveway now than to spend five hundred on a tow truck and a ruined alternator later.
Nikolai·Osterman
Don't Let Them Fleece You
At the end of the day, swapping out a drive belt isn’t some high-level engineering feat; it’s just about being proactive. You’ve learned how to spot those annoying squeals, you know the difference between your serpentine belt and the much more critical timing belt, and you’ve got the steps down to get the new one installed. Just remember to double-check your tensioner and make sure everything is seated perfectly before you crank the engine. If you catch a frayed belt early, you’re saving yourself a massive headache and a much larger repair bill down the road. It really is as simple as staying ahead of the noise.
I know it can feel intimidating when you’re staring at a crowded engine bay for the first time, but honestly, that’s how everyone starts. I remember the first time I felt that knot in my stomach while working on one of my dad’s old sedans, but once that belt was on and the engine purred, everything changed. You don’t need a fancy shop or a master certification to take care of your own machine. Grab your tools, keep that magnetic tray handy, and just trust the process. Once you realize you can handle these basics yourself, you’ll never look at a mechanic’s quote the same way again.
Frequently Asked Questions
Is it safe to keep driving for a few more days if I hear a squeal but the belt isn't visibly cracked?
Look, I’ll be straight with you: it’s a gamble. If the belt isn’t cracked, you might be fine for a few days, but that squeal is your car screaming for help. It usually means the belt is slipping or the tensioner is shot. If that belt snaps while you’re hitting highway speeds, you lose your power steering and your alternator instantly. Don’t risk getting stranded just to save a few days of driving. Replace it now.
How do I know if it's actually the belt making that noise or if one of the pulleys or tensioners is shot?
Here’s the trick: grab a little bit of water from a spray bottle and mist the belt while the engine’s running. If that squeal instantly dies down, it’s definitely the belt. If the noise keeps screaming even when it’s wet, you’re looking at a bad pulley or a dying tensioner. I always check the pulleys by watching them—if one’s wobbling or looks like it’s dancing, that’s your culprit right there.
Do I need to buy a specific brand of belt, or can I just grab whatever is cheapest at the parts store?
Look, I get the temptation to grab the cheapest one on the shelf, but don’t do it. A bottom-tier belt is a gamble you don’t want to take. If it snaps, you’re stuck on the shoulder with a dead car. Stick to the reputable brands like Gates or Continental. They cost a few bucks more, but they actually last. I’d rather spend an extra ten bucks now than pay for a tow truck later.
