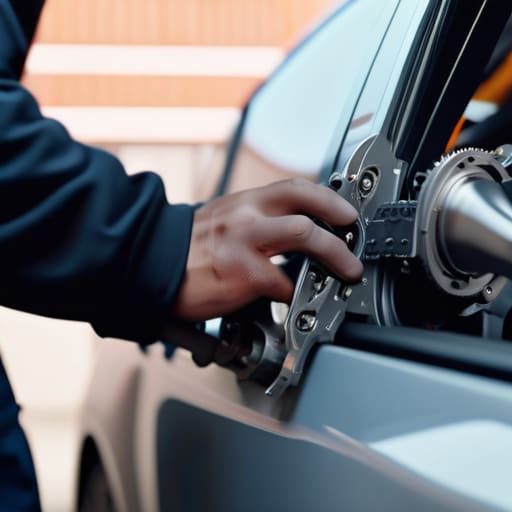
You’re sitting in your driveway on a humid afternoon, hitting the power window switch repeatedly, only to hear that dreaded, grinding metal-on-metal screech before the glass just… stops. Most shops will see that sound and immediately quote you a few hundred bucks for labor, acting like a window regulator replacement is some kind of high-level surgical procedure. But honestly? That’s a load of crap. I remember the first time I dealt with this on one of my old tuner projects; I was terrified I’d break the door panel or snap a clip, but once I actually got in there, I realized it’s mostly just about not losing your screws and having the right patience.
I’m not here to give you some textbook lecture or a list of fancy diagnostic tools you’ll never use. I’m going to walk you through this job exactly how I do it when I’m working in my own garage: straight to the point and without the fluff. We’re going to cover how to strip that door panel without breaking the plastic tabs, how to swap the old unit for the new one, and the one specific trick I use to make sure the glass aligns perfectly the first time. You’ve got this.
Table of Contents
- Step-by-Step Instructions
- Spotting the Broken Window Motor Symptoms Before They Fail
- The Right Car Window Repair Tools to Get It Done
- Pro Tips to Keep Your Door Panel from Turning into a Nightmare
- The Bottom Line on Fixing Your Windows
- ## The Real Cost of a Stuck Window
- Wrapping It All Up
- Frequently Asked Questions
Guide Overview
Tools & Supplies
- Screwdriver (Phillips or flathead for trim removal)
- Socket set (for door panel and regulator bolts)
- Trim removal tools (to prevent scratching plastic)
- Pliers (to disconnect linkages or clips)
- Replacement window regulator (1 unit)
- Door panel clips (1 pack/set)
- Electrical contact cleaner (1 can/small amount)
Step-by-Step Instructions
- 1. First things first, you gotta get that door panel off. I usually start by popping off any little plastic trim pieces or covers that are hiding the screw heads. Once those are out of the way, grab your screwdriver and start pulling the bolts. You might need a plastic trim tool to pry around the edges so you don’t scratch the paint or snap a clip, but just take it slow. Once the screws are out, lift the panel up and away from the window seal, then carefully disconnect the wiring harness for your power locks and windows.
- 2. Now that the panel is sitting on your workbench, you’re looking at the inside of the door. You’ll see a thin layer of plastic film—that’s the vapor barrier. Don’t just rip it off like a piece of trash; try to peel it back carefully so you can reuse it later. This keeps moisture from getting into your cabin and rotting your carpet. Once that’s clear, you’ll see the actual window glass sitting in the regulator assembly.
- 3. Here is where people usually get nervous, but don’t sweat it. You need to lower the window halfway so you can access the mounting bolts that hold the glass to the regulator. Use a socket wrench to loosen these up. Once the glass is loose, you might need a second pair of hands—or just a bit of luck—to hold the glass steady so it doesn’t slide down into the bottom of the door and become a nightmare to fish out.
- 4. With the glass held up or secured, it’s time to unbolt the regulator itself. You’ll see a few more bolts securing the metal tracks and the motor to the door frame. I always keep my magnetic parts tray handy for this step because if you drop one of those small bolts into the bottom of the door, you’re going to be wasting an hour fishing it out with a magnet. Once the bolts are out, the old, broken regulator should pull right away from the door.
- 5. Take your new regulator out of the box and inspect it before you even think about bolting it in. Make sure nothing looks bent or cheap. Slide the new unit into place, lining up the mounting holes with the ones in the door frame. Start threading the bolts in by hand first—never use an impact wrench right away—to make sure you aren’t cross-threading anything. Once everything is snug, you’re ready to move to the next phase.
- 6. Now, we gotta get that glass back on track. Slide the window glass back down into the mounting clips or brackets on the new regulator. It’s a bit of a balancing act, but once the glass is seated, tighten those mounting bolts you loosened earlier. Before you put the door panel back on, test the window a few times. Make sure it goes up and down smooth without any weird grinding noises or stuttering.
- 7. If the window is behaving itself, you can reverse the whole process to put the door panel back on. Reattach the vapor barrier, snap the panel back into place, and hit those screws back in. Plug your wiring harness back in and make sure everything clicks. If you did it right, you just saved yourself a couple hundred bucks in labor costs and your window works exactly like new.
Spotting the Broken Window Motor Symptoms Before They Fail

You don’t always have to wait until your window is completely stuck in the “up” or “down” position to know something is wrong. Usually, the car gives you a heads-up. If you hear a grinding noise or a weird clicking sound coming from inside the door when you hit the switch, that’s a massive red flag. It often means the plastic gears in the assembly are stripped or the regulator is physically struggling to move the glass. Another classic sign of broken window motor symptoms is a window that moves incredibly slowly, like it’s fighting against itself. If you notice it’s lagging, don’t just keep pressing the button; you’re likely just stressing the motor even more.
Keep an eye out for any “shuddering” too. If the glass jumps or moves unevenly, the tracks are likely fouled or the regulator is bent. Catching these window regulator failure signs early can actually save you a headache. Sometimes, it’s just a dirty track that needs some silicone spray, but more often than not, it’s a sign you’ll soon be tackling some car door interior panel removal to get the real fix done.
The Right Car Window Repair Tools to Get It Done
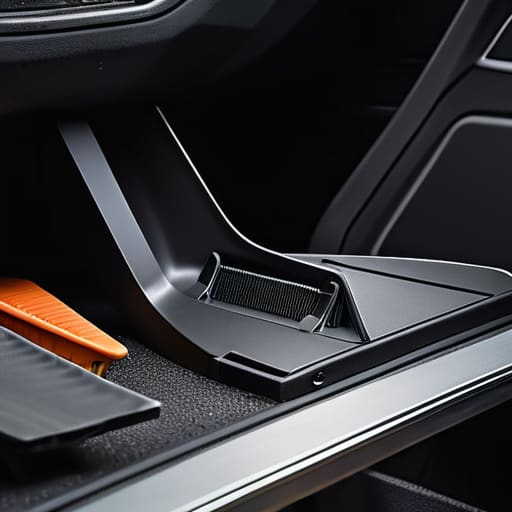
Look, you don’t need a professional-grade rolling toolbox to tackle this, but you can’t just wing it with a kitchen screwdriver. Your first priority is a decent set of trim removal tools. I always tell people to grab a plastic pry kit; if you try to use a metal flathead for car door interior panel removal, you’re going to end up scarring your door skin, and that’s a headache nobody wants. Having those plastic wedges makes the job way smoother and keeps your clips from snapping like twigs.
Once you’ve got the panel off, you’ll need a solid socket set and maybe a few extensions to reach those deep bolts hidden inside the door cavity. If you’re planning to replace power window assembly entirely, having a magnetic parts tray is a lifesaver—seriously, I keep mine in my back pocket for a reason. There are tiny screws in there that love to disappear into the abyss of your car’s floorboards. Just grab a good flashlight and a bit of patience, and you’ll be fine.
Pro Tips to Keep Your Door Panel from Turning into a Nightmare
- Don’t just yank the door panel off. Most cars have those tiny, annoying plastic clips holding the trim in place. If you force it, they’ll snap, and you’ll be stuck at the parts store buying new ones before you even see the window motor.
- Keep a small magnetic tray—like the one I always keep in my back pocket—right next to you. Door panels are full of random 10mm bolts and Torx screws that love to dive into the dark abyss of your car’s floor mats.
- Before you start unscrewing everything, take a photo of how the wiring harness and the door handle cables are routed. Once you pull that panel off, it’s way too easy to forget exactly how those wires were tucked away.
- Watch your fingers when you’re working near the regulator tracks. Those metal rails and cables are designed to move heavy glass, and they don’t care if your hand is in the way. Treat the mechanism with a bit of respect.
- If you see any grease or grime buildup on the regulator tracks while you’ve got the door open, wipe it down and hit it with a little lithium grease. It’s a two-minute job that’ll make your new regulator last way longer.
The Bottom Line on Fixing Your Windows
Don’t wait for the glass to actually drop into the door; if you hear that grinding noise or feel the switch getting sluggish, swap the regulator now before you’re stuck with a window that won’t budge.
You don’t need a professional shop setup to pull this off, just grab a decent socket set and a screwdriver, and don’t forget to keep your bolts organized in a tray so you aren’t hunting for them in the carpet later.
Doing this yourself isn’t just about saving the cash the dealership would charge you—it’s about knowing your car and making sure the job is done right without someone trying to upsell you on parts you don’t need.
## The Real Cost of a Stuck Window
“Mechanics love seeing a window regulator fail because it’s an easy upsell, but once you realize it’s just a few bolts and a bit of patience, you’ll realize they’ve been overcharging you for years.”
Nikolai·Osterman
Wrapping It All Up
Look, swapping out a window regulator isn’t some high-level engineering feat, but it does require you to stay organized. Between grabbing the right socket set and making sure you don’t lose those tiny trim clips, it’s easy to feel overwhelmed halfway through the job. Just remember to double-check that your new regulator is seated perfectly before you snap the door panel back into place. If you took the time to properly diagnose the motor and gathered the right tools beforehand, you’ve already done the hardest part. Don’t rush the final assembly; give those connections a little extra attention to ensure everything moves smoothly when you hit that switch.
At the end of the day, there’s a specific kind of satisfaction that comes from hearing that window glide up without a single stutter. You didn’t have to call a tow truck, wait three days for an appointment, or hand over a couple hundred bucks just for someone to turn a few bolts. You took control of your own machine and saved yourself a massive headache. Every time I finish a job like this in my own garage, it reminds me why I got into this trade. You’ve got the tools, you’ve got the grit, and now you’ve got a working window. Keep turning wrenches and don’t let the shops intimidate you.
Frequently Asked Questions
Do I really need to replace the whole motor if the window just moves slowly, or can I just swap the regulator?
Look, don’t go throwing money at a new motor just yet. If your window is moving slow but still works, it’s usually the regulator’s tracks getting gummed up or the plastic clips snapping. If you hear a grinding noise, that’s a bad sign for the motor, but if it’s just sluggish, swap the regulator first. It’s cheaper, and honestly, it’s usually the actual culprit. Don’t let a shop talk you into a full motor swap unnecessarily.
How do I know if it's actually a broken regulator or if the window glass is just stuck in the tracks?
Look, it’s a common mistake to assume the regulator’s dead right away. Here’s the trick: listen. If you hear a motor spinning or grinding but the glass isn’t moving, the regulator’s likely shot. But if you hear absolutely nothing when you hit the switch, it might just be debris in the tracks or a dead motor. Try cleaning the tracks with some silicone spray first; if it’s still stuck, then you’re looking at a regulator job.
Is there any way to avoid having to take the entire door panel off, or is that just part of the job?
Look, I’ll be straight with you: I wish I had a better answer, but you’re probably looking at a door panel removal. Most manufacturers design these things so the regulator is buried deep inside the door cavity. Trying to fish around through the access holes without taking the panel off is a recipe for snapped clips and scratched paint. It’s a pain, yeah, but it’s the only way to do it right without breaking something else.
