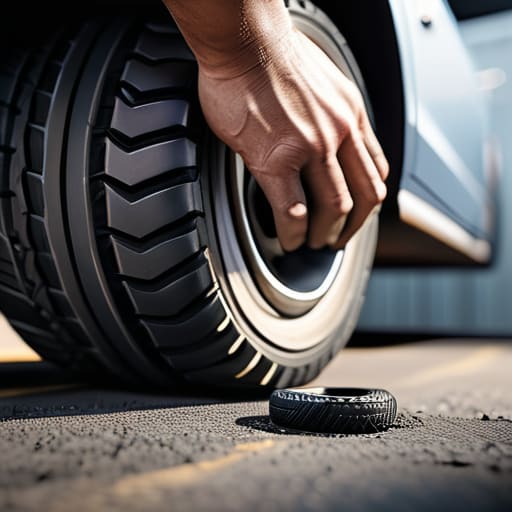
I was halfway through a late-night oil change on my old Silvia when I heard that dreaded, rhythmic thud-thud-thud coming from the rear driver’s side. There I was, covered in grease and surrounded by tools, staring down a nail that had decided to make a permanent home in my tread. Most people think a flat means an immediate, expensive tow truck ride or a frantic trip to the tire shop, but that’s just a way to bleed your wallet dry. Real talk: a simple tire puncture repair is something you can handle right in your own driveway if you’ve got the right kit and a little bit of grit.
I’m not going to give you some polished, textbook lecture that ignores how messy this actually gets. Instead, I’m going to walk you through the real-world process of patching that hole so you can stop worrying about getting stranded. We’ll cover exactly which tools you actually need, how to find the leak without losing your mind, and the one mistake that’ll turn a quick fix into a total tire replacement. Let’s get to work and get you back on the road.
Table of Contents
Guide Overview
Tools & Supplies
- Tire plug kit (includes reamer and insertion tool)
- Pliers (to remove the puncture object)
- Tire pressure gauge (to check final PSI)
- Tire plug strips (3-5 strips)
- Rubber cement/adhesive (1 small tube)
Step-by-Step Instructions
- 1. First things first, you need to find exactly where the leak is. Get your tire inflated just enough to roll if you have to, or just inspect it closely while it’s still on the rim. Take a bucket of soapy water and a sponge, and start wiping it around the tread. If you see little bubbles forming, congratulations—you found your culprit. Just make sure the hole isn’t in the sidewall; if it is, stop right there, because that’s a death sentence for the tire and you’ll need a replacement.
- 2. Once you’ve spotted the puncture, grab your plug kit and your pliers. You need to pull out whatever is stuck in there—be it a nail, a screw, or a piece of glass. Use the pliers to yank it straight out. It’s going to be a little messy, but don’t let that freak you out. Just make sure you clear out any debris around the hole so the plug can actually seat properly.
- 3. Now, take that little reaming tool from your kit—it looks like a small, round file. Stick it into the hole and start working it in and out. You’re not trying to drill a massive hole; you’re just cleaning out the edges and roughening up the rubber so the plug has something to bite into. Give it a good few good turns until the hole feels smooth and prepared.
- 4. Next, grab your rubber plug. It’s usually a sticky, fibrous strip that comes with the kit. Thread the plug through the eye of the insertion tool. You want to push it in until about half an inch of the plug is still sticking out of the tool. You don’t want to bury the whole thing inside the tire, or you’ll never get the tool back out.
- 5. This is the part where people usually get nervous, but just stay steady. Position the tool over the hole and start pushing. You’ll feel some resistance, but keep going until the plug is seated deep into the puncture. Once it’s in, give the tool a quick, firm twist and pull it straight out. If you see some excess rubber oozing out around the edges, that’s actually a good sign—it means you’ve got a tight seal.
- 6. Take a pair of snips or a sharp knife and trim off that extra bit of plug that’s sticking out from the tread. You want it to be flush with the tire so it doesn’t catch on anything or vibrate weirdly while you’re driving. Don’t hack at it too aggressively; just a clean, smooth cut is all you need.
- 7. Finally, pump the tire back up to its recommended PSI—you can find the right number on the sticker inside your driver’s side door jamb. Take it for a short test drive around the block and keep an eye on your pressure gauge if you have one. If it holds steady, you just saved yourself a massive headache and a hefty shop bill.
How to Find a Slow Leak Before It Fails
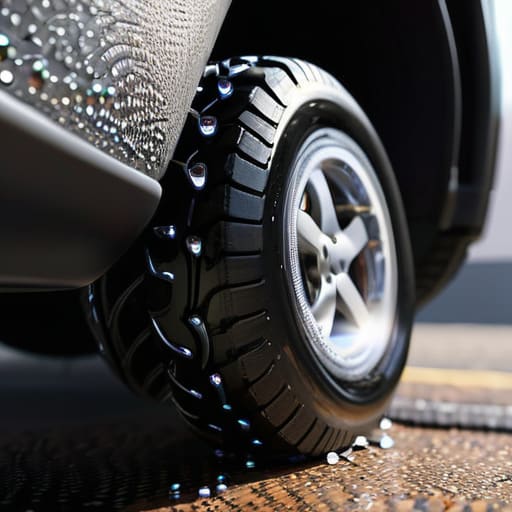
Sometimes you don’t get a sudden blowout; instead, you just notice your car feels a bit heavy or your dash light keeps flickering on. If you’re wondering how to find a slow leak before it turns into a flat on the highway, my go-to move is the soapy water trick. Grab a spray bottle, mix some dish soap with water, and coat the entire tread and the rim edge. If you see tiny bubbles forming, you’ve found your culprit. It’s a low-tech way to catch a nail or a faulty valve stem before it becomes a real headache.
You also need to know when to call it quits. I always tell people to look closely at the sidewall damage vs tread puncture distinction. If the leak is coming from the side of the tire, stop right there—you can’t plug that safely. Plugging is meant for the tread area where the structure is thick enough to hold. If the puncture is too close to the edge, no amount of DIY skill is going to fix it properly, and you’re better off just buying a new tire.
Sidewall Damage vs Tread Puncture Know the Difference
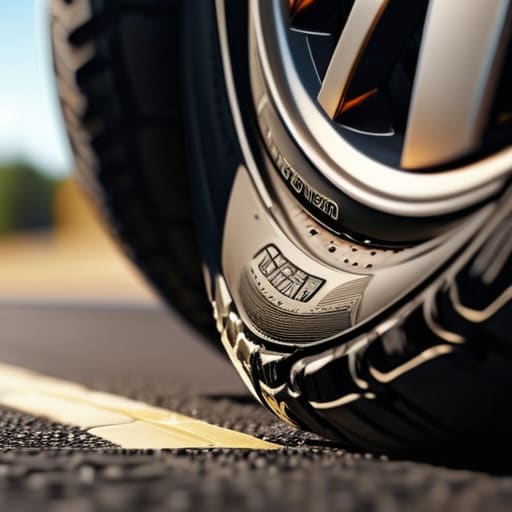
Before you even reach for your emergency tire repair kit, you need to look at where the damage actually is. There is a massive difference between sidewall damage vs tread puncture, and getting this wrong is how people end up stranded or, worse, in an accident. If the hole is right in the middle of that thick rubber tread, you’re usually in the clear to patch it. But if that puncture is creeping toward the side of the tire—the part that handles all the flexing and weight—stop right there.
The sidewall is the structural backbone of your tire. Unlike the tread, which is built to take a beating, the sidewall is under constant stress from every turn and bump you hit. Trying to plug a hole in the side is a recipe for a blowout because the structural integrity is already compromised. Even if you think you’ve fixed it, the constant movement of the tire will eventually cause that plug to fail. If you see any bulges, cracks, or cuts on the side, don’t waste your time trying to DIY it; that tire’s time is officially up.
Pro Tips to Keep You From Making a Mess of It
- Don’t skip the cleaning step. If you try to shove a plug into a hole filled with grit and road grime, that patch isn’t going to seal right, and you’ll be back in the same spot in a week.
- Use a good quality plug kit, not the cheap junk from a gas station vending machine. I’ve seen too many “quick fixes” turn into a blowout on the highway because the rubber was garbage.
- Always check your air pressure after the repair. A patch might look solid, but you need to make sure you’re actually hitting the PSI your door placard calls for.
- If you’re using a plug, make sure you’ve actually reamed the hole out properly. You need that space to be clean and slightly larger so the plug can actually expand and grip the sidewall.
- Keep an eye on the repair for the first few hundred miles. If you notice the car pulling to one side or the TPMS light acting up again, don’t ignore it—get it looked at properly.
The Bottom Line Before You Start Wrenching
Check the location first—if the hole is in the sidewall, stop right there. That’s a death sentence for a tire, and no amount of plugging is going to make it safe again.
Don’t rush the patch. Whether you’re using a plug or a patch-plug combo, make sure the hole is clean and the prep work is solid, or you’ll just be dealing with the same leak an hour later.
Keep a basic plug kit in your trunk. It’s a cheap piece of gear that’ll save you from a massive towing bill and a headache when you’re stuck on the side of the road.
## The Truth About DIY Repairs
Look, a puncture isn’t a death sentence for your tire, and it definitely shouldn’t be a death sentence for your bank account. If the hole is in the tread and you’ve got the right plug kit, you’re just a few minutes of patience away from saving a hundred bucks.
Nikolai·Osterman
Wrapping It All Up
Look, fixing a puncture isn’t some high-level engineering feat, but it does require you to be smart about it. We covered how to spot a slow leak before it leaves you stranded, how to tell if that damage is just a simple nail in the tread or a death sentence in the sidewall, and the actual steps to get that plug seated properly. Just remember: if the hole is too big or it’s sitting too close to the edge of the tire, put the tools down and go buy a new one. It’s better to spend a few bucks on rubber than to risk a blowout on the highway because you tried to be a hero. Safety always comes first, even when you’re trying to save a buck.
At the end of the day, I want you to feel a little more confident every time you look under your wheel wells. There’s a certain kind of satisfaction that comes from hearing that hiss stop and knowing you were the one who fixed it. Don’t let the complexity of modern cars intimidate you; most of the time, it’s just basic physics and a little bit of grit. Keep your tools organized, keep your head level, and stop letting the shops charge you for things you can handle yourself. You’ve got this, so go out there and keep those wheels turning.
Frequently Asked Questions
Can I just use a plug kit for any kind of hole, or are there certain punctures that absolutely require a professional patch from a shop?
Look, I’ll be straight with you: plug kits aren’t a magic fix for everything. If the puncture is in the tread area, a plug is usually fine for getting you home. But if you see any damage on the sidewall or near the shoulder, stop right there. That’s structural. A plug in the sidewall is a ticking time bomb waiting to blow. If it’s not in the thick tread, take it to a pro.
How long can I actually drive on a tire I've just plugged before I need to get it inspected properly?
Look, I’ll be straight with you: a plug is a temporary fix, not a permanent solution. If you just patched it to get home or to a shop, you’re fine for a few miles, but don’t go on a road trip. Ideally, you should get that tire inspected or replaced within a few days. If you start seeing air pressure dropping or the plug looks wonky, stop driving immediately. Don’t risk it.
Is it safe to use those temporary liquid sealant cans as a long-term fix, or am I just asking for more trouble down the road?
Look, I get it—those sealant cans are a lifesaver when you’re stuck on the side of the road, but don’t let them fool you. They are strictly a “get home” solution. Using them as a long-term fix is just asking for trouble. That gunk can mess up your TPMS sensors and make a real repair way harder later. Use it to get to a shop, then get a proper plug or patch.
