Ever had that moment where you’re driving home at night and suddenly realize one of your lights has just… quit? Most people panic and think they need to book a service appointment or, worse, pay a shop a ridiculous labor fee just to swap out a tiny piece of glass and wire. Let me tell you something: a headlight bulb replacement is one of those things that mechanics love to overcharge for, but it’s actually dead simple once you get past the intimidation factor. I remember my first time trying this on my dad’s old sedan; I spent twenty minutes sweating over a cramped engine bay, thinking I’d broken something permanent, only to realize I just needed to move a plastic clip.
I’m not here to give you some textbook lecture or a list of overly complicated steps that only work on a professional lift. I’m going to show you the real-world way to get in there, swap that bulb, and get back on the road without breaking a sweat or your bank account. We’ll talk about the right way to handle the new bulb so you don’t burn it out immediately and how to navigate those tight spaces that make you want to quit. Let’s just get it done.
Table of Contents
Guide Overview
Tools & Supplies
- Screwdriver (to remove trim or housing screws)
- Work gloves (to prevent oil transfer to bulb)
- Replacement headlight bulb (1 unit)
- Microfiber cloth (1 unit)
Step-by-Step Instructions
- 1. First things first, kill the engine and make sure your lights are switched off. I can’t tell you how many times I’ve seen someone get a nasty shock or pop a fuse because they were fiddling with wiring while the electrical system was still live. Once you’re sure everything is powered down, pop the hood and locate the back of the headlight assembly.
- 2. You’re going to see a plastic connector plugged directly into the bulb. Depending on your car, you might need to press a little tab or give it a quick twist to the left to unclip it. If it feels stuck, don’t force it like a maniac; just give it a gentle wiggle to work it loose so you don’t snap the plastic housing.
- 3. Now, you need to get the old bulb out of its housing. Most of these use a spring clip or a twist-lock mechanism. If it’s a clip, just press it down and move it out of the way, and the bulb should slide right out. If it’s a twist-lock, just give it a quarter-turn counter-clockwise. If you’re working on an older car, you might need to reach a bit further into the fender, so don’t be afraid to get your hands a little dirty.
- 4. Grab your new bulb, but here is the most important rule: never touch the glass with your bare fingers. I know it sounds weird, but the oils from your skin will bake onto the glass once the bulb gets hot, which causes it to burn out way faster than it should. If you accidentally touch it, just wipe it down with a bit of rubbing alcohol before you install it.
- 5. Slide the new bulb into the socket and make sure it sits perfectly flush. If you have a twist-lock, turn it clockwise until it clicks into place. Once the bulb is seated, take that electrical connector you removed earlier and plug it back in. You should feel it “snap” or seat firmly, meaning you’ve got a solid connection that won’t vibrate loose while you’re driving down the highway.
- 6. Before you go through the hassle of putting any plastic covers or shields back on, turn your headlights on to test them. It’s way easier to fix a loose connection now than it is after you’ve spent twenty minutes wrestling with a stubborn trim piece. If it lights up, you’re golden.
- 7. Finally, put all the dust covers and clips back exactly where you found them. This keeps moisture and road grime from getting inside your headlight assembly, which is a total nightmare to clean out later. Once everything is snapped shut, you’re officially done—save yourself the shop fee and get back to your day.
Mastering H11 Bulb Compatibility and Socket Inspection
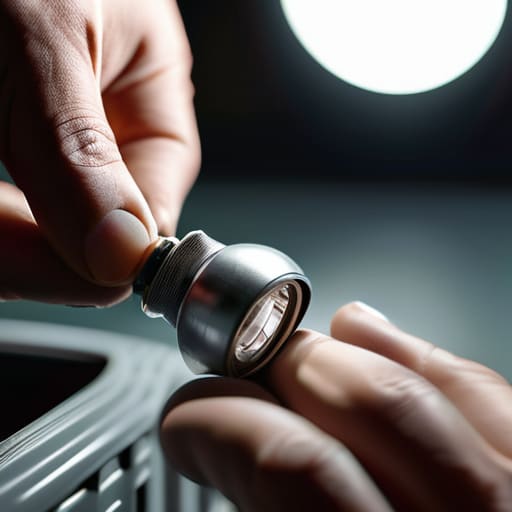
Before you even pop the hood, you need to be 100% sure about what you’re holding in your hand. I’ve seen guys waste twenty bucks and an hour of their time because they grabbed the wrong part. If your manual calls for an H11, don’t just assume it’s the same as the bulb sitting in your high beam. Checking your h11 bulb compatibility is the first rule of DIY car headlight repair; if the base doesn’t match the socket perfectly, you’re just spinning your wheels. Always double-check the markings printed on the old bulb before you toss it in the trash.
Once you actually get to the socket, don’t just plug the new bulb in and call it a day. Take a second for a quick bulb socket inspection. Look for any signs of melting, discoloration, or that weird white crusty buildup that tells me there’s been moisture or heat issues. If the plastic looks fried, a new bulb won’t fix the underlying problem. It’s also a great time for some minor headlight housing cleaning if you see fogging inside. Getting this right now saves you from a massive headache—and a much more expensive repair bill—down the road.
Low Beam vs High Beam Bulbs the Diy Truth
Look, one of the biggest mistakes I see people make when they’re diving into low beam vs high beam bulbs is assuming they’re interchangeable just because they look similar. They aren’t. Your low beams are your bread and butter for daily driving, usually requiring a more focused beam pattern, while your high beams are just there for that extra punch on dark backroads. If you grab an H11 when you actually needed a different spec, you aren’t just going to have dim lights—you might actually fry your connector or cause a fitment issue that turns a ten-minute job into a nightmare.
While you’ve got the housing open, don’t just swap the glass and call it a day. This is the perfect time for some quick automotive lighting maintenance. Take a second to look inside the assembly for any signs of moisture or crusty residue. If the inside looks foggy, a little bit of headlight housing cleaning can make a massive difference in how much light actually hits the road. It’s all about making sure that new bulb is actually doing its job instead of just wasting energy behind a cloudy lens.
Pro Tips to Save Your Hands (and Your New Bulbs)
- For the love of everything, do not touch the glass of the new bulb with your bare fingers. The oils from your skin create hot spots on the quartz, which basically means that brand-new bulb is going to pop way sooner than it should. If you do touch it, wipe it down with some isopropyl alcohol before you seat it.
- Keep a small magnetic tray—or even just a couple of old pill bottles—nearby to hold your clips and screws. There is nothing worse than being halfway through a job and realizing a tiny plastic retaining clip rolled under your workbench and vanished into the void.
- Before you start tearing things apart, check your ground wires. I’ve seen people spend an hour swapping out perfectly good bulbs only to realize the actual problem was a corroded ground connection or a loose socket causing an intermittent circuit.
- Don’t go cheap on the bulbs just to save a few bucks. I know those bargain-bin bulbs look tempting, but the build quality is usually trash, and you’ll end up doing this whole job again in three months when they burn out. Buy a decent brand; your future self will thank you.
- Use a flashlight, not just your phone’s light. You need to actually see the orientation of the locking tabs and the condition of the rubber dust boot. If that boot isn’t seated perfectly, you’re letting moisture straight into your headlight housing, and that’s a much more expensive headache than a simple bulb swap.
The Bottom Line Before You Close the Hood
Don’t touch the glass—seriously. If you get even a tiny bit of oil from your fingers on that new bulb, it’s going to burn out way faster than it should, so keep it clean or use gloves.
Double-check your bulb type before you drive to the parts store. There’s no point in getting halfway through the job only to realize you bought an H7 when your car needs an H11.
If the socket looks burnt or melted, don’t just jam a new bulb in there. Take a second to check the wiring, because a bad connection will just kill your new bulb just as fast as the old one.
The Real Cost of a Simple Fix
“A mechanic is going to charge you an hour of labor just to twist a plastic socket, but once you realize how easy this actually is, you’ll realize you aren’t just saving money—you’re taking your car back.”
Nikolai·Osterman
Don't Leave It to Chance
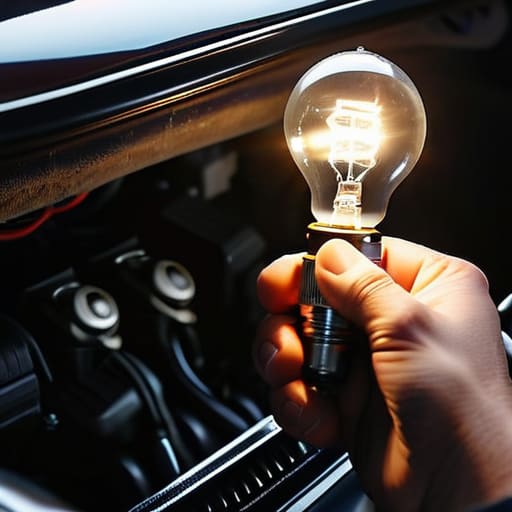
At the end of the day, replacing a headlight bulb isn’t some high-level engineering feat; it’s just about being methodical. We covered how to double-check your bulb type so you don’t end up with a useless piece of glass in your hand, and we looked at why inspecting those sockets is just as important as the bulb itself. Most importantly, remember to never touch the glass with your bare fingers, or you’re basically setting yourself up for another failure down the road. If you took the time to verify your low beams versus your high beams and made sure the connections were tight, you’ve already done the heavy lifting that most people are too intimidated to try.
I know it can feel a bit sketchy when you’re leaning over a fender with a flashlight, but that’s how you learn. Every time you finish a job like this without calling a tow truck or a mechanic, you’re gaining a bit of mechanical independence that nobody can take away from you. Don’t let the fear of a little grease or a confusing socket keep you in the dark—literally. Grab your tools, trust your gut, and keep that car running on your own terms. You’ve got this.
Frequently Asked Questions
Is it actually okay to touch the glass on the new bulb, or am I going to burn it out immediately?
Look, I get why you’re hesitant, but here’s the deal: do not touch that glass with your bare hands. If you get even a tiny bit of skin oil on it, that’s going to create a hot spot when the bulb heats up. Eventually, the glass will stress and crack, or the bulb will just burn out way too early. If you do touch it, grab some isopropyl alcohol and a clean rag to wipe it down before installing.
Why did my new bulb die after only a few weeks, and is there something wrong with my car's wiring?
If your new bulb popped that fast, you probably touched the glass with your bare fingers. Skin oils create hot spots that crack the quartz, killing the bulb instantly. If the glass looks clean, check your wiring. A loose ground or a corroded socket causes voltage spikes that fry everything you plug in. Grab a multimeter and check for steady voltage; if it’s jumping around, your wiring—or the regulator—is definitely the culprit.
Can I just swap in a brighter LED bulb, or am I going to mess up my headlight housing and get a ticket?
Look, I get the temptation—stock halogen bulbs can feel like dim candles in a storm. But be careful. If you slap a cheap LED in a housing designed for halogen, the light pattern usually goes haywire, blinding oncoming drivers. That’s a fast track to a ticket and a pissed-off neighbor. If you want more light without the headache, look for “halogen-replacement” LEDs that actually mimic the original beam pattern. Don’t just chase brightness; chase visibility.
