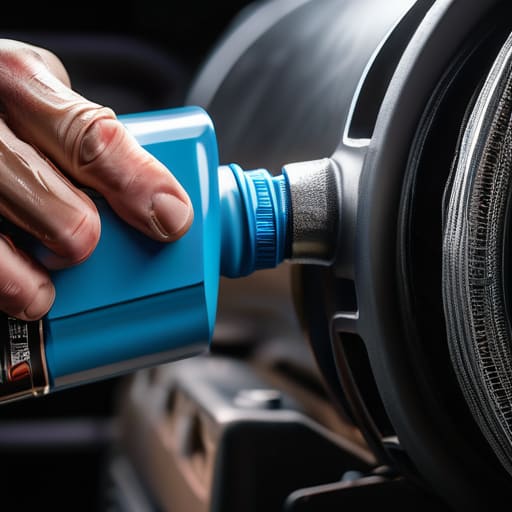
Ever notice your car feeling a little sluggish, like it’s struggling to catch its breath when you hit the gas? Most shops will try to tell you that your engine is “losing compression” or that you need some high-end, expensive sensor replacement to get that pep back. Honestly, that’s usually a load of garbage designed to pad their invoice. More often than not, your engine is just choking on a layer of grime and debris. A simple, thorough air intake cleaning is usually all it takes to stop that hesitation and let your car actually breathe again. It’s not some deep, mysterious mechanical failure; it’s just basic maintenance that most people overlook.
I’m not here to sell you on some magic chemical or a complicated diagnostic tool that costs more than your monthly rent. I’m going to show you exactly how to tackle this job using stuff you probably already have in your garage. We’re going to walk through the right way to clear out that buildup without making a mess or accidentally frying a sensor. I’ll give you the straight truth on what tools you actually need and how to do it right the first time, so you can save your money and keep your ride running smooth.
Table of Contents
- Step-by-Step Instructions
- Solving Engine Idling Issues With Carbon Buildup Removal
- Simple Cleaning Throttle Body Steps for Engine Performance Improvement
- Pro Tips to Keep Your Intake from Turning into a Mess
- The Bottom Line on Keeping Your Airflow Clean
- The Real Cost of Neglect
- Don't Let the Shop Fleece You
- Frequently Asked Questions
Guide Overview
Tools & Supplies
- Screwdriver (to remove airbox clips or screws)
- Vacuum cleaner (to remove loose debris from the housing)
- Flashlight (to inspect the intake tubes and sensor area)
- Air filter cleaner spray (1 can)
- Microfiber cloths (2-3 cloths)
- Replacement air filter (1 unit, if cleaning is insufficient)
Step-by-Step Instructions
- 1. First things first, grab a can of dedicated mass air flow (MAF) sensor cleaner and some lint-free cloths. Whatever you do, do not use brake cleaner or anything else on that sensor; it’s way too harsh and you’ll fry the delicate filaments in seconds.
- 2. Pop your hood and locate the air intake assembly. You’ll usually see a thick plastic tube running from your air filter box to the engine. Most of the time, you can just loosen a couple of hose clamps with a screwdriver or a socket wrench to loosen the intake hose so you can actually get inside.
- 3. Once you’ve got the hose off, take a peek inside the housing. If you see a bunch of gunk, dust, or oily residue, it’s time to clean it out. Use a clean, dry cloth to wipe away the heavy debris from the walls of the intake tube, but don’t be aggressive with it—you don’t want to knock anything into the engine.
- 4. Now, find the MAF sensor. It’s that little plastic piece plugged into the intake tube. Carefully unplug the electrical connector first, then pull the sensor out of its housing. This part is the “brain” of your air intake, so treat it like it’s made of glass.
- 5. Spray the sensor cleaner directly onto the sensor filaments. You’ll see the dirt and grime start to dissolve almost instantly. Just let it spray for a few seconds, then let it sit there. Don’t touch the wires with your fingers or a brush; let the chemical do all the heavy lifting for you.
- 6. This part is crucial: you have to let the sensor and the entire intake assembly air dry completely. I usually just let it sit for about ten or fifteen minutes. If you try to plug it back in while it’s still wet, you’re asking for a sensor error code and a headache.
- 7. Once everything is bone dry, slide the sensor back into its slot and tighten it down. Reattach your intake hose, make sure those clamps are snug but not over-tightened, and plug your electrical connector back in. Give the engine a quick start to make sure it’s idling smooth, and you’re good to go.
Solving Engine Idling Issues With Carbon Buildup Removal
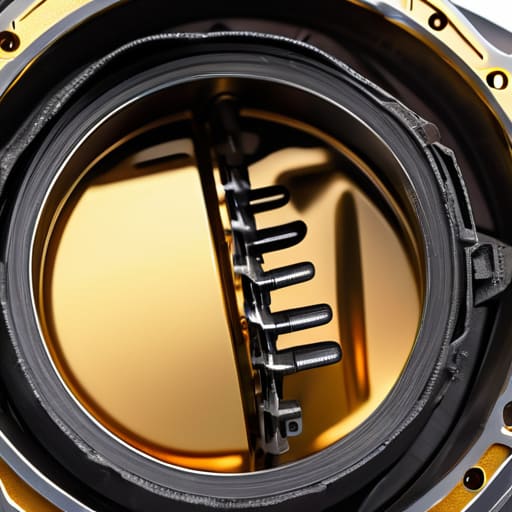
If your car feels like it’s struggling to stay awake at a red light, you’re likely dealing with engine idling issues caused by gunked-up components. When you haven’t cleaned your intake in a while, a thick layer of soot and oil residue starts to coat the throttle plate. This prevents the butterfly valve from moving smoothly, which messes with the air-fuel ratio and makes your idle jumpy or inconsistent. I’ve seen plenty of people head straight to the shop thinking they need a new ECU, but usually, it’s just a case where a little carbon buildup removal is all it actually takes to smooth things out.
While you’re in there, don’t just focus on the pipes; make sure you follow proper cleaning throttle body steps to ensure that valve can snap shut and open without any resistance. It’s a small detail, but it makes a massive difference in how the car feels when you’re sitting at a stop. Once that buildup is gone, you’ll notice a huge engine performance improvement almost immediately. It’s not just about the smoothness, though—you’ll likely see some decent fuel efficiency benefits too, because your engine isn’t working overtime just to stay running.
Simple Cleaning Throttle Body Steps for Engine Performance Improvement
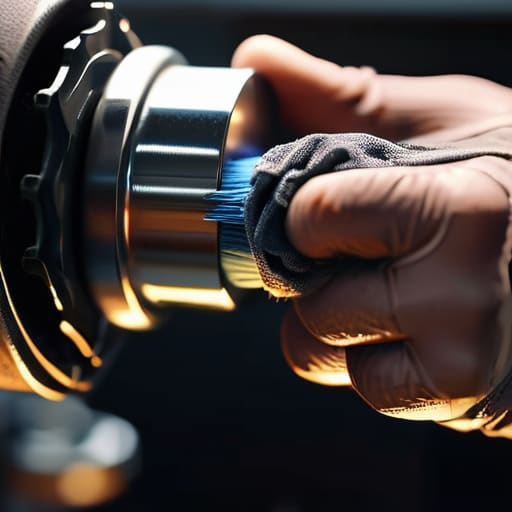
Once you’ve tackled the intake, you really can’t ignore the throttle body. It’s basically the gateway for all that air, and over time, it gets coated in a nasty, oily film that messes with everything. When I’m working on a car that feels sluggish, checking this part is usually my next move. You don’t need a fancy shop setup for this; just grab some dedicated throttle body cleaner and a couple of lint-free rags. The key is to be gentle—you’re cleaning delicate components, not scrubbing a kitchen floor.
When you’re going through the cleaning throttle body steps, make sure you don’t force the butterfly valve open too hard if it’s electronic. Just a light touch is fine. You’ll see a lot of black gunk come off, which is essentially the same kind of carbon buildup removal you’d do for the intake. Getting this surface clean is one of the fastest ways to see real engine performance improvement. It smooths out the airflow, which helps stabilize your revs and can even give you some noticeable fuel efficiency benefits since the engine isn’t fighting through a restriction.
Pro Tips to Keep Your Intake from Turning into a Mess
- Don’t go cheap on the cleaner; grab a dedicated throttle body cleaner or mass airflow sensor cleaner. Using something like brake cleaner might seem like a hack, but it can eat through the delicate coatings on your sensors and leave you with a massive headache.
- Always work on a cool engine. I’ve seen guys try to rush through a cleaning while the block is still hot, and you risk warping parts or causing the cleaner to evaporate too fast, leaving behind a nasty residue that’s even harder to scrub off.
- Be extremely gentle with your MAF sensor. Those tiny wires inside are incredibly fragile. Don’t touch them with a brush or a rag; just spray the cleaner through them and let it air dry. If you bend one of those wires, you’re looking at a replacement part you didn’t need to buy.
- Keep an eye on your air filter every time you’re messing with the intake. There’s no point in cleaning the housing if you’re just going to suck more dirt right back in through a clogged, paper filter. If it looks gray or feels gritty, just swap it out.
- Check your seals and clamps while you’re in there. Since you’ve already got the intake components apart, take a second to make sure every rubber gasket is seated right and every hose clamp is tight. A tiny air leak after you reassemble everything will mess up your idle just as bad as the dirt did.
The Bottom Line on Keeping Your Airflow Clean
Don’t wait for a Check Engine light to tell you something is wrong; if your idle feels shaky or your gas mileage drops, it’s probably time to grab some cleaner and check your intake.
You don’t need a shop’s worth of expensive gear to do this right—just a decent can of specialized cleaner, some rags, and a little patience will save you a massive bill at the mechanic.
Keeping your throttle body and intake clear of carbon buildup isn’t just about performance; it’s about preventing the kind of sludge that makes your car a nightmare to drive in stop-and-go traffic.
The Real Cost of Neglect
Most shops will charge you a fortune just to spray some cleaner through your intake, but the truth is, if you can follow a basic set of steps and don’t mind getting a little grime on your hands, you can save that money for something way better—like actual parts for your project car.
Nikolai·Osterman
Don't Let the Shop Fleece You
Look, we’ve covered a lot of ground here, from scrubbing out that nasty carbon buildup to making sure your throttle body isn’t choking on old residue. At the end of the day, cleaning your air intake isn’t some complex, high-level engineering feat; it’s just about preventative maintenance. If you take the time to clear out the gunk and keep those sensors clean, you’re going to see a smoother idle, better throttle response, and you won’t be staring at a massive repair bill because of a preventable clog. It’s really as simple as having the right cleaner and not being afraid to get your hands a little dirty to keep things flowing.
I know it can feel intimidating when you first pop the hood and see a maze of hoses and sensors, but don’t let that stop you. Every time you tackle a job like this yourself, you’re taking back control from the big shops that thrive on your hesitation. You don’t need a master technician certification to understand your own machine. Just take it one bolt at a time, stay patient, and remember that the most important tool in your kit isn’t a fancy scanner—it’s your own willingness to learn. Keep wrenching, and I’ll see you in the next one.
Frequently Asked Questions
Is it actually safe to use regular brake cleaner on my throttle body, or am I going to melt the sensors?
Look, don’t do it. I’ve seen too many people try to save five bucks and end up with a dead sensor and a massive headache. Regular brake cleaner is way too aggressive; it can eat through the delicate coatings on your throttle body sensors or leave a residue that actually makes things worse. Stick to a dedicated throttle body cleaner. It’s designed to dissolve the gunk without melting your electronics. Don’t risk it.
How often do I actually need to do this before I start seeing a real difference in my gas mileage?
Look, there’s no magic number, but if you’re hitting 30,000 to 50,000 miles without a cleaning, you’re probably already leaving money at the pump. If you notice your idle getting shaky or the car feeling sluggish when you step on it, that’s your sign. Don’t wait until the check engine light starts blinking. Just grab some cleaner and do it every couple of service intervals—it’ll pay for itself in gas savings pretty quick.
Do I need to buy those expensive specialized kits, or can I just grab some basic stuff from the auto parts store?
Look, don’t fall for the marketing trap. You definitely don’t need those fancy, $50 “pro-grade” kits. Most of that is just extra packaging. Honestly, a can of high-quality throttle body cleaner and a few basic microfiber cloths or an old toothbrush will do 95% of the work. Just make sure the cleaner is specifically rated for sensitive sensors so you don’t mess up your electronics. Keep it simple and save your cash for parts.
