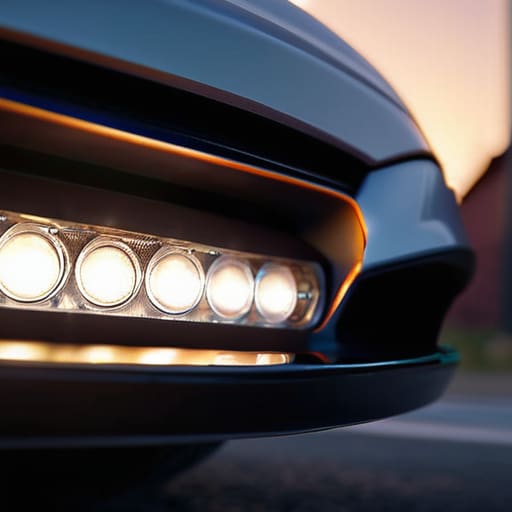
I was standing in the driveway last Tuesday, squinting through the glare of a streetlamp, when I realized my rear plate was basically invisible in the dark. Most people see a dead bulb and immediately think they need to book an appointment at the dealership or pay some guy fifty bucks just to turn a plastic housing. That’s a total scam. A license plate light replacement isn’t some high-tech sensor calibration that requires a master technician; it’s one of those tiny, annoying tasks that most shops will try to overcharge you for just because they know you don’t have the right tools.
I’m not here to give you some textbook manual or a list of expensive equipment you don’t need. I’m going to show you exactly how to pop that housing, swap the bulb, and get back on the road without wasting a dime. I’ll walk you through the specific tricks I use at the shop to make sure you don’t snap those fragile plastic clips, because once you break them, you’re looking at a much bigger headache. Let’s get under the hood—or in this case, the trunk—and stop letting small fixes drain your wallet.
Table of Contents
- Step-by-Step Instructions
- Tackling License Plate Light Socket Corrosion Without a Mechanic
- Mastering Car Exterior Lighting Maintenance With Simple Tools
- Pro Tips to Keep the Lights On (And Your Wallet Full)
- The Bottom Line on Your License Plate Lights
- ## Don't Let the Small Stuff Drain Your Wallet
- Don't Let the Small Stuff Slow You Down
- Frequently Asked Questions
Guide Overview
Tools & Supplies
- Screwdriver (Phillips or flathead depending on housing screws)
- Small flathead screwdriver (for prying plastic trim or sockets)
- Replacement bulbs (1-2 depending on vehicle)
- Microfiber cloth (to clean housing)
Step-by-Step Instructions
- 1. First things first, grab your gear. You’re going to need a small flathead screwdriver—ideally one with a plastic handle so you don’t scratch the paint—and a fresh bulb. Before you even touch the car, make sure the lights are turned off and the ignition is out of the key. You don’t want to be getting a nasty little zap while you’re poking around the electrical housing.
- 2. Locate the light housing on the back of your car. Most of these are held in place by either a small screw or a plastic clip. If it’s a screw, just back it out slowly. If it’s a clip, you’ll need to gently pry the edge of the plastic casing away from the trunk or bumper. Don’t go ham on it; these plastic tabs get brittle over time, and the last thing you want is to snap a piece off and end up with a permanent gap in your trim.
- 3. Once you’ve popped the housing loose, you’ll see the bulb sitting in its socket. Depending on your car, it’ll either be a standard wedge bulb or a tiny T10 style. If it’s a wedge bulb, just pull it straight out. If it’s a twist-lock style, give it a tiny nudge to the left to unlock it from the socket. This is where I usually reach for my magnetic tray just in case a tiny screw decides to make a run for it.
- 4. Take a quick look at the old bulb before you toss it. If the glass is dark or the little filament inside is broken, you’ve definitely found your culprit. Check the socket for any signs of burnt plastic or corrosion. If it looks crusty, give it a quick wipe with a clean rag or some contact cleaner. You want a solid connection, otherwise, you’ll be doing this whole dance again in two weeks.
- 5. Slide your new bulb into the socket. If it’s a wedge bulb, it should just slide right in, but if it’s a T10, make sure it’s seated firmly. Don’t force it. If it’s not going in, you might have it oriented the wrong way. Once it’s in, give it a tiny wiggle to make sure it’s snug and won’t rattle around while you’re driving down a bumpy road.
- 6. Before you snap everything back together, do a quick test. Turn your parking lights on and verify the new bulb actually works. I’ve seen plenty of guys spend twenty minutes wrestling with a housing only to realize they bought a dud bulb from the auto parts store. It’s a small step, but it saves a massive headache.
- 7. Now, just reverse what you did to get in there. Slide the housing back into position and tighten the screw or press the clip back into place. Give the housing a light tug just to make sure it’s secure and isn’t going to fall off on the highway. If it feels solid, you’re officially done and you just saved yourself a trip to the shop and a $50 diagnostic fee.
Tackling License Plate Light Socket Corrosion Without a Mechanic
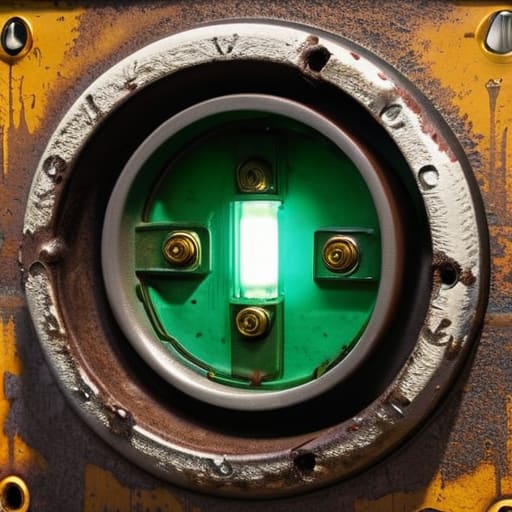
If you’ve already swapped out the bulb and you’re still staring at a dead light, don’t freak out—it’s probably not the bulb’s fault. I’ve seen this a hundred times at the shop: you put in a brand new part, but nothing happens because of license plate light socket corrosion. Moisture gets trapped in those little housings, especially if you live somewhere with salt on the roads or heavy rain, and it creates this nasty green or white crust on the metal contacts. If you don’t clear that gunk out, you’re basically just throwing money away on new parts.
To fix this, grab a small wire brush or even a bit of sandpaper and gently scrub those contact points until they look bright again. A quick spray of electronic cleaner can work wonders here too. Once you’ve got the connection clean, this is actually the perfect time to consider an automotive LED upgrade kit. LEDs handle vibration better and generally stay cooler, which helps prevent that moisture buildup from getting as bad. Just take your time and don’t force the socket if it feels stuck; a little patience saves you from snapping a plastic clip.
Mastering Car Exterior Lighting Maintenance With Simple Tools
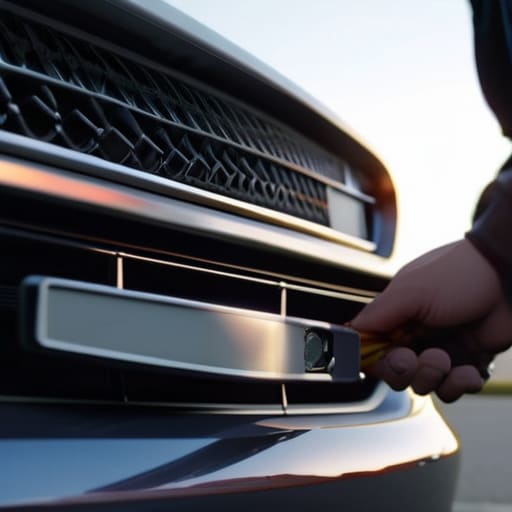
Once you’ve tackled that one bulb, don’t just pack up your tools and call it a day. I’ve seen way too many people ignore their other exterior lights until they get pulled over or fail a state inspection. Real car exterior lighting maintenance is about being proactive. Take a quick walk around the car every few weeks; it only takes thirty seconds to spot a cracked lens or a flickering signal. If you notice your plates are hard to read at night, you might need to look into how to fix dim license plate lights by checking if the housing is clouded up or if the bulb is just losing its juice.
Honestly, most of what you need is already in your basic toolkit, but a few specific automotive bulb replacement tools, like a small trim removal tool or a decent set of precision screwdrivers, can save you from scratching your paint or snapping a plastic clip. If you really want to level up, I usually suggest grabbing an automotive LED upgrade kit. They last way longer than the old halogen ones and they’re much brighter, which makes life a lot easier when you’re working in a dark driveway.
Pro Tips to Keep the Lights On (And Your Wallet Full)
- Grab a handful of dielectric grease before you snap that new bulb in; it keeps moisture out and stops that annoying buzzing sound from a loose connection.
- Don’t go brute-forcing those plastic housings if they feel stuck. If you’re working in the cold, a little bit of warmth or just being patient with the clips will save you from snapping a piece of plastic that’s impossible to replace.
- Always check the fuse box if a new bulb doesn’t work immediately. I’ve seen plenty of people spend an hour tearing apart a light assembly only to realize they blew a $2 fuse ten minutes ago.
- Match your bulb type exactly. Don’t try to jam a slightly different size in there just because it looks close; you’ll end up with a gap that lets rain in, and then you’re dealing with a corroded socket.
- Keep a small magnetic tray—like the one I keep in my back pocket—nearby when you’re working. Those tiny screws for license plate housings love to jump into the gravel the second you let go of them.
The Bottom Line on Your License Plate Lights
Don’t let a tiny bulb turn into a massive shop bill; most of the time, it’s a ten-minute job that only costs a few bucks if you do it yourself.
If the new bulb doesn’t work right away, stop messing with it and check your socket for corrosion—cleaning those contacts is usually the real fix.
Keep a basic set of small screwdrivers and some electrical cleaner in your kit so you aren’t scrambling when a light goes dark right before a drive.
## Don't Let the Small Stuff Drain Your Wallet
“A dead license plate light isn’t a mechanical failure; it’s just a tiny inconvenience that some shops try to turn into a fifty-dollar service call. Grab a screwdriver, swap the bulb, and keep that extra cash for something that actually matters, like better tires or a new set of wrenches.”
Nikolai·Osterman
Don't Let the Small Stuff Slow You Down
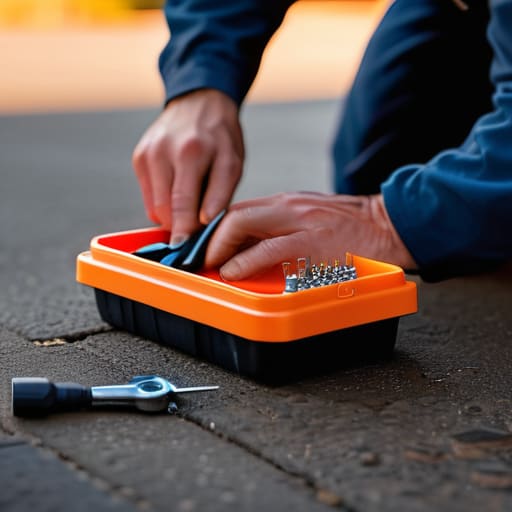
At the end of the day, fixing your license plate lights is about more than just seeing your registration clearly at night. It’s about knowing that you handled the corrosion, picked the right bulb, and didn’t let a twenty-minute job turn into a fifty-dollar invoice at the shop. Whether you were struggling with a stubborn housing or just cleaning out some crusty contact points, you’ve officially taken control of a piece of your vehicle. Just remember to keep that magnetic tray handy so you don’t lose those tiny screws in the driveway, and always double-check that your seals are seated right to keep the moisture out for good.
I know it can feel intimidating when you’re staring at a piece of plastic and a few wires, but honestly, most people overcomplicate this stuff just to charge you more. Once you get through this, you’ll realize that the gap between “knowing nothing” and “fixing it yourself” is much smaller than the mechanics want you to believe. Don’t be afraid to get your hands a little dirty and trust your own intuition. Every time you finish a repair like this, you’re building the confidence to tackle something even bigger under the hood. Keep at it, stay patient, and I’ll see you in the next one.
Frequently Asked Questions
I just put in a new bulb but it still won't turn on—could it be a blown fuse?
Yeah, that’s a huge possibility. If you’ve swapped the bulb and it’s still dead, you’re likely looking at a blown fuse. It’s one of those things shops charge way too much for, but it’s actually an easy win for you. Grab your owner’s manual to find the fuse box diagram—it’s usually under the dash or the hood—and look for the one labeled for “tail lights” or “parking lights.” Check it with a tester or just swap it out.
Can I just swap the old bulb for an LED one, or will that mess with my car's electrical system?
You can definitely swap them for LEDs, but don’t just grab the cheapest ones on Amazon. Since LEDs draw way less power than your old halogen bulbs, some cars think the bulb is blown and’ll start hyper-flashing or throw a dashboard error. If that happens, you’ll need “CAN bus ready” LEDs—they’ve got built-in resistors to trick the car into thinking everything is normal. It’s a simple upgrade, just make sure they’re compatible first.
How often should I actually be checking these lights so I don't get pulled over?
Honestly, don’t wait for a cop to point it out. I usually do a quick walk-around every time I fuel up—it only takes thirty seconds to glance at the rear. If you’re hitting the road for a long trip, definitely do a full check of every bulb before you leave. It’s way better to catch a dim or dead light in your own driveway than under a spotlight at 2 AM.
