
I was under a beat-up Silvia last Tuesday, grease up to my elbows, when I heard that familiar, rhythmic stutter from the engine—the kind of misfire that makes you think your entire ignition system is toast. Most shops will see that check engine light and immediately quote you a massive bill for a full ignition overhaul, but here’s the reality: nine times out of ten, you’re just looking at a simple coil pack replacement. I’ve seen so many people get intimidated by a stumbling engine, thinking they need a master technician to dive in, when really you just need to stop letting mechanics overcharge you for something you can handle in your own driveway.
I’m not going to give you some textbook lecture or a list of fancy tools you don’t actually need. Instead, I’m going to walk you through the actual, hands-on process of swapping those units out so you can get your car running smooth again. We’ll cover how to spot the failing part, the specific way to avoid snapping those brittle plastic clips, and the one mistake most beginners make that ends up costing them extra. Let’s get to work.
Table of Contents
- Step-by-Step Instructions
- Spotting Ignition Coil Symptoms Before They Kill Your Engine
- Mastering Engine Misfire Troubleshooting Without a Degree
- Pro Tips to Save You a Headache (and a Trip Back to the Shop)
- The Bottom Line on Your Coil Packs
- ## The Truth Under the Hood
- Don't Let the Shop Charge You for a Simple Fix
- Frequently Asked Questions
Guide Overview
Tools & Supplies
- Socket set and ratchet to remove mounting bolts
- Screwdriver to release electrical connector clips
- Flashlight to inspect spark plug wells
- New coil pack(s) matching vehicle specifications
- Dielectric grease to prevent moisture and electrical arcing
Step-by-Step Instructions
- 1. First things first, you gotta make sure the engine is completely cool before you even think about touching anything. If you try to pull these things off a hot engine, you’re asking for a burnt hand or, worse, cracking something you shouldn’t. Grab your magnetic parts tray from your pocket—you’re gonna need it—and clear some space on the workbench so you aren’t fumbling around in the dark.
- 2. Pop the hood and locate the coil packs. Depending on what you’re driving, they’ll either be sitting right on top of the engine or tucked slightly under a plastic cover. If there’s a plastic shroud in your way, don’t stress; it’s usually just held on by a couple of plastic clips or small bolts. Just pull them out of the way so you can actually see what you’re working on.
- 3. Now, you need to disconnect the electrical connector for the specific coil you’re replacing. Most of these have a little tab you need to squeeze to release the clip. Be careful here—don’t go forcing it like you’re trying to break a nut, or you’ll snap that plastic tab and end up with a much bigger headache. Once it clicks loose, pull it straight up and set it aside.
- 4. Grab your socket wrench—usually a 10mm is the standard for most of these—and unscrew the mounting bolt holding the coil pack in place. This is where people usually mess up, so make sure you keep that bolt in your magnetic tray immediately. There is nothing worse than dropping a tiny bolt into the depths of an engine bay and spending an hour fishing for it with a flashlight.
- 5. Gently pull the old coil pack straight up and out of the spark plug well. You might feel a little bit of resistance because of the seal, but just give it a steady, even tug. Once it’s out, take a quick look down into the hole to make sure there isn’t any dirt or debris sitting at the bottom. If there is, blow it out with some compressed air, because you don’t want that junk falling into your cylinder once the new one is in.
- 6. Grab your brand new coil pack and line it up with the spark plug. Press it down firmly until it sits flush against the engine. You want to feel it seat properly before you even touch the bolt. If it feels wobbly or crooked, stop and realign it; you don’t want to cross-thread anything or leave a gap that lets moisture in.
- 7. Reinstall the mounting bolt and tighten it down. You don’t need to go “mechanic mode” and crank it until your knuckles bleed; just get it snug and secure. Finally, plug that electrical connector back in until you hear it click. Give the wire a tiny little tug just to make sure it’s locked in, and you’re officially done.
Spotting Ignition Coil Symptoms Before They Kill Your Engine

You don’t always have to wait for a flashing Check Engine light to know something is wrong. Usually, your car will start giving you these subtle hints that the electrical side of things is failing. I’ve seen plenty of guys ignore a slight shudder at red lights or a weird hesitation when they hit the gas, only to end up stranded on the shoulder a week later. If your car feels like it’s gasping for air or you notice a sudden drop in fuel economy, you’re likely dealing with early ignition coil symptoms. It’s much easier to catch it when it’s just a minor stumble rather than a full-blown breakdown.
If you want to get ahead of the game, you can actually do some basic engine misfire troubleshooting before the symptoms get ugly. Sometimes a coil isn’t completely dead; it’s just struggling to deliver a consistent spark under load. If you’re feeling handy, grabbing a multimeter to start checking ignition coil resistance is a pro move that saves you from blindly throwing parts at a problem. Catching a weak coil early is the best way to ensure you aren’t causing unnecessary wear on your catalytic converter.
Mastering Engine Misfire Troubleshooting Without a Degree
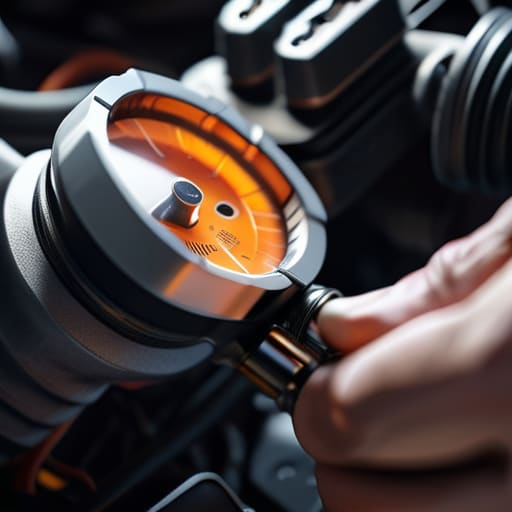
Look, when your check engine light starts flashing, your first instinct might be to just start throwing parts at the problem, but that’s exactly how you end up wasting money. Real engine misfire troubleshooting is more about being a detective than a surgeon. Before you go buying a whole new set of coils, you need to figure out if the issue is actually electrical or if you’ve got a mechanical hiccup like a vacuum leak. I always tell people to start with the basics—check your spark plug wires and make sure nothing is physically loose or corroded.
If you want to get technical without needing a master technician’s license, grab a cheap multimeter. Checking ignition coil resistance is a total game-changer; it lets you see if the internal windings are actually shot or if the coil is still within spec. If the resistance numbers are way off, then you know you’ve found your culprit. It’s all about isolating the variable so you aren’t guessing. Once you pinpoint the bad unit, the actual swap is easy, and you’ll save yourself a massive headache at the dealership.
Pro Tips to Save You a Headache (and a Trip Back to the Shop)
- Grab a magnetic parts tray before you even crack the hood. I’ve spent way too many late nights hunting for a single 10mm bolt that rolled under a workbench because I was too lazy to use one.
- Don’t just yank on the old wires. If you pull the coil pack by the electrical connector instead of the plastic housing, you’re asking for a broken clip, and those little plastic bits are a nightmare to replace.
- Inspect the spark plugs while you’re in there. There’s no point in installing fresh coils if you’re about to dump old, fouled plugs back into the engine; you might as well do the whole job right once.
- Use a tiny bit of dielectric grease on the inside of the new coil boots. It keeps the connection clean and prevents the rubber from sticking to the plug, which makes your next repair way easier.
- Double-check your torque. You don’t need a massive torque wrench for this, but don’t go gorilla on the bolts either—overtightening them can crack the housing or strip the threads in the cylinder head.
The Bottom Line on Your Coil Packs
Don’t let a rough idle scare you into a massive shop bill; if you’ve narrowed the misfire down to one specific cylinder, it’s almost certainly just a coil pack that needs swapping.
You don’t need a fancy diagnostic computer to do this right—just grab a decent socket set, keep your magnetic tray handy so you don’t lose those bolts, and take your time.
Replacing these is one of the easiest ways to save money, so don’t let a mechanic talk you into a whole new ignition system when a simple part swap is all you actually need.
## The Truth Under the Hood
“Most shops will charge you an arm and a leg just to swap a coil pack, but once you realize it’s basically just a ‘plug and play’ job, you’ll realize you’ve been overpaying for something you could’ve done yourself in twenty minutes.”
Nikolai·Osterman
Don't Let the Shop Charge You for a Simple Fix
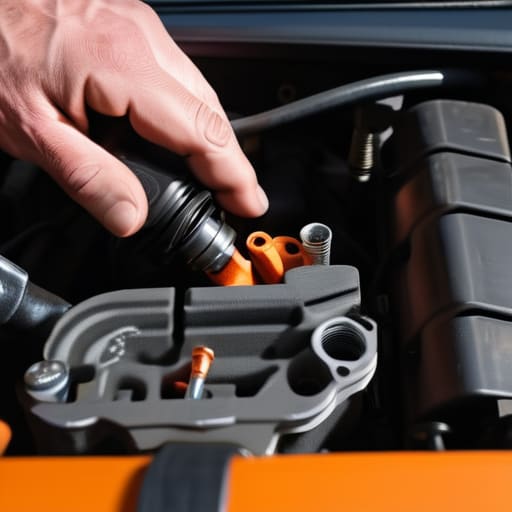
Look, replacing coil packs isn’t some high-level engineering feat that requires a specialized lab. We’ve covered the symptoms—that annoying stumble under acceleration and the dreaded check engine light—and we’ve walked through the actual process of swapping them out. Once you realize it’s basically just unplugging a connector and spinning a bolt, the intimidation factor disappears. Just remember to keep your workspace clean, use that magnetic tray for the bolts so you don’t lose them in the engine bay, and always double-check that the clips are fully seated before you try to fire the engine back up.
At the end of the day, my goal is to see you walk away from a repair job with more money in your pocket and more confidence in your hands. There’s a specific kind of satisfaction that comes from hearing your engine smooth out after you did the work yourself. You don’t need to be a master technician to take care of your own machine; you just need to be willing to get your hands dirty. Stop letting the fear of a little grease keep you from being self-sufficient. Grab your socket wrench, get under that hood, and take control of your ride.
Frequently Asked Questions
Do I really need to replace all the coil packs at once, or can I just swap the one that's acting up?
Look, if you’re on a tight budget, you can definitely just swap the one that’s acting up. It’ll get you back on the road immediately. But honestly? If one coil pack has gone, the others aren’t far behind—they’ve all been through the same heat and miles. If you have the extra cash, I’d recommend doing the whole set. It saves you from having to tear the engine back apart in a month.
How do I know if it's actually a bad coil pack and not something else like a spark plug or a sensor?
Look, this is where most people get stuck and end up paying a shop way too much for a “diagnostic fee.” The easiest way to tell is the swap test. If you’ve got a misfire on cylinder three, grab your magnetic tray and swap that coil with cylinder one. If the misfire jumps to cylinder one, you’ve found your culprit. If it stays put? It’s probably your spark plug or a sensor.
Is there a specific way to plug the connectors back in so I don't snap those plastic clips?
Look, those plastic clips are the absolute worst—one wrong move and they snap, leaving you hunting for electrical tape and zip ties. Don’t just shove the connector on and hope for the best. Line up the grooves first, then push firmly until you actually hear that distinct click. If you feel too much resistance, stop. Back it out, check if the tab is seated right, and try again. Don’t force it; just be patient.
