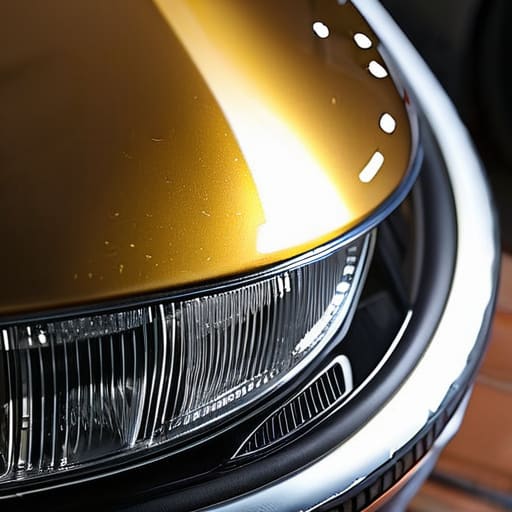
I saw a guy at the shop the other day staring at his cloudy, yellowed lenses like they were some kind of unsolvable mystery, and the service advisor was already quoting him five hundred bucks for a total housing replacement. It honestly makes my blood boil. You don’t need to drop a massive chunk of your paycheck just because your plastic has oxidized from the sun; most people think they need brand-new parts, but the truth is that a solid headlight restoration is way simpler than the shops want you to believe. I spent my weekends in my dad’s garage learning that most “expensive” problems are just surface-level issues waiting for the right sandpaper and a bit of elbow grease.
In this guide, I’m stripping away the fluff and showing you exactly how to do this right without getting ripped off. I’ll walk you through the specific supplies you actually need—and more importantly, the ones you can skip—so you can get that crystal-clear factory look back on your own time. We’re going to cover everything from the initial sanding to the final seal, ensuring your lights stay bright and don’t turn yellow again in two weeks.
Table of Contents
- Step-by-Step Instructions
- Sanding Headlight Lenses Without Fearing Youll Ruin Everything
- The Secret to Long Lasting Uv Protection for Headlights
- Pro Tips to Keep Your Headlights from Going Cloudy Again
- The Bottom Line on Keeping Your Lights Clear
- ## The Real Cost of Cloudy Lenses
- Look at That Clarity
- Frequently Asked Questions
Guide Overview
Tools & Supplies
- Sandpaper (various grits for smoothing)
- Microfiber cloths (for cleaning and drying)
- Masking tape (to protect car paint)
- Headlight restoration kit (includes compound/polish)
- Water (for wet sanding)
- UV sealant (to prevent future oxidation)
Step-by-Step Instructions
- 1. First things first, you gotta clean the surface. Grab a bucket of soapy water and some microfiber towels to get all that road grime and grit off the plastic. If you try to sand through a layer of dirt, you’re just going to scratch the lens even deeper, and that’s a headache you don’t need.
- 2. Next, you need to mask off the area around the headlight. Use some high-quality painter’s tape to cover the surrounding paint and the chrome trim. I’ve seen too many people get sloppy and accidentally sand through their clear coat because they thought they could “wing it” without protection.
- 3. Now it’s time for the actual sanding, and this is where you need some patience. Start with your coarsest sandpaper—usually something around 800 or 1000 grit—and work in small, overlapping strokes. You’ll see a milky, cloudy mess coming off the lens; don’t panic, that’s just the oxidized layer dying off.
- 4. Once the heavy lifting is done, switch to a finer grit, like 1500 or 2000. You want to progressively smooth out those deep scratches from the previous step. Keep the surface wet while you work; if the sandpaper starts feeling “grabby” or dry, hit it with a little water to keep things moving smoothly.
- 5. After you’ve worked your way up to the finest grit, give the headlights one last thorough wash to make sure every single grain of sand is gone. If you leave even one tiny piece of grit on there and move to the polishing stage, you’re basically just polishing scratches into the plastic instead of making it clear.
- 6. Grab your polishing compound and a microfiber applicator—or an orbital sander if you want to save your arms—and start buffing. You’ll see the clarity start to return almost instantly. This is the part where you can really see the reward for your effort, as the lens transitions from cloudy to crystal clear.
- 7. Finally, you have to seal the deal. Since you’ve just stripped away all the factory protection, the plastic is wide open to UV rays. Apply a high-quality UV sealant or a ceramic coating immediately. If you skip this step, those headlights will be back to looking like yellowed teeth in a matter of weeks.
Sanding Headlight Lenses Without Fearing Youll Ruin Everything
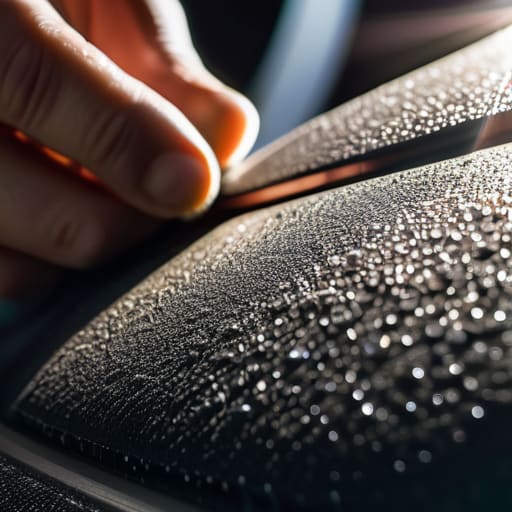
Look, I get it. The second you pick up that sandpaper, your brain starts screaming that you’re about to permanently wreck your car. I’ve seen plenty of guys freeze up halfway through because they’re scared of leaving scratches. Here’s the truth: the scratches you’re making are actually necessary to strip away that dead, oxidized layer. When you’re sanding headlight lenses, you aren’t trying to make them smooth yet; you’re just leveling the playing field. Start with the coarsest grit and work in straight, overlapping lines. If you go in circles, you’re just asking for trouble later.
The real secret to restoring headlight clarity without the stress is staying wet. Keep a spray bottle handy and soak that surface constantly. If the paper starts feeling “grabby” or dry, stop and spray more. You want to see a milky, uniform slurry, not dry friction. If you keep the grit moving and the water flowing, you won’t end up with deep gouges that even a heavy compound can’t fix. Just stay steady, keep your pressure light, and don’t rush the process.
The Secret to Long Lasting Uv Protection for Headlights
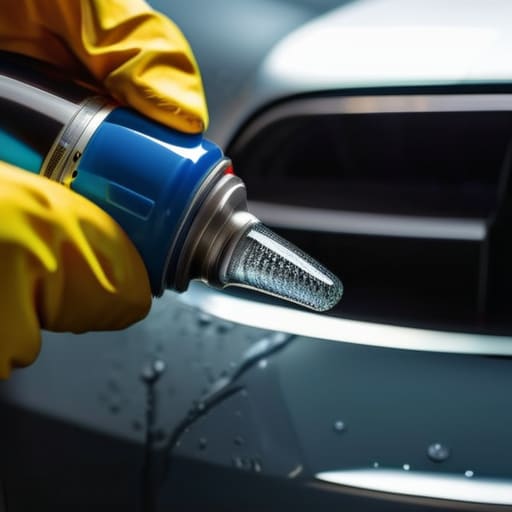
Look, here’s the part where most people mess up and end up back at square one. You can spend hours sanding headlight lenses until they look like glass, but if you don’t seal that surface, the sun is going to eat your hard work for breakfast. Once you’ve finished with your headlight polishing compound and the plastic is crystal clear, you’ve basically left the “skin” of the lens exposed. Without a proper barrier, those UV rays will penetrate the plastic immediately, leading right back to that nasty, cloudy mess.
To actually make this fix stick, you need a high-quality clear headlight coating. Don’t just grab some cheap spray wax from the grocery store; you need something specifically designed for preventing headlight yellowing. I usually tell people to look for a sealant that offers professional-grade UV protection for headlights. It’s a small extra step, but it’s the difference between a fix that lasts six months and one that lasts years. Treat that final layer like it’s the most important part of the job, because it’s the only thing standing between you and a repeat trip to the shop.
Pro Tips to Keep Your Headlights from Going Cloudy Again
- Don’t skip the cleaning step; if there’s even a tiny bit of grit or grease left on the plastic before you start sanding, you’re basically just rubbing sandpaper into your lens and creating deep scratches you’ll never get out.
- Always work in the shade—if you try to do this in direct sunlight, the plastic gets too hot, the water evaporates too fast while you’re sanding, and you’ll end up with a patchy, uneven mess.
- Use plenty of water, like, way more than you think you need; keeping that sandpaper wet isn’t just about lubrication, it’s about flushing out the yellow oxidation so it doesn’t clog up your grit and ruin the finish.
- Check your seal before you’re done; if you notice any moisture or fogging inside the actual headlight housing, you might have a cracked seal, and no amount of exterior polishing is going to fix that.
- Be patient with the wet sanding; I see people rush through the higher grits because they’re tired, but if you don’t get those micro-scratches out during the final stages, your clear coat is going to look like crap within a month.
The Bottom Line on Keeping Your Lights Clear
Don’t let cloudy lenses scare you into a massive repair bill; as long as you’re patient with the sanding, you can get them looking clear again without breaking the bank.
The real mistake most people make is skipping the UV sealant—if you don’t lock in that finish, those headlights are going to turn yellow again in a matter of weeks.
You don’t need a professional setup to do this right, just a decent restoration kit, a little bit of elbow grease, and the confidence to actually do the work yourself.
## The Real Cost of Cloudy Lenses
“A mechanic’s gonna tell you those cloudy headlights mean you need a whole new assembly, but honestly? It’s usually just a bit of oxidized plastic that needs some elbow grease and the right grit. Don’t let a hazy lens trick you into handing over a few hundred bucks when you could fix it for the price of a sandwich.”
Nikolai·Osterman
Look at That Clarity
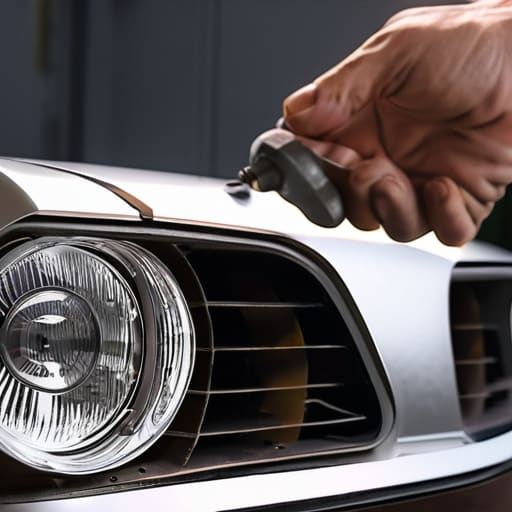
At the end of the day, clearing up those foggy lenses really comes down to three things: patience with the sanding, steady hands, and not skimping on the UV sealant. If you rushed the grit progression or tried to skip the protection step, you’d just be back where you started in a month. It’s about doing the job the right way instead of the fast way. You’ve gone through the grit, smoothed out the oxidation, and locked in that shine, which means you just saved yourself a couple hundred bucks that a shop would’ve easily charged you for the exact same result.
Honestly, seeing the difference between a crusty, yellowed lens and a crystal-clear one is one of the most satisfying parts of working on cars. It’s not just about how the ride looks, though; it’s about knowing you actually own your vehicle instead of just paying someone else to maintain it. Don’t let a little cloudy plastic intimidate you or make you feel like you need a professional’s sign-off. Grab your supplies, get your hands a little dirty, and trust the process. You’ve got this, and your headlights—and your wallet—will definitely thank you for it.
Frequently Asked Questions
How do I know if my headlights are actually fixable or if the plastic is too far gone and I just need to buy new ones?
Look, I’ve seen it all. If your lenses are just cloudy, yellowed, or feel rough like sandpaper, you’re good to go—restoration will save you a ton. But if you see deep cracks inside the plastic or if the lens feels physically pitted and “eaten away,” that’s usually internal damage or heavy UV degradation you can’t sand off. If the plastic is structurally compromised, don’t waste your time or money; just bite the bullet and buy new ones.
Do I really need to mask off the paint around the lens, or can I just wing it without scratching my car?
Look, you can wing it, but honestly? Don’t. I’ve seen way too many people try to save five minutes only to end up with swirl marks all over their fender because their sandpaper slipped. It’s way too easy to accidentally scuff your clear coat when you’re working with wet sandpaper. Just grab some blue painter’s tape, mask off the edges, and give yourself some peace of mind. It’s a tiny bit of extra work to prevent a huge headache.
If I don't have a professional buffer, can I still get decent results using just hand sanding and some basic supplies?
Look, you definitely don’t need a high-end buffer to get the job done. I’ve seen plenty of guys get great results just by putting in the elbow grease. The trick is to be patient with the hand sanding—don’t rush it. If you go through your grits properly and really even out those scratches, you’ll be fine. It just takes a bit more time and a steady hand, but it works.
