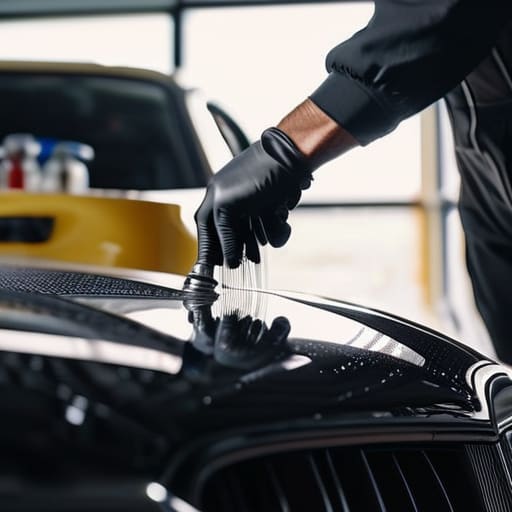
I remember popping the hood on my first project car—an old S13 with a massive buildup of oil sludge and road salt—and honestly, I almost just closed it back up and walked away. I thought a mess like that meant I was looking at a total disaster or a massive repair bill I couldn’t afford. But here’s the thing most shops won’t tell you: a filthy engine doesn’t always mean your car is dying, it just means you’re hiding the evidence. Most people avoid engine bay cleaning because they’re terrified of spraying water on sensitive electronics and frying a sensor, but that’s mostly just noise.
I’m not here to sell you on some overpriced, boutique detailing kit that costs more than my weekly groceries. In this guide, I’m going to show you the real way to get things spotless without risking a short circuit or a blown fuse. We’re talking about the practical, grease-under-the-fingernails methods I use every day at the shop. You’ll learn how to prep your components, which cleaners actually cut through the grime, and how to finish it off so your engine looks as good as it runs.
Table of Contents
- Step-by-Step Instructions
- Mastering Automotive Degreasing Techniques Without Breaking Things
- Protecting Electrical Components During Cleaning to Avoid Trouble
- Pro Tips to Keep You From Making a Mess of It
- The Bottom Line on Keeping It Clean
- ## The Real Reason to Clean
- Getting the Job Done
- Frequently Asked Questions
Guide Overview
Tools & Supplies
- Plastic covers or bags for protecting sensitive electronics
- Soft-bristled detailing brushes for scrubbing crevices
- Garden hose or low-pressure sprayer for rinsing
- Microfiber towels for drying and buffing
- All-purpose cleaner or degreaser (1 bottle)
- Distilled water (optional for rinsing)
- Engine dressing or silicone spray (1 bottle)
Step-by-Step Instructions
- 1. Before you even touch a spray bottle, you need to protect the electronics. Modern engines are packed with sensors and sensitive wiring that don’t play well with high-pressure water. Grab some plastic bags and some painter’s tape, and cover your alternator, the air intake, and any exposed fuse boxes. If you let water get into those connections, you’re looking at a massive headache that no amount of cleaning can fix.
- 2. Grab a stiff-bristled brush and a decent degreaser—don’t bother with the cheap stuff if you’ve got heavy oil buildup. Spray the degreaser over the dirty areas, focusing on the metal components and the grime-caked spots around the engine block. Let it sit for a few minutes so it can actually break down the grease, but don’t let it dry completely on the surface or you’ll be scrubbing for hours.
- 3. Now it’s time for the actual scrubbing. Use a smaller detail brush for the tight, hard-to-reach spots around the bolts and hoses. This is where most people get lazy, but if you want a truly clean engine, you can’t just spray and pray. Work the grime loose manually until the surface looks manageable rather than just a muddy mess.
- 4. When you’re ready to rinse, go easy on the pressure. If you’re using a garden hose, keep it on a steady stream rather than a high-pressure blast. You want to wash away the loosened dirt and degreaser without forcing water into every little crevice or under the seals. Think of it more like a thorough rinse than a power wash.
- 5. Once the heavy lifting is done, grab a clean microfiber towel or even an old rag to wipe down the dry surfaces. If there are still stubborn spots, you might need to go back in with a little more brush work, but usually, a quick wipe-down is enough to reveal the real finish underneath.
- 6. For the final touch, if you want that “just detailed” look, you can apply a water-based plastic dressing to the trim and hoses. Avoid the heavy, greasy silicone sprays that attract dust like a magnet; you want something that stays clean longer. Once everything is dry, pull off those plastic bags from your electronics, and you’re good to go.
Mastering Automotive Degreasing Techniques Without Breaking Things
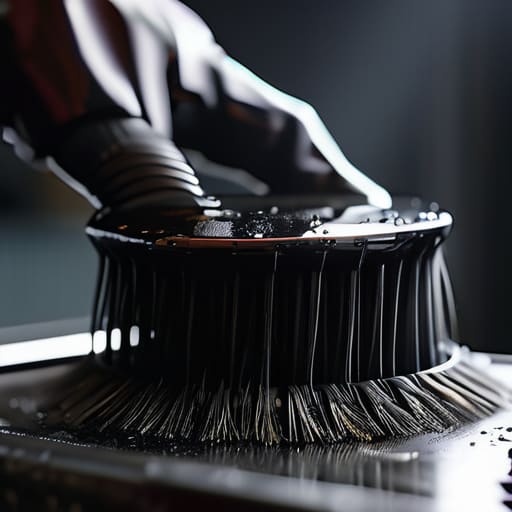
Look, I’ve seen too many people go in guns blazing with a high-pressure washer and end up with a dashboard full of warning lights. If you want to get serious about removing oil buildup from engine parts, you have to be smart about it. Don’t just spray everything down. Start by using a dedicated brush to work your safe engine cleaning products into the heavy grime first. This breaks down the sludge so you aren’t just moving dirt around. It’s about the prep work, not how much water you blast at the block.
The real trick to not ruining your day is protecting electrical components during cleaning. I always keep a handful of plastic grocery bags and some electrical tape in my kit. Before you even touch a degreaser, wrap up your alternator, fuse box, and any exposed sensors. If you aren’t careful, you’re basically inviting a short circuit. It’s a bit of extra work, but preventing water damage to engine electronics is way easier than trying to diagnose a fried ECU later. Use your patience, keep the pressure low, and you’ll be fine.
Protecting Electrical Components During Cleaning to Avoid Trouble
Look, I’ve seen too many people go into a garage with a pressure washer thinking they’re doing a pro job, only to end up with a car that won’t start because they fried a sensor. When you’re protecting electrical components during cleaning, you have to treat the engine like it’s fragile, even if it looks like a solid block of iron. Grab some plastic grocery bags and some rubber bands; I always wrap mine around the alternator, the fuse box, and any exposed coil packs before I even touch a spray bottle. It’s a small step that saves you a massive headache later.
Once you’ve got your covers on, be careful with how you apply your liquids. Even if you’re using safe engine cleaning products, you don’t want to blast high-pressure water directly into those harness connectors. If you see a connector that looks a bit loose or cracked, just leave it alone and avoid the direct spray. If you do get some moisture in there, don’t panic—just use some compressed air to blow it out. Preventing water damage to engine electronics is all about being methodical rather than just trying to blast the dirt away as fast as possible.
Pro Tips to Keep You From Making a Mess of It
- Don’t go overboard with the water pressure. I’ve seen guys use a pressure washer like they’re cleaning a driveway, and that’s a fast track to blowing out a sensor or forcing moisture into a connector. A gentle spray from a garden hose is usually all you actually need.
- Work from the top down. It sounds obvious, but if you start spraying the bottom of the engine block first, you’re just going to kick all that loosened grime and degreaser back up onto the parts you just cleaned. Start with the plastic covers and work your way down.
- Let the chemicals do the heavy lifting. If you’re scrubbing like your life depends on it, you’re probably going to scratch something or wear down a seal. Spray your degreaser, let it sit for a few minutes to actually break down the oil, and then let it rinse off.
- Keep an eye on your air intake. I can’t stress this enough—make sure you aren’t spraying water directly into the air box or the intake manifold. If you suck water into the cylinders, you aren’t just cleaning; you’re looking at a massive repair bill.
- Dry it out properly before you even think about starting the car. Use a leaf blower or some compressed air to get the water out of those tight crevices and electrical plugs. Leaving standing water in a connector is just asking for a weird electrical ghost to haunt your dashboard later.
The Bottom Line on Keeping It Clean
Don’t go overboard with the water pressure; you’re trying to wash away grease, not strip the wiring out of your harness.
Degreaser is your best friend, but let it do the heavy lifting—scrubbing like a maniac usually just moves the mess around.
If you take the time to cover your sensors and electrical bits now, you won’t be spending your weekend chasing phantom check engine lights.
## The Real Reason to Clean
A clean engine bay isn’t about making your car look like a showpiece; it’s about being able to actually see a leak before it turns into a blown gasket and a massive repair bill.
Nikolai·Osterman
Getting the Job Done

Look, cleaning your engine isn’t some high-stakes surgery, but you can’t just go in there spraying water like you’re washing a driveway. We talked about why you need to cover those electrical connectors first and how picking the right degreaser makes the difference between a clean finish and a melted plastic mess. If you took the time to protect your sensors and worked through the grime layer by layer, you’ve already done more than most drivers ever bother to do. It’s about being methodical—using the right brush, applying pressure where it counts, and making sure you don’t leave any standing water in the nooks and crannies.
At the end of the day, a clean engine bay isn’t just about making your car look pretty for a weekend meet; it’s about taking ownership of your machine. When you can actually see what’s happening under that hood, you’ll catch a leaking hose or a cracked belt before it turns into a massive, expensive repair bill. Don’t let the grease and dirt intimidate you. Once you get through that first session, you’ll realize that keeping your car in top shape is well within your reach. Just grab your tools, stay patient, and stop letting the mess hide the truth about how your car is actually running.
Frequently Asked Questions
Is it actually safe to use a pressure washer on my engine, or am I just asking for a blown sensor?
Look, I get why you’re asking. It’s tempting to just blast everything and be done with it, but honestly? Be careful. Using a pressure washer is like playing Russian roulette with your sensors. If you get too close or use too much PSI, you’re going to force water into connectors or blow a seal, and then you’re looking at a massive repair bill. Stick to a garden hose on low pressure or, better yet, just use a spray bottle.
How long should I let the degreaser sit before I start scrubbing, and will it eat through my paint if I'm not careful?
Give the degreaser about five to ten minutes to do its thing. You want it to sit long enough to actually break down that baked-on grime, but don’t let it dry completely—if it turns into a crusty film, you’re just making more work for yourself. As for your paint, most decent engine degreasers are safe, but don’t go dumping it on your fenders and leaving it there. Keep it on the metal and rubber, and you’ll be fine.
Once everything is clean and dry, do I really need to apply any kind of protectant to the plastic and rubber parts?
Look, you don’t have to, but if you want to save yourself a headache later, you probably should. All that degreaser and scrubbing strips away the natural oils that keep plastics from getting brittle and rubber from cracking. I always hit the hoses and trim with a decent UV protectant once things are dry. It keeps everything looking fresh and, more importantly, stops your engine bay from looking like a dried-out desert in six months.
