I remember pulling a beat-up old hatchback into my bay last week, and the customer was dead serious about paying a shop three hundred bucks just to “verify the structural integrity” of his glass. It’s honestly ridiculous how some places try to turn a simple windshield seal inspection into some high-tech, expensive mystery just to pad their invoices. I’ve spent enough weekends in my dad’s garage to know that most of the time, you don’t need a specialized diagnostic computer or a massive bill to figure out if your seal is shot; you just need to know what to look for with your own eyes.
I’m not here to give you some textbook lecture or hide behind fancy terminology. My goal is to show you how to perform a proper windshield seal inspection using nothing more than a flashlight and a bit of common sense. I’ll walk you through the exact signs of failure I look for when I’m working on a car, so you can catch a leak before it turns into a moldy, ruined interior. Let’s get into it and make sure you aren’t paying for problems that you could have spotted yourself.
Table of Contents
Spotting the Real Signs of Windshield Seal Failure
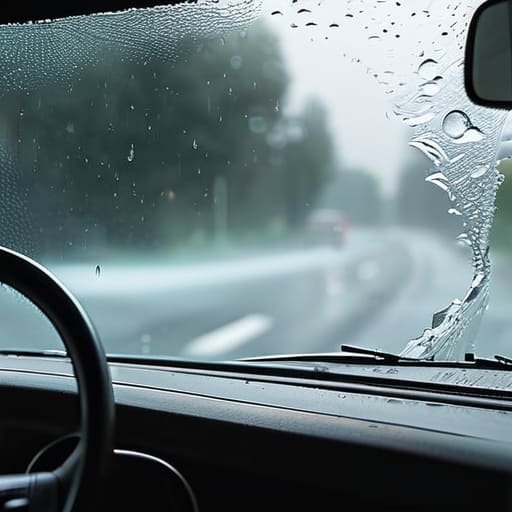
Most people don’t notice a bad seal until they’re staring at a puddle on their floor mats, but you shouldn’t wait that long. The first thing I always tell people is to keep an eye out for that telltale musty smell inside the cabin. If your car smells like a damp basement even after you’ve cleaned it, you’ve likely got moisture trapped somewhere it shouldn’t be. Another dead giveaway is seeing fog or condensation building up on the inside of the glass, especially in the corners. That’s a major red flag for signs of windshield seal failure because it means air and moisture are finding a way past the barrier.
You also want to do a quick visual sweep of the perimeter. Grab a flashlight and look for any gaps, cracks, or areas where the rubber looks brittle or pulled away from the frame. If you see any bubbling in the paint near the edges, that’s a sign that water is actually getting under the surface. Catching these small issues early is the best way to handle preventing water intrusion in car windshields before you end up with expensive electrical gremlins or mold issues.
Mastering Automotive Glass Leak Detection Yourself
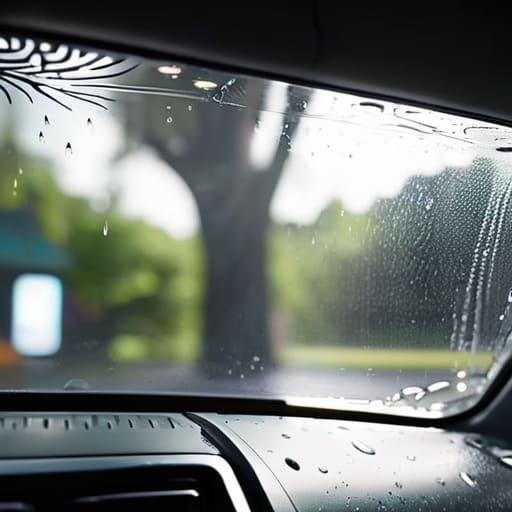
To really get good at automotive glass leak detection, you can’t just rely on your eyes; you’ve got to use a little bit of logic. One of the easiest ways I do this in the shop is the “hose test.” On a dry day, have a buddy run a garden hose around the edges of the glass while you sit inside with a flashlight. If you see even a tiny bead of water creeping in, you’ve found your culprit. It’s way better to catch that now than to find out later that your electronics are fried from moisture.
You should also pay close attention to any weird smells or dampness in the footwells. If your carpets feel heavy or smell a bit musty, it’s a huge red flag for preventing water intrusion in car windshield areas. I always tell people to check the corners of the glass where the seal meets the frame. If the rubber looks cracked or feels brittle, that’s one of those clear windshield rubber seal replacement signs you shouldn’t ignore. Grab a flashlight, get low, and actually look at the edges.
5 Pro Tips for Catching Leaks Before They Get Ugly
- Grab a high-lumen flashlight and run it along the edges of the glass on a dark night; if you see any light peeking through the rubber, your seal is shot.
- Keep an eye on your windows when it rains—if you see fogging or moisture building up specifically in the corners of the glass, that’s a dead giveaway for a failing seal.
- Don’t ignore that weird whistling sound when you’re hitting highway speeds; usually, that’s just air finding its way through a gap in the weatherstripping.
- Check your floor mats for dampness after a heavy storm, because water that leaks through the windshield often hides in the carpet before you even notice it’s there.
- Give the rubber trim a quick feel with your fingers to see if it’s getting brittle or cracking; if it feels hard instead of flexible, it’s not doing its job anymore.
The Bottom Line on Your Windshield
Don’t ignore the small stuff; if you smell dampness or see fogging in the corners of your glass, that seal is already failing you.
You don’t need a shop’s diagnostic computer to find a leak—a simple flashlight test and a quick look at the rubber trim will tell you everything you need to know.
Catching a bad seal early saves you from a massive headache, like moldy upholstery or a windshield that pops loose while you’re driving.
## The Cost of Ignoring the Small Stuff
“A bad seal might just be a little dampness today, but if you ignore it, you’re looking at mold in your upholstery and a whole lot of wasted money. Don’t let a tiny gap turn into a massive headache just because you were too busy to grab a flashlight.”
Nikolai·Osterman
Don't Leave It to Chance
Look, at the end of the day, keeping your windshield seal in check isn’t some high-level engineering feat. Whether you’re looking for those telltale moisture spots on your floor mats, listening for that annoying wind whistle on the highway, or doing a quick visual sweep of the rubber, you’re already ahead of most drivers. You don’t need to wait for a massive leak to turn your car into a swamp or, worse, compromise the structural integrity of your glass. Just keep a sharp eye on the edges and don’t ignore those small warning signs. Catching a bad seal early is the difference between a quick, cheap fix and a total headache that costs you a fortune at the shop.
I know it can feel intimidating when you first start poking around under the hood or checking the seals, but honestly, you’ve got this. Every time you take a few minutes to inspect your own ride, you’re taking the power back from the shops that want to charge you for things you could’ve spotted yourself. It’s about building confidence and actually understanding the machine you drive every single day. So, grab your flashlight, get a little grease on your hands if you have to, and take control of your maintenance. Your car—and your wallet—will definitely thank you for it.
Frequently Asked Questions
If I find a small crack in the seal, can I just use some silicone sealant to patch it myself, or is that a waste of time?
Honestly? It’s mostly a waste of time. I’ve seen guys try to glob silicone on a crack thinking they saved a buck, but it never actually holds. Windshields deal with massive temperature swings and constant vibration; that DIY patch is gonna peel off or leak within a week. If the seal is actually compromised, you’re looking at a real repair or a replacement. Don’t waste your money on sealant; save it for the actual fix.
How often should I actually be checking these seals, especially if I live somewhere with crazy temperature swings?
If you’re dealing with massive temperature swings, you can’t just set it and forget it. I’d say give it a solid look every couple of months, or at least whenever the seasons flip. Extreme heat makes the rubber brittle, and sudden cold makes everything contract. If you notice your defroster acting weird or a weird musty smell in the cabin, don’t wait for the next scheduled check—go look at those seals immediately.
Is there a way to tell if the leak is coming from the windshield seal specifically or if it's actually coming from the roof gutter or door frame?
That’s a fair question, and honestly, it’s where most people get stuck. Here’s how I do it: grab a garden sprayer or a hose and have someone spray one specific area at a time while you sit inside. If you spray just the windshield and the water hits your face, you’ve found your culprit. If you hit the roof gutters or door frames and it stays dry, you know the seal is actually fine.
