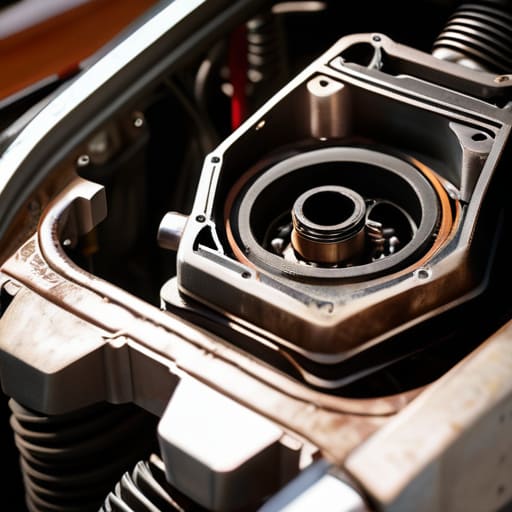
I remember sitting in my dad’s garage when I was twelve, staring at a dead battery and listening to him explain that we didn’t need to shell out five hundred bucks for a new part. He just pointed at the alternator and said, “We can fix this ourselves.” Most shops will try to tell you that an aging electrical system needs a total overhaul, but that’s usually just a way to pad their invoice. Real alternator repair isn’t some dark art reserved for guys with master degrees and specialized diagnostic computers; it’s mostly just about knowing which bolt to turn and making sure you don’t lose your small fasteners in the engine bay.
I’m not here to give you some textbook lecture or a list of fancy jargon you’ll never use. I’m going to show you exactly how I handle these jobs at the shop, from testing the voltage to actually swapping the unit out without breaking your spirit. My goal is to give you the straight truth so you can get back on the road without feeling like you just got taken for a ride. If you’ve got a basic socket set and a little bit of patience, you’ve got this.
Table of Contents
- Recognizing Critical Alternator Replacement Symptoms Early
- Mastering Diy Alternator Troubleshooting Before You Break Down
- Pro-Tips from the Shop Floor: How to Not Mess Up Your Alternator Job
- The Bottom Line on Your Alternator
- ## Don't Let a Dead Battery Lie to You
- Don't Let a Dead Battery Keep You Down
- Frequently Asked Questions
Recognizing Critical Alternator Replacement Symptoms Early

You don’t want to be stuck on the shoulder of a highway at 10 PM because your battery suddenly gave up the ghost. Usually, your car will give you some fair warning before it leaves you stranded. The most obvious signs of a failing alternator are the little things you might ignore at first—like your headlights getting dim when you’re idling at a red light, or your dashboard lights flickering like a cheap horror movie. If you notice your power windows are moving slower than usual or your radio keeps cutting out, your car is basically screaming at you that the electrical supply is getting shaky.
If you want to get ahead of the game, I always recommend a little bit of diy alternator troubleshooting before you go panic-buying parts. If your battery light pops up on the dash, don’t just assume it’s a dead battery. Grab a multimeter and try some multimeter voltage testing on the terminals while the engine is running. If you aren’t seeing a steady reading between 13.5 and 14.5 volts, you’ve likely found your culprit. Catching these issues early saves you from a massive headache later.
Mastering Diy Alternator Troubleshooting Before You Break Down
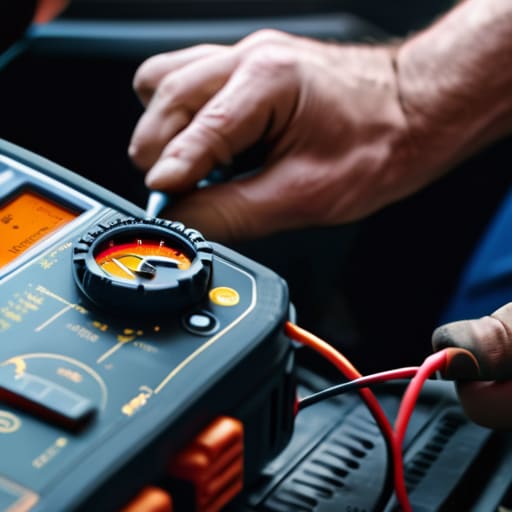
Before you go tearing into your engine bay, you need to make sure the alternator is actually the culprit. I’ve seen plenty of people rush into a full replacement only to realize they just had a loose battery terminal or a blown fuse. The best way to start is with some basic car charging system testing. If your dashboard lights are flickering or your headlights seem dim when you’re idling, that’s a massive red flag. I always recommend checking your battery connections first; if they’re corroded or loose, the alternator can’t do its job properly no matter how new it is.
If the connections look clean, it’s time to get a little more technical with some multimeter voltage testing. This is where most people get intimidated, but it’s actually pretty straightforward. With the engine running, you should see a reading between 13.5 and 14.7 volts. If you’re seeing anything significantly lower than that, you’ve likely found the source of your headache. This kind of diy alternator troubleshooting saves you a ton of money and prevents you from buying parts you don’t actually need.
Pro-Tips from the Shop Floor: How to Not Mess Up Your Alternator Job
- Don’t just swap the part blindly. Before you spend money on a new alternator, use a multimeter to test your battery voltage while the engine is running. If you aren’t seeing between 13.5 and 14.5 volts, you’ve definitely found your culprit.
- Keep your eyes peeled for “the belt dance.” If your serpentine belt is squealing or looks frayed, your new alternator won’t matter because it won’t spin right. Check the tension and the condition of that belt before you even unbolt the old unit.
- Clean your connections like your life depends on it. Most people get a new alternator, bolt it in, and wonder why the lights are still dim. Use a wire brush to scrub the corrosion off the battery terminals and the wiring harness connectors; a bad connection is just as deadly as a dead alternator.
- Watch your fingers and your workspace. I’ve seen too many guys try to reach around the fan shroud and end up with a nasty cut. Also, make sure you disconnect the negative battery terminal first. If you don’t, and your wrench hits the frame while you’re loosening the positive lead, you’re going to see some very expensive sparks.
- Grab a new serpentine belt if you can afford it. Since you’ve already gone through the trouble of getting everything disassembled to reach the alternator, it’s a waste of time to put an old, stretched belt back on. It’s a cheap part that saves you from having to do this whole job twice.
The Bottom Line on Your Alternator
Don’t wait for the car to die in a parking lot; if your lights are dimming or you’re seeing that battery light pop up, start testing things immediately.
Most of the time, it’s not a mystery—it’s just a bad connection or a worn-out belt, so check the easy stuff before you go dropping cash on a new unit.
You don’t need a specialized shop to do this; as long as you’ve got a decent socket set and a little patience, you can swap it yourself and keep that money in your pocket.
## Don't Let a Dead Battery Lie to You
Most people see a dim dashboard or a dead battery and think they need a whole new electrical system, but half the time, it’s just a tired alternator. Don’t let a shop talk you into a massive bill for something you can fix yourself with a basic socket set and twenty minutes of your time.
Nikolai·Osterman
Don't Let a Dead Battery Keep You Down

Look, at the end of the day, fixing an alternator isn’t some mystical science. We’ve covered the red flags—like those flickering dashboard lights or that weird whining sound—and we walked through how to test the voltage so you aren’t just guessing what’s wrong. If you’ve done the troubleshooting and confirmed the unit is shot, you’re already halfway there. Just remember to double-check your battery terminals and make sure your belt tension is dialed in once the new part is on. If you follow these steps and keep your workspace organized, you’ll avoid the most common mistakes that turn a simple swap into a massive headache.
I know it can feel intimidating when you’re staring at a complex engine bay, but don’t let a shop’s quote scare you off. Every time you pick up a wrench and tackle a job yourself, you’re taking back control of your wallet and your ride. You don’t need a fancy certificate hanging on a wall to be capable; you just need to trust your process and stay patient. Grab your magnetic tray, get under that hood, and just start working. You’ve got this, and your car will thank you for it.
Frequently Asked Questions
Do I really need to replace the whole alternator, or can I just swap out the brushes or the voltage regulator to save some cash?
Look, I get it—why spend $300 on a whole unit when a $20 regulator might be the culprit? If you’ve got the patience and a multimeter, you can definitely swap brushes or the regulator to save some cash. It’s a solid way to avoid getting ripped off. But honestly? If the bearings are whining or the internal windings are shot, don’t waste your time. Just swap the whole thing and move on.
How can I tell if my battery is actually dead versus the alternator just not charging it properly?
Look, this is the million-dollar question. The easiest way to tell is by checking your voltage while the engine’s running. If you jump-start the car and it dies again shortly after you remove the cables, your battery’s likely toast. But if the car stays running while jumped, but the lights flicker or dim when you rev it, that’s a huge red flag that your alternator isn’t doing its job.
Are there any specific tools I'll need for my specific car, or can I get away with just a basic socket set and a wrench?
Honestly, a basic socket set and a wrench will get you through about 80% of the job, but don’t get caught off guard. You’ll definitely want a tensioner tool or a long breaker bar to deal with that serpentine belt—trying to do it with just a standard ratchet is a massive pain. Also, grab some electrical contact cleaner. If your connections are crusty, a clean connection is the difference between a fix and a wasted afternoon.
