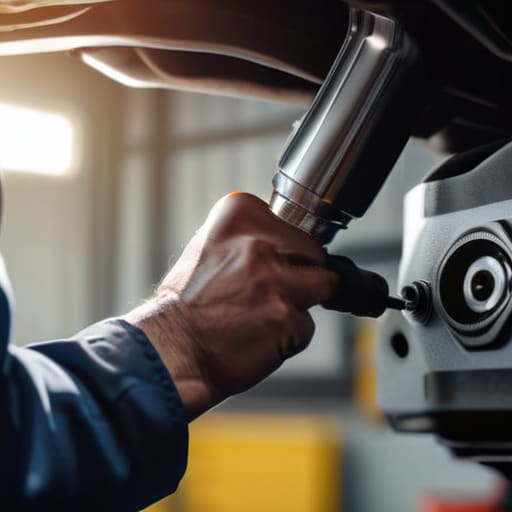
I was under a beat-up Corolla last Tuesday when I heard it—that specific, hollow clicking sound that usually means a sensor has finally given up the ghost. My customer had been told by a big-name dealership that a full engine overhaul was necessary because of a “complex electrical failure,” but I knew better. Most shops see a check engine light and immediately try to sell you the whole kitchen sink, when usually, a simple sensor replacement is all it actually takes to get you back on the road. It’s honestly frustrating how many people get talked into paying thousands for repairs that are actually pretty straightforward if you just know where to look.
I’m not here to give you a lecture or some textbook theory that doesn’t work in a real garage. My goal is to walk you through the actual process of a sensor replacement using the same logic I use when I’m working on my own tuners. I’ll show you which tools you actually need, which bolts are going to be a pain in the neck, and how to avoid the common mistakes that turn a quick fix into a weekend nightmare. You don’t need a mechanic’s degree to handle this; you just need a little bit of patience and the right info.
Table of Contents
Spotting Real Automotive Sensor Symptoms Early

Most people wait until their car completely dies on the side of the highway before they even look under the hood, but you can usually hear the warning signs long before that. You might notice some weird engine performance issues, like a sudden stumble when you’re merging onto the freeway or a rough idle while you’re sitting at a red light. Sometimes it’s even more subtle—maybe your gas mileage just tanked out of nowhere, or the car feels like it’s lagging when you step on the gas. These aren’t just random quirks; they’re often the first red flags of a component starting to fail.
If you want to get ahead of the game, you really need to get comfortable with some basic OBD-II scanner usage. Don’t let the tech intimidate you; plugging one in is way easier than most people think, and it’ll tell you exactly which part is acting up. Instead of guessing and throwing money at parts you don’t need, catching these small glitches early means you’re preventing a massive repair bill down the road. It’s much better to deal with a single wonky sensor now than to face a total engine meltdown later.
Mastering Obd Ii Scanner Usage for Truth

Look, you don’t need to spend a fortune at the dealership just to figure out what’s wrong. Most shops will charge you a hefty diagnostic fee just to plug in a tool, but mastering OBD-II scanner usage is how you take that power back. When that Check Engine light pops up, don’t just panic. Plug the scanner into the port under your dash and look for the specific P-code. That code is basically the car’s way of pointing a finger at the problem. Instead of guessing, you’re getting a direct lead on exactly which component is acting up.
The real trick is knowing that a code doesn’t always mean a part is dead; sometimes it’s just a ghost in the system. I’ve seen plenty of people jump straight into a massive repair job when they really just needed to clean a connector or check a ground wire. Use the scanner as a starting point for diagnosing engine sensor failure, not a final verdict. If you cross-reference that code with a quick search, you’ll save yourself a ton of headache and avoid paying for parts you don’t actually need.
Pro Tips for Swapping Sensors Without Losing Your Mind
- Don’t just eyeball the part number; grab your phone and double-check the exact sensor code against the new one before you even start unscrewing anything. Getting the wrong spec is a fast way to waste a Saturday.
- Use a little bit of penetrating oil on those old, crusty bolts a few minutes before you try to turn them. If you fight a seized sensor bolt without prep, you’re going to end up snapping it, and then we’re talking a much bigger headache.
- Keep your workspace clean and use my favorite trick—a magnetic parts tray. If you drop a tiny sensor clip or a single mounting bolt into the dark abyss of an engine bay, you’re going to be cursing for the next hour.
- When you’re plugging the new sensor in, listen for that subtle “click.” If you don’t feel it seat properly, you might leave a gap that lets moisture in, which’ll just trigger the same error code you’re trying to fix.
- Clean the wiring harness connectors with some electronic cleaner while you’ve got the old one out. There’s no point in putting a brand-new sensor in if the plug it connects to is covered in oil and grime.
The Bottom Line on Sensors
Don’t just swap parts because a code popped up; always double-check your wiring and connections first, because a loose plug is a lot cheaper to fix than a brand-new sensor.
Invest in a decent set of socket extensions and a multimeter—having the right tools makes the difference between a twenty-minute job and a two-hour headache.
Trust your gut and the data, not just what a shop tells you; if a sensor is acting up, you can usually diagnose and fix it yourself without getting hit by a massive labor bill.
## The Truth About Modern Sensors
“Mechanics love telling you a bad sensor means you need a whole new module or a trip to the dealership, but most of the time, it’s just a dirty connection or a ten-dollar part that’s been doing its job for too long. Don’t let a little warning light bully you into a massive repair bill; grab your scanner, find the fault, and take it back.”
Nikolai·Osterman
Don't Let the Dashboard Scare You
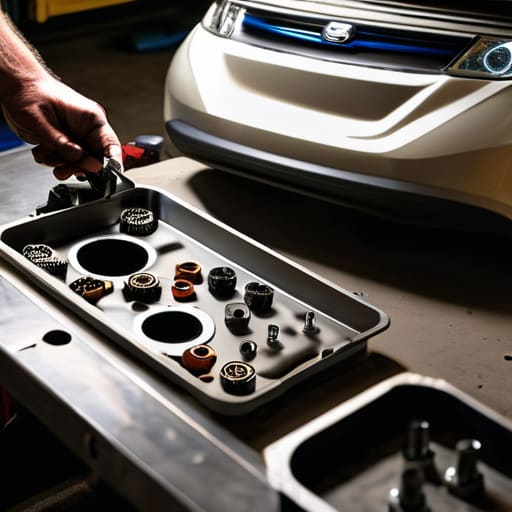
Look, replacing a sensor isn’t some dark art reserved for master techs with thirty years under their belts. We’ve covered how to listen to what your car is actually telling you through those weird symptoms, and how to use an OBD-II scanner to stop the guessing games. Once you’ve identified the culprit and grabbed the right socket from your kit, the hardest part is already behind you. It really just comes down to staying organized—keep those bolts in your magnetic tray so you aren’t hunting for them later—and making sure you don’t rush the job. If you can spot the error and confirm the code, you’ve already done more than most people ever bother to do.
At the end of the day, my goal is to make sure you feel confident the next time that Check Engine light pops up on your dash. Don’t let a little bit of plastic and wiring intimidate you into handing over a massive repair bill to a shop that’s just looking to pad their margins. Most of the time, you’re just one part away from having a perfectly smooth ride again. Grab your tools, take a breath, and just get to work. You’ve got this, and your wallet will definitely thank you for it.
Frequently Asked Questions
Is it actually worth buying a cheap scanner, or am I just wasting money on junk that won't give me real data?
Look, I get the temptation to grab those $20 Bluetooth dongles off Amazon, but honestly? You’re usually just buying a paperweight. If you want to actually diagnose something instead of just reading “Check Engine” codes, you need a tool that can show you live data streams. A cheap scanner might tell you a sensor is acting up, but a decent mid-range one will show you the actual voltage drop. Don’t waste your cash on junk.
How do I know if it's actually the sensor that's shot and not just some old, crusty wiring causing the issue?
That’s the million-dollar question. Honestly, I’ve seen shops charge for a brand-new sensor when all they really needed was a can of contact cleaner and some electrical tape. Before you go buying parts, grab a multimeter. Check for continuity and see if the wires are actually sending a signal. If the wiring looks frayed or the harness is pinched, fix that first. Don’t let a loose connection trick you into wasting money.
Can I just clean the sensor with some spray to fix the error code, or is a full replacement the only way to go?
Look, I get the temptation to just spray some cleaner on it and hope for the best, but it’s a gamble. If it’s just a little carbon buildup, a specialized cleaner might buy you some time. But if the internal element is shot or the wiring is fried, you’re just masking a dead part. Don’t waste your weekend chasing a ghost; if the code stays after a cleaning, just bite the bullet and replace it.
