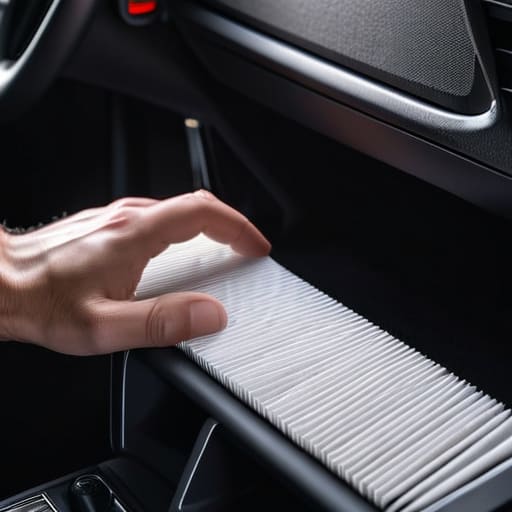
Ever notice how your car’s AC starts smelling like a pile of damp laundry the second you turn it on? Most shops will try to tell you that you need a specialized service or some high-end system flush, but honestly, that’s usually just a load of junk. Nine times out of ten, you’re just breathing through a clogged, filthy piece of paper. A simple cabin filter replacement is the actual fix, and it’s one of those things mechanics love to mark up because they know most people won’t bother checking. I remember my first week at the shop seeing guys charge customers a hundred bucks just to snap a plastic housing shut; it really bugs me.
I’m not here to give you some textbook lecture or a list of fancy tools you don’t need. I’m just going to show you exactly how to get in there, swap that dirty filter for a fresh one, and get back to driving without smelling like a basement. We’re going to keep this straightforward and practical, focusing on the real-world steps so you can stop overpaying and start breathing clean air again.
Table of Contents
- Step-by-Step Instructions
- Spotting Clogged Cabin Filter Signs Before They Stink
- Mastering Automotive Hvac Maintenance With Just Your Hands
- Pro Tips to Save You Time and a Headache
- The Bottom Line on Your Cabin Filter
- The Real Cost of a Dirty Filter
- Don't Let Them Overcharge You
- Frequently Asked Questions
Guide Overview
Tools & Supplies
- Flashlight or work light to see the housing
- Screwdriver (if your vehicle requires removing a panel)
- Replacement cabin air filter (1 unit)
- Microfiber cloth or vacuum (for cleaning debris)
Step-by-Step Instructions
- 1. First, grab your new filter and find where it lives. In most modern cars, it’s tucked right behind the glove box, but in some older models, you might have to look under the passenger side dashboard. I usually keep my magnetic tray handy just in case there are any small clips you need to catch so they don’t disappear into the floor mats.
- 2. Open your glove box and clear everything out. You don’t want your loose change or sunglasses falling into the footwell once you start moving things around. Most of the time, you’ll see two plastic tabs or dampeners on the sides of the box; just squeeze them inward to let the whole unit drop down toward the floor.
- 3. Once the glove box is hanging low, you’ll see the filter housing. It’s usually a rectangular plastic cover. Look for the little tabs on the side of that cover and give them a gentle tug to pop the lid off. If it feels like it’s stuck, don’t force it—just check if there’s a hidden screw or a clip you missed.
- 4. Slide the old, nasty filter out. This is the part where you’ll probably see a bunch of leaves, dust, or even dead bugs. It’s gross, but seeing how much junk was in there is exactly why you shouldn’t pay a pro to do this for you. Take a second to look at the direction of the airflow arrows on the side of the old filter; you’ll need that for the next step.
- 5. Take your clean filter and slide it into the slot. Make sure the airflow arrow is pointing in the same direction as the old one—usually, that means it’s pointing down toward the floor. If you put it in backward, you’re basically choking your AC system and making it work twice as hard as it needs to.
- 6. Snap the housing cover back into place until you hear it click into position. Then, lift your glove box back up and make sure those side tabs or dampeners are seated correctly. Give the glove box a quick shake to ensure everything is secure and flush before you go about your day.
Spotting Clogged Cabin Filter Signs Before They Stink
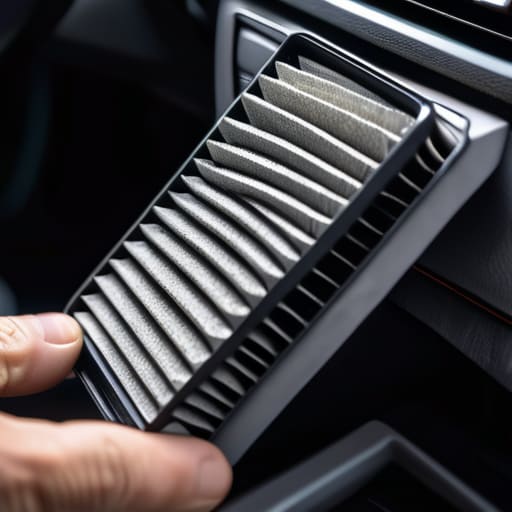
You don’t always have to wait for a nasty smell to realize something is wrong. One of the biggest clogged cabin filter signs I see at the shop is just a sudden drop in airflow. If you crank your AC to max and it feels like you’re barely getting a breeze, or if the defrost takes forever to clear your windshield, that filter is likely choked with dust and debris. It’s basically suffocating your system, making your blower motor work twice as hard as it should.
Another dead giveaway is the “musty sock” vibe. If you turn on the vents and get a whiff of something damp or earthy, your vehicle interior air quality has officially taken a dive. This usually happens because the filter is so saturated with organic matter that it’s actually holding onto moisture. Honestly, if you’re noticing more dust settling on your dashboard than usual, that’s a massive red flag. Don’t ignore these cabin air filter symptoms; catching them early saves you from potentially expensive automotive HVAC maintenance down the road.
Mastering Automotive Hvac Maintenance With Just Your Hands
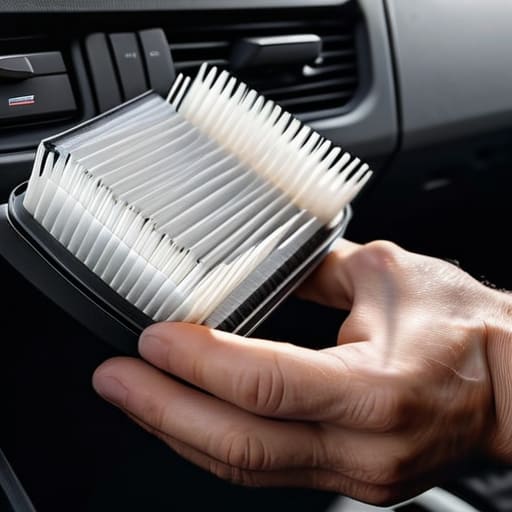
Look, swapping the filter is the easy part, but if you want to actually get good at automotive HVAC maintenance, you need to look at the bigger picture. Don’t just swap the paper and call it a day; take a second to check the area around the housing for any debris or fallen leaves. I’ve seen plenty of guys struggle with airflow issues only to realize a handful of pine needles were wedged right next to the slot. Keeping that space clear is huge for maintaining your vehicle interior air quality over the long haul.
While you’re at it, pay attention to how your vents feel. If you notice a weird damp smell or if the air just feels “weak” even on max blast, you might be dealing with more than just a dirty filter. Sometimes, moisture can build up in the evaporator, which is a total pain to deal with if it starts smelling like old gym socks. If you decide to upgrade, look into the HEPA cabin filter benefits—they’re a bit more expensive, but they do a much better job of catching the fine dust that standard ones miss.
Pro Tips to Save You Time and a Headache
- Grab a flashlight before you start. Most cabin filters are tucked away in dark corners behind the glovebox, and trying to feel around blindly is a great way to snap a plastic clip you didn’t mean to touch.
- Check the airflow arrow. Every filter has a little arrow on the side indicating which way the air should flow. If you flip it backward, you’re basically choking your HVAC system, and it won’t blow nearly as strong.
- Don’t cheap out on the heavy-duty stuff. I’ve seen people buy those super thin, bargain-bin filters just to save five bucks, but they clog up in weeks. Get a decent carbon-activated one; it actually handles the smells.
- Keep a vacuum handy. When you pull that old filter out, a mountain of leaves, dust, and whatever else has been living in there is going to fall out. Suck that junk up immediately so it doesn’t end up in your blower motor.
- Inspect the housing while it’s empty. Since the filter is out, take a second to look for any debris or dampness inside the slot. If there’s standing water or a pile of pine needles in there, a new filter isn’t going to fix your air quality.
The Bottom Line on Your Cabin Filter
Don’t let a shop talk you into a high-priced service for this; it’s one of the easiest DIY wins that saves you a massive headache and a lot of cash.
If your defroster is acting weak or the air smells like old gym socks, stop ignoring it and swap the filter out immediately.
Keep a spare filter in your glovebox or your tool kit so you aren’t caught off guard when the air quality starts tanking.
The Real Cost of a Dirty Filter
Most shops will try to sell you a “premium HVAC service” just to swap a piece of pleated paper, but honestly? It’s a five-minute job that shouldn’t cost you a dime in labor. Don’t let them gatekeep your own air quality.
Nikolai·Osterman
Don't Let Them Overcharge You
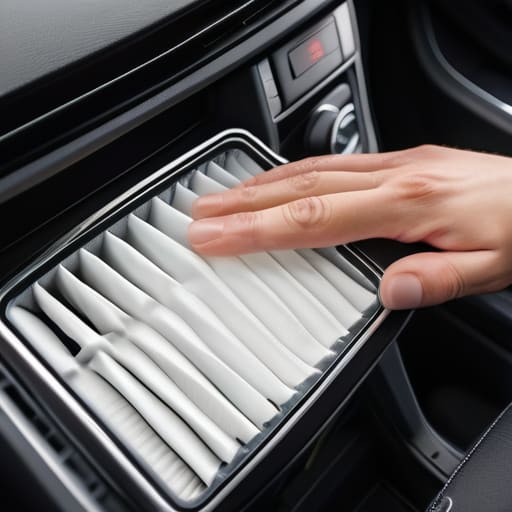
At the end of the day, swapping out your cabin air filter is one of those small wins that makes a massive difference in how your car feels. You’ve learned how to spot the warning signs like that weird dusty smell or a weak airflow, and you know that a quick inspection can save you from a headache later. It really isn’t about having a shop full of expensive scanners; it’s just about knowing where to look and having the right mindset. Once you’ve cleared out that old, clogged debris and popped in a fresh filter, you’ve officially taken control of your car’s environment and saved yourself a trip to the dealership for a job that should have taken ten minutes.
I know it can feel intimidating when you first pop the glovebox or look under the dash, but don’t let that stop you. Every time you pick up a tool and tackle a fix yourself, you’re building a level of confidence that no mechanic can sell you. My dad always said that the best way to respect a machine is to understand how it works, and that starts with the basics. Keep your tools handy, keep your eyes open, and remember that you are more than capable of keeping your own ride running clean. You’ve got this, so go out there and stop paying for the simple stuff.
Frequently Asked Questions
How often should I actually be swapping this thing out if I don't live in a dusty area?
Look, if you aren’t driving through construction zones or living in a literal desert, you don’t need to obsess over it. Honestly, once a year is a safe bet for most people. But don’t just go by the calendar; if you notice your defroster is acting weak or the airflow feels sluggish, that’s your cue. Even in clean areas, pollen and fine dust still find their way in. Just check it annually and you’re golden.
Is there a huge difference between the cheap generic filters and the expensive brand-name ones?
Look, I get the temptation to grab the cheapest one on the shelf, but don’t cheap out too much. Those ultra-budget generic filters are usually just thin mesh; they catch big dust bunnies but let the fine stuff right through. If you want to actually protect your HVAC system and your lungs, spend the extra few bucks on a decent brand or a carbon-activated one. It’s worth the extra change to avoid that stale smell.
If I replace the filter and the air still smells like old gym socks, what's the next thing I should check?
If you swapped the filter and it still reeks, you’ve likely got a mold or bacteria problem living in your evaporator core. Basically, moisture gets trapped in there and starts growing stuff. I’d grab a can of specialized HVAC disinfectant foam—you spray it directly into the vents or the drain tube. If that doesn’t kill the funk, check your AC drain line; if it’s clogged, standing water is just rotting in your dash.
