I remember sitting on my dad’s oil-stained concrete floor when I was ten, watching him stare at a cracked plastic tank on an old Corolla. The mechanic at the shop down the street had told him he needed a whole new cooling system, a quote that would’ve cost more than the car was worth. That’s when I realized that most shops try to make radiator repair sound like some high-level science experiment just to pad their invoices. Truth is, if you’ve got a leak or a clogged core, you aren’t looking at a mechanical mystery; you’re just looking at a fixable problem that doesn’t require a specialized degree to solve.
I’m not here to give you some textbook lecture or sell you on expensive, proprietary fluids you don’t actually need. I’m going to walk you through the actual, greasy reality of how to diagnose a leak and handle the radiator repair yourself without blowing your paycheck. My goal is to give you the straight talk on which tools you actually need to grab from your toolbox and how to avoid the common mistakes that turn a quick fix into a weekend nightmare.
Table of Contents
Spotting the Signs of a Failing Radiator Early
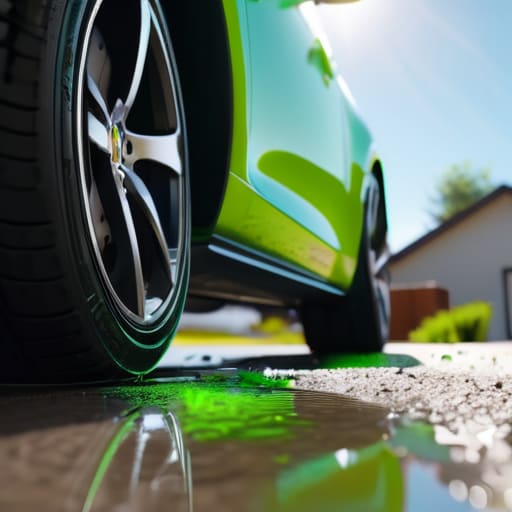
Before you end up stranded on the shoulder of a highway with smoke pouring out of your hood, you’ve got to learn how to listen to what your car is telling you. One of the most obvious signs of a failing radiator is a sweet, sickly smell coming from under the hood—that’s your coolant leaking and hitting a hot engine component. If you notice a puddle of bright green, orange, or pink fluid on your driveway after the car’s been sitting overnight, don’t just ignore it. That’s not just a mess; it’s a warning that your system is losing the pressure it needs to keep things stable.
Keep a close eye on your temperature gauge, too. If you see that needle creeping toward the red zone during stop-and-go traffic, your engine is fighting to stay cool. Sometimes it’s just a bad thermostat, but more often than not, it’s a sign that your engine cooling system maintenance has been neglected for too long. If you catch these small leaks or temperature spikes early, you might just save yourself from a massive repair bill or, worse, a warped engine block.
Mastering the Art of a Pro Automotive Coolant Flush
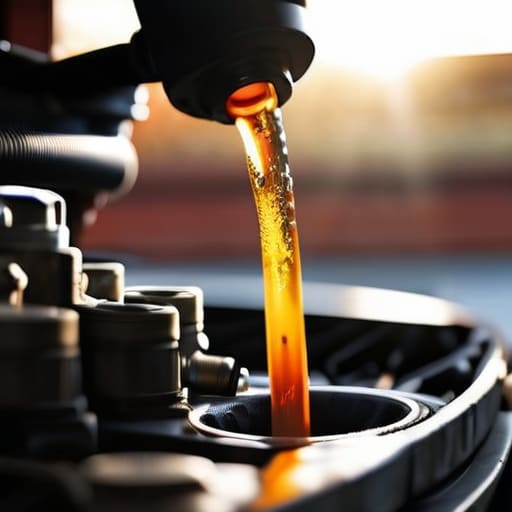
Once you’ve confirmed the radiator isn’t physically cracked, it’s time to tackle the actual automotive coolant flush. Don’t just drain the old stuff and pour in new fluid; that’s how you end up with sludge sitting at the bottom of your engine block. You need to get that old, acidic liquid completely out. I usually start by warming up the engine just enough so the fluid flows easily, then I drain it into a catch pan. If the old coolant looks like muddy water or has chunks in it, you might need to run a distilled water cycle through the system a couple of times to really scrub the internals clean.
After you’ve cleared out the gunk, you’re ready for the refill. This is where most people mess up by leaving air pockets trapped in the lines. I always recommend a slow pour and a bit of patience while the car idles to let the air bleed out. While you’re at it, take a quick look at your hoses; if they feel spongy or look cracked, go ahead and do a radiator hose replacement now while the system is already drained. It’s way cheaper to swap a $20 hose today than to deal with a blown engine tomorrow.
Pro Tips to Save Your Engine (and Your Wallet)
- Never, and I mean never, open a radiator cap while the engine is hot. You’ll end up with a face full of boiling coolant, and trust me, that’s a way more painful repair than anything else we’re talking about today.
- When you’re replacing a hose, don’t just eyeball it. Make sure you’re using the right diameter and check for any kinks. A pinched hose is just a slow-motion death sentence for your cooling system.
- Get yourself a decent pressure tester. It’s a cheap tool that pays for itself instantly because it lets you find those tiny, annoying leaks that are hiding in plain sight before they turn into a full-blown overheat.
- Don’t go cheap on the coolant. Mixing different types or using old-school water can mess up the pH balance and start eating away at your water pump from the inside out. Stick to what your owner’s manual says.
- Keep a close eye on your radiator cap. If the seal looks cracked or the spring feels weak, just swap it out. It’s a tiny, cheap part, but a bad cap can prevent your system from holding the pressure it needs to work right.
The Bottom Line on Keeping Your Engine Cool
Don’t wait for steam to start pouring out of your hood; if you see even a tiny puddle of bright-colored fluid under your car, deal with it immediately before it turns a cheap fix into a blown head gasket.
Stop using just plain tap water to top off your coolant; it’s full of minerals that’ll gunk up your system and eat away at your radiator from the inside out.
You don’t need a shop’s specialized pressure tester to know something is wrong—trust your gut and your eyes, and if things look crusty or leaking, grab your tools and get ahead of the problem.
The Real Cost of Ignoring Your Coolant
A mechanic will charge you a fortune to replace a warped head gasket because you let a $20 radiator leak go ignored for too long. Don’t let your pride or a little bit of hesitation turn a simple fix into a total engine rebuild.
Nikolai·Osterman
Don't Let a Small Leak Turn into a Big Bill
Look, at the end of the day, keeping your cooling system in check isn’t some mystical science. We’ve covered how to catch those early warning signs like sweet-smelling leaks or rising temp gauges, and we walked through the actual process of a proper coolant flush. It’s really just about staying ahead of the game. If you catch a hairline crack in a hose or a bit of sludge in the radiator before it turns into a massive overheat, you’ve already won half the battle. Don’t wait until you’re stranded on the shoulder with steam pouring out from under your hood to realize something was wrong. Just keep an eye on your levels and trust your gut when things don’t feel right.
I know it can feel intimidating when you first pop the hood and see all those hoses and clamps, but I promise you, you’re more capable than you think. Every time you pick up a wrench and tackle a repair yourself, you’re taking the power back from the big shops that thrive on overcharging people for simple fixes. It’s not just about saving a few bucks—it’s about the confidence of knowing exactly what’s happening inside your own machine. So, grab your tools, keep that magnetic tray handy, and get to work. Your car will thank you, and your wallet definitely will too.
Frequently Asked Questions
Is it actually safe to mix different types of coolant, or am I going to gunk up my whole system?
Look, I’ve seen guys try to save a few bucks by mixing whatever’s on sale, and it’s a disaster waiting to happen. Different coolants use different chemical additives—some are silicates, some are organic acids. When you mix them, they can react and create a thick, nasty sludge that clogs your heater core and radiator. Don’t risk it. If you’re switching types, flush the whole system thoroughly first. It’s not worth the headache.
How do I know if I just need a new hose versus the entire radiator being shot?
Look, don’t go dropping hundreds on a new radiator if you don’t have to. If you see a puddle that looks like clear or colored water and the leak is coming from a soft, squishy spot on a rubber line, it’s probably just a hose. But if the leak is coming from the metal fins or the plastic side tanks are cracked, that radiator is shot. Check the pressure; if the hose holds, swap it.
Can I just patch a small leak with some sealant, or is that just a temporary band-aid that'll end up blowing my engine?
Look, I’ll be straight with you: sealant is a band-aid, not a cure. It might stop a drip for a few days, but it’s risky. Those additives can gunk up your heater core or clog the tiny passages in your radiator, turning a cheap fix into a massive headache. If you’re in a pinch to get home, fine, but don’t rely on it. Patch it if you have to, but plan to replace the part ASAP.
