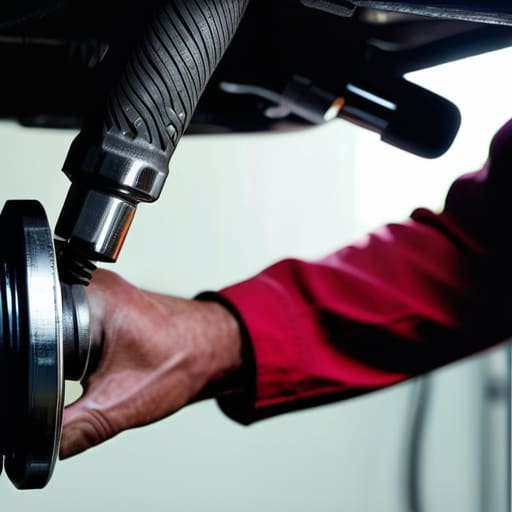
You hear that low, rhythmic growl every time you hit forty, and your first instinct is to head straight to the dealership to get a massive quote. Most mechanics will try to tell you that a wheel bearing replacement is some high-level, specialized procedure that requires a heavy-duty lift and a master tech, but honestly? That’s mostly just a way to pad the invoice. I remember the first time I heard that grinding noise on my old Silvia; I was terrified I’d broken something expensive, but once I got under there with my socket set, I realized it was just a matter of patience and the right leverage.
I’m not here to give you some polished, textbook lecture that ignores the reality of a greasy driveway. In this guide, I’m going to walk you through the actual process of a wheel bearing replacement using the same straightforward methods I use at the shop. I’ll show you which tools are actually worth your money, how to avoid the common mistakes that leave you stranded with a car on jack stands, and how to stop the noise for good without emptying your bank account.
Table of Contents
- Step-by-Step Instructions
- Listen Closely Spotting Those Warning Wheel Bearing Symptoms
- The Right Gear Essential Wheel Bearing Replacement Tools
- Pro Tips from the Shop Floor: Don't Make These Rookie Mistakes
- The Bottom Line on Swapping Bearings
- ## Don't Let a Small Noise Become a Big Bill
- Don't Let a Noisy Hub Slow You Down
- Frequently Asked Questions
Guide Overview
Tools & Supplies
- Floor jack and jack stands to lift and secure the vehicle
- Lug wrench to remove the wheel bolts
- Socket set and breaker bar to loosen large axle nuts
- Torque wrench to tighten bolts to manufacturer specifications
- Hub puller or slide hammer if the bearing is seized
- Replacement wheel bearing/hub assembly (1 unit)
- Anti-seize lubricant (small tube)
- Brake cleaner (1 can)
Step-by-Step Instructions
- 1. First things first, you gotta get the car up and secure. Don’t be that person who relies on just a single jack; grab some jack stands and get the vehicle stable before you even think about getting under there. Once the car is steady, use your lug wrench to loosen the wheel bolts while the tire is still on the ground—it’s way easier to break them loose when there’s no resistance from the wheel spinning.
- 2. Get the wheel off and clear your workspace. Once you’ve jacked the car up high enough to work comfortably, finish unscrewing those bolts and pull the wheel off. I always like to slide the wheel under the frame near the jack as a backup safety measure just in case something slips. Now, take a rag and wipe down the area around the hub so you aren’t working in a pile of old road grime and grit.
- 3. Now we get to the messy part: getting the old bearing out. You’ll need to remove the brake caliper and the rotor first—just make sure you secure the caliper with a bungee cord or a wire so it doesn’t hang by the rubber brake line, otherwise, you’re looking at a much more expensive repair. Once the rotor is out of the way, you’ll see the hub assembly. Depending on your car, you might have to unbolt the spindle or use a heavy-duty puller to pop the old unit out of the knuckle.
- 4. Clean everything up before the new part goes in. This is where people get lazy and end up with a noisy bearing a month later. Take some brake cleaner and a wire brush to the knuckle where the new bearing sits. You want that surface to be completely smooth and free of rust so the new bearing seats perfectly. If there’s any debris left in there, the new part won’t sit flush, and you’ll be doing this whole job over again.
- 5. Slide the new bearing into place. Line it up carefully and give it a firm press into the knuckle. If it’s a press-in style, you might need a hydraulic press, but if it’s a bolt-on hub assembly like most modern cars, just line up the holes and start threading your bolts by hand. Never use an impact wrench to start the bolts; you want to make sure they’re threading in straight so you don’t cross-thread the new hardware.
- 6. Reassemble the brakes and torque it down. Put your rotor back on, reinstall the caliper, and make sure everything is tight. Once the hub is secure, pop the wheel back on and hand-tighten the lug bolts. Finally, lower the car back to the ground and use a torque wrench to tighten those bolts to the factory spec. If you don’t tighten them properly, you’re asking for vibrations or, worse, a wheel coming loose on the highway.
Listen Closely Spotting Those Warning Wheel Bearing Symptoms
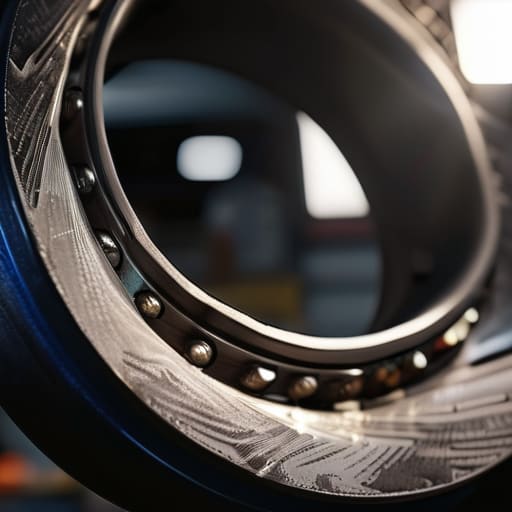
Most people wait until they hear a loud, rhythmic growling sound before they even think about checking their hubs, but by then, you’re usually looking at a much bigger headache. If you notice a humming or droning noise that seems to change pitch when you’re turning or shifting weight in a corner, that’s a massive red flag. One of my favorite ways to figure out if it’s actually the bearing is to safely sway the car slightly while driving; if the sound gets louder when you veer left, the right side is likely the culprit. Knowing how to diagnose bad wheel bearings early can save you from a much more expensive job later on.
You should also keep an eye out for any weird vibrations in the steering wheel or a feeling that the car is “wandering” on the road. Sometimes, a failing bearing can even cause the wheel to feel loose or shaky, which is a serious car maintenance safety issue you can’t afford to ignore. If you feel any play in the wheel when you jack the car up and grab the tire at the 12 and 6 o’clock positions, it’s time to stop driving and start wrenching.
The Right Gear Essential Wheel Bearing Replacement Tools
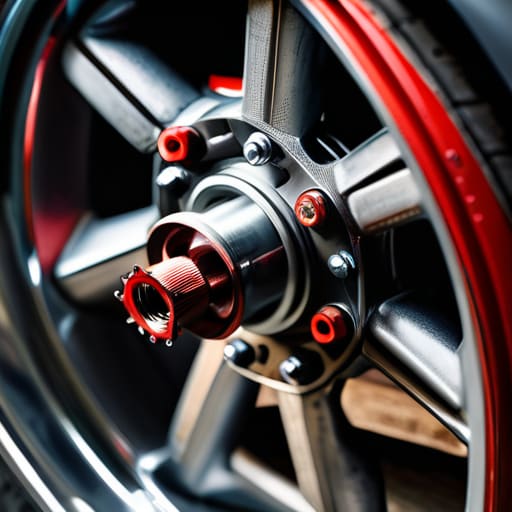
Look, you can try to wing it with whatever’s lying around in your junk drawer, but you’re going to end up stripping a bolt or, worse, hurting yourself. For a proper hub unit installation, you really need a solid set of heavy-duty sockets and a decent breaker bar to crack those stubborn axle nuts loose. I always keep my magnetic parts tray handy because once you start pulling those old clips and bolts, they will disappear into the garage floor if you aren’t careful.
If you’re dealing with a more complex setup, don’t skip having a dedicated puller or a hydraulic press if the job calls for it. Also, make sure you’ve got a good way to handle brake rotor removal—sometimes a few taps with a rubber mallet is all it takes, but a dedicated puller saves a lot of frustration. Most importantly, don’t forget the basics of car maintenance safety; always jack the car up on solid jack stands, never just a floor jack. Getting the right wheel bearing replacement tools ahead of time means you won’t be stuck halfway through the job, staring at a half-disassembled car and wishing you’d gone to the hardware store.
Pro Tips from the Shop Floor: Don't Make These Rookie Mistakes
- Don’t skip the penetrating oil. Seriously. If you try to wrestle a rusted-out hub assembly without soaking it in some PB Blaster or Liquid Wrench overnight, you’re going to end up fighting a losing battle and potentially snapping a bolt.
- Use a torque wrench for the final tighten. I see guys doing this all the time—just cranking the lug nuts or the hub bolts until they “feel” tight. That’s how you warp your rotors or, worse, have a wheel come loose on the highway. Do it by the book.
- Clean your mating surfaces like your life depends on it. Before you pop that new bearing in, grab a wire brush and make sure the knuckle is spotless. If there’s old grit or rust trapped between the new part and the car, you’re basically asking for vibration issues down the road.
- Watch out for the ABS sensor. These things are fragile and usually sit right near the bearing you’re messing with. If you’re being too aggressive with your hammer or pry bar, you can snap that sensor in half, and suddenly a simple bearing swap turns into a massive electrical headache.
- Check the other side while you’re at it. If the bearing on your front left is shot, the one on the right isn’t far behind. It’s much easier to do both at once while you’ve already got the jack and the tools out than it is to do the whole job twice.
The Bottom Line on Swapping Bearings
Don’t wait for the noise to turn into a vibration; if you hear that grinding, your bearing is already on its way out and it’s way cheaper to fix it now than to deal with a wheel locking up later.
You don’t need a master tech certification, but you do need the right tools—don’t try to wing it with a cheap socket set if you want to avoid rounding off bolts or stripping parts.
Take your time and stay organized; keep your bolts in a tray and double-check your torque specs so you can drive away knowing the job was actually done right.
## Don't Let a Small Noise Become a Big Bill
Most shops will try to tell you a grinding hub is a major job that requires a specialist, but honestly? If you’ve got a decent socket set and a little patience, you’re already halfway there. Don’t let a noisy bearing scare you into an expensive repair bill you could’ve handled yourself in your own driveway.
Nikolai·Osterman
Don't Let a Noisy Hub Slow You Down
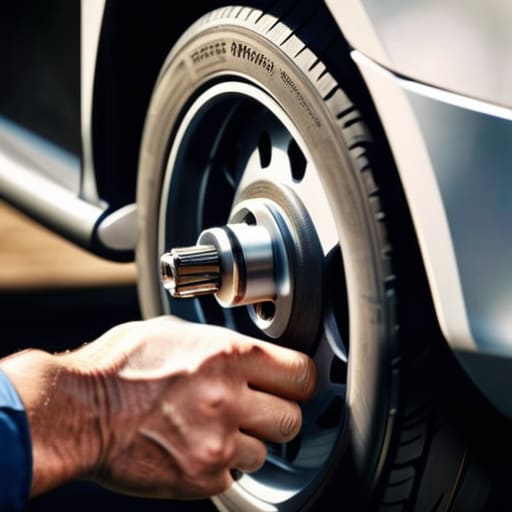
Look, swapping out a wheel bearing isn’t exactly a walk in the park, but it’s definitely not rocket science either. Once you’ve identified that annoying grinding or humming sound and grabbed the right tools—especially that heavy-duty torque wrench—the rest is just about following the process. You’ve got to be careful with the hub assembly and make sure everything is seated perfectly, but if you take your time and don’t rush the torque specs, you’re going to be fine. Just remember to double-check your work before you go tearing out of the driveway; there’s nothing worse than realizing you left a bolt loose halfway through your commute.
At the end of the day, I want you to realize that you are more capable than any service advisor trying to sell you a “premium package” for a job you just did yourself. Every time you get under a car and actually solve a problem, you’re taking back control of your wallet and your machine. It might be messy, and you’ll probably end up with a little more grease on your hoodie than you intended, but that’s just part of the process. Keep turning wrenches and trust your hands—you’ve got this.
Frequently Asked Questions
Do I need to replace the hub assembly entirely, or can I just swap out the bearing itself?
Look, this is where things get a little tricky depending on what you’re driving. On a lot of modern cars, the bearing is pressed into a hub assembly that’s basically one sealed unit. In those cases, it’s way easier to just swap the whole assembly—it saves you a massive headache with a hydraulic press. But if you’ve got an older setup or a specific design, you can swap just the bearing. Check your manual first.
How do I know if it's actually the wheel bearing making that noise and not my brake pads or a CV axle?
It’s easy to get confused because everything under the car sounds like a mess when it’s moving. Here’s the trick: if the noise changes pitch when you gently veer left or right in an empty parking lot, it’s almost definitely a bearing. Brake squeal is usually high-pitched and constant, while a bad CV axle usually clicks specifically when you’re turning sharply. If it’s a low hum that gets louder with speed, it’s your bearing.
Is it safe to keep driving for a few days if I hear a slight hum, or am I risking a wheel actually locking up?
Look, I get it—you’ve got stuff to do and don’t want to deal with a project mid-week. But honestly? Don’t push it. A slight hum is basically your car’s way of saying “hey, I’m failing.” If that bearing gets too hot or the internal play gets bad enough, it can seize or even cause the wheel to wobble and lose contact with the road. It’s better to swap it now on your terms than on the highway.
