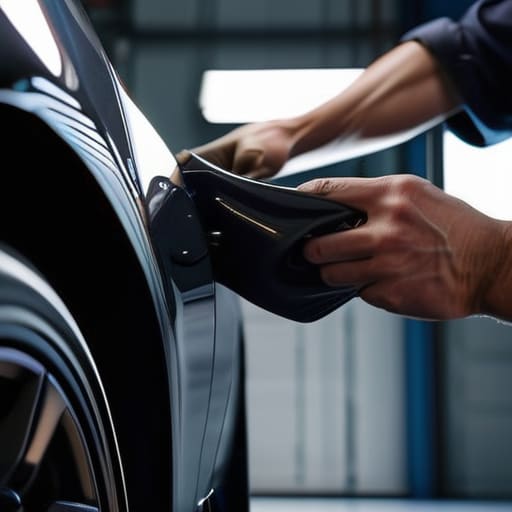
You ever hear a shop guy tell you that a cracked plastic shield means you need to bring the car in for a “specialized inspection” and a couple hundred bucks in labor? Honestly, that’s a total scam. I spent my Saturday morning under a beat-up Silvia, digging through road salt and grime, just to prove how simple a fender liner replacement actually is. Most people see that flapping piece of plastic and think it’s some high-tech component, but it’s really just a glorified splash guard. If yours is shredded from hitting a curb or just rotting away from old age, don’t let a mechanic talk you into a massive bill for something you can easily handle in your own driveway.
I’m not going to give you some textbook lecture or a list of tools you can’t find at a local hardware store. Instead, I’m going to walk you through the actual, greasy reality of getting the old one out and the new one clipped in tight. I’ll show you exactly where those annoying plastic clips hide and how to avoid stripping those fragile screw holes that drive me crazy every time I work on a modern engine bay. Let’s get to work.
Table of Contents
- Step-by-Step Instructions
- Mastering Automotive Splash Guard Installation Yourself
- Securing Wheel Arch Liner Fasteners for Good
- Pro Tips to Keep Your New Liner from Flying Off
- The Bottom Line on Your Fender Liners
- ## Don't Let a Piece of Plastic Dictate Your Repair Bill
- Don't Let a Little Plastic Hold You Back
- Frequently Asked Questions
Guide Overview
Tools & Supplies
- Socket set and ratchet to remove wheel bolts
- Screwdriver (Phillips or flathead) to remove plastic clips
- Trim removal tool to pry plastic fasteners without damage
- Jack and jack stands to lift the vehicle safely
- New fender liner compatible with vehicle make/model
- Replacement plastic push pins or rivets if originals are lost
Step-by-Step Instructions
- 1. First things first, you gotta get the car up and stable. Don’t even think about crawling under there while it’s just sitting on the pavement. Grab your floor jack, lift the side you’re working on, and always use jack stands to secure it. Once it’s steady, pull the wheel off so you actually have room to move. It’s way easier to see what you’re doing when you aren’t fighting for space against a tire.
- 2. Now, grab your screwdriver or a socket set—depending on what your car uses—and start hunting for the fasteners. Most of these plastic liners are held on by a mix of plastic push pins and small bolts. I usually keep my magnetic parts tray handy for this part because those little clips love to vanish into the gravel the second you pop them loose. Just go around the edge and pull them all out.
- 3. Once the fasteners are out, you’ll probably notice the liner is still clinging to the bumper or the wheel well. This is where people usually get frustrated and start yanking. Don’t do that; you’ll just snap a mounting tab on your bumper and end up with a much bigger headache. Instead, gently wiggle the liner back and forth to break it free from the clips. If it feels stuck, check for a hidden screw you might have missed.
- 4. Pull the old, beat-up liner completely out of the way and take a second to look at the area behind it. Since you’ve already got everything apart, check for any loose wiring or debris that might have gotten trapped back there. It’s the perfect time to make sure nothing else is hanging by a thread before you move on to the new part.
- 5. Grab your new liner and start lining up the holes with the mounting points on the chassis. It’s a bit of a puzzle, but don’t rush it. I find it easiest to start with one or two bolts at the top or the back to anchor it in place. This keeps the liner from flopping around while you try to reach the other side.
- 6. Once the liner is seated properly, go back around and reinstall all those push pins and bolts you collected earlier. Make sure everything is snug but not over-tightened. If you crank down on those plastic clips too hard, they’ll just crack, and you’ll be right back where you started.
- 7. Finally, put your wheel back on, lower the car, and give it a quick once-over. I like to give the liner a little shake to make sure nothing is rattling. If it stays put, you’re golden. You just saved yourself a trip to the shop and a massive headache at the service desk.
Mastering Automotive Splash Guard Installation Yourself
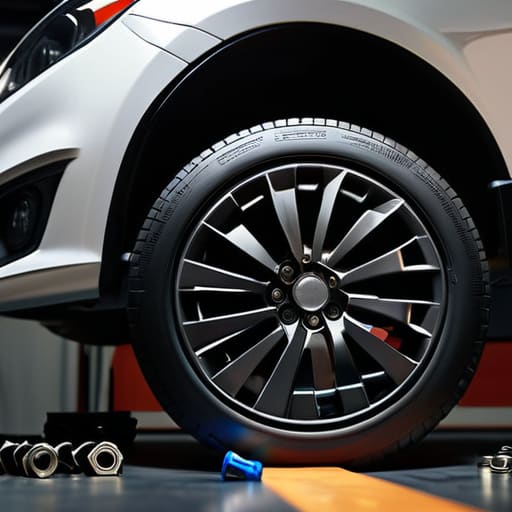
One thing I’ve learned from working in the shop is that most people treat these plastic pieces like they’re disposable, but they’re actually vital for preventing road debris damage to your engine bay and sensitive wiring. If you’re just slapping a new liner in, don’t be lazy with the hardware. I always tell people to grab a fresh pack of wheel arch liner fasteners before they even start. Using old, brittle clips that have been through heat cycles and road salt is a recipe for a rattling mess. If a clip looks even slightly stressed, just toss it.
When you’re actually getting into the weeds of the automotive splash guard installation, pay close attention to how the liner seats against the metal fender. If it’s not flush, it’ll catch the wind at highway speeds and eventually tear itself right off. I usually take a second to wipe down the mounting points with a rag to make sure there’s no grit or buildup. Getting those fender liner clips and screws seated perfectly is the difference between a job that looks professional and one that looks like a hack job.
Securing Wheel Arch Liner Fasteners for Good
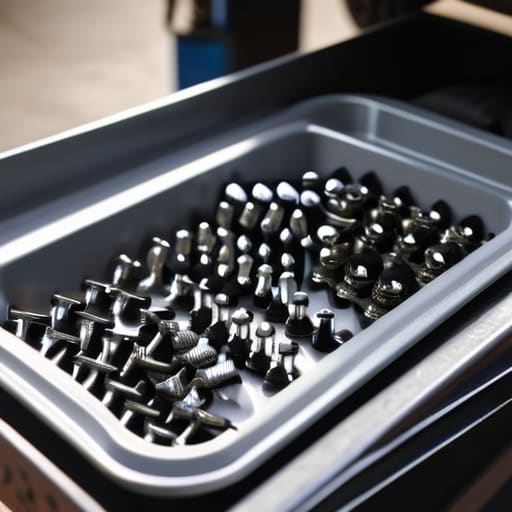
Here’s the thing about wheel arch liner fasteners: they’re usually the first things to go, and they’re cheap to replace, so don’t be stingy with them. I’ve seen so many guys try to reuse old, brittle clips just to save five bucks, only to have them snap off halfway through the job. If your clips look even slightly chewed up or discolored from heat, just toss them. Buying a fresh pack of fender liner clips and screws is way better than fighting with a piece of plastic that refuses to stay seated.
When you’re actually snapping them back in, don’t just force them. If you feel resistance, stop. You’re likely misaligned, and forcing it is a great way to crack the new liner. I always make sure the liner is tucked firmly into the bumper edge before I tighten anything down. Getting that tension right is the secret to preventing road debris damage later on. If the liner is even slightly loose, it’ll flap against your tire at highway speeds, and that vibration will drive you crazy. Tighten them until they’re snug, but don’t over-torque them, or you’ll just strip the plastic housing.
Pro Tips to Keep Your New Liner from Flying Off
- Don’t just reuse those old, crusty plastic clips. If they look even a little bit stressed or white, toss them. Grab a handful of new ones from the auto parts store; it’s a cheap way to make sure your liner actually stays put next time you hit a pothole.
- Before you start pulling everything apart, take a quick photo of how the liner sits against the bumper. It sounds extra, but once you’ve got ten different screws and clips spread out on your magnetic tray, you’ll be glad you have a reference for exactly where that edge is supposed to tuck.
- If you’re struggling to reach a stubborn screw deep in the wheel well, don’t go hunting for a massive socket set. A long, slim screwdriver or a small ratchet with an extension is your best friend here. You need to be able to get into those tight gaps without smashing your knuckles against the frame.
- Watch out for the “hidden” fasteners. Most people think it’s just the obvious clips around the edge, but there’s often a screw tucked up high near the headlight or down low by the frame. If the liner feels loose after you’re “done,” you probably missed one of those sneaky ones.
- Give the liner a quick wipe down with some cleaner before you snap it into place. If there’s a bunch of road grime or grit trapped between the liner and the body, it can cause weird vibrations or even rubbing sounds while you’re driving. Clean surfaces make for a much tighter fit.
The Bottom Line on Your Fender Liners
Don’t wait for the liner to fly off on the highway; if you see cracks or loose clips, swap it out now before it starts damaging your tire or wiring.
Stop reusing those old, brittle plastic clips—grab a handful of new ones from the auto parts store so your new liner actually stays put.
You don’t need a lift to do this, just a decent screwdriver set and a bit of patience to navigate around the wheel well.
## Don't Let a Piece of Plastic Dictate Your Repair Bill
“A cracked fender liner isn’t just an eyesore; it’s an invitation for road salt and debris to chew up your expensive engine components. Don’t let a mechanic charge you a hundred bucks just to clip some plastic back into place—grab a screwdriver and handle it yourself.”
Nikolai·Osterman
Don't Let a Little Plastic Hold You Back
At the end of the day, replacing a fender liner isn’t some high-level engine rebuild that requires a specialized shop and a massive invoice. We covered how to identify the damage, the right way to seat those clips so they don’t rattle, and how to make sure those fasteners actually stay put next time you hit a pothole. It really just comes down to being methodical. If you took the time to clean out the debris and double-check your mounting points, you’ve already done more than most drivers would bother with. Just remember: don’t force the plastic if it isn’t lining up right—usually, that means a clip is just slightly out of place or you’ve got a bit of road grime in the way.
I know it can feel intimidating when you’re staring down at a pile of new parts and a messy wheel well, but that feeling goes away the second you tighten that last screw. Every time you handle a repair like this, you’re taking a little more control over your ride and your wallet. You’re proving that you don’t need to be a master tech to maintain your own machine. So, grab your magnetic tray, get back under there, and finish the job. Once you realize how simple these small wins are, you’ll start looking at your car differently—not as a mystery, but as something you actually understand.
Frequently Asked Questions
Can I just use zip ties to hold the liner in place if I can't find the original plastic clips?
Look, I get it. You’re in the driveway, it’s getting dark, and those specific OEM clips are nowhere to be found. Can you use zip ties? Yeah, in a pinch, they’ll hold. But honestly? It’s a temporary fix. Zip ties can vibrate loose or even slice through the plastic liner over time. If you can’t find the originals, just grab a cheap pack of universal trim clips online. It’ll save you a massive headache later.
How do I know if the liner is actually broken or if it's just a loose screw causing that annoying rattling sound?
Look, don’t go buying a new liner just yet. Grab a flashlight and a screwdriver first. If you can wiggle the plastic with your hand and it feels solid, it’s probably just a loose clip or a screw that backed out. But, if you see actual cracks, or if the plastic is flapping against your tire like a loose flag, that’s a break. If it’s torn, it’s toast—time to swap it.
Do I need to take the whole wheel off to get to the fasteners, or is there a way to do this without pulling the tire?
Look, I get it—pulling a whole wheel is a massive pain and adds an extra hour to the job. Honestly, you can usually avoid it. If you’ve got a decent flashlight and maybe a flexible extension for your ratchet, you can reach most of those fasteners by just turning the steering wheel all the way to one side. It gives you way more room to work. Only pull the wheel if you’re stuck.
