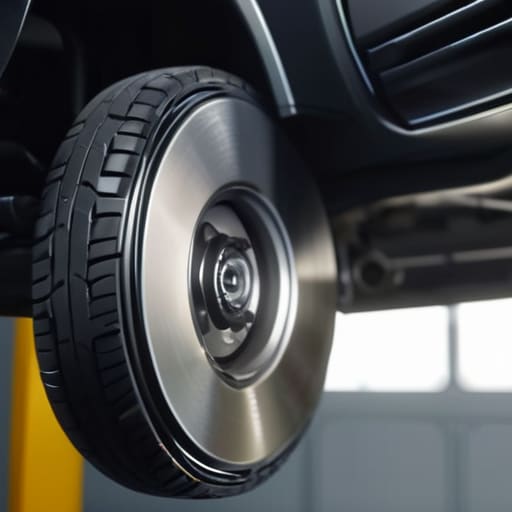
Ever feel like your car is trying to have a conversation with you every time you hit a pothole? If you’re hearing that rhythmic clunking or feeling like your ride has turned into a literal boat on the highway, your local shop is probably already salivating at the thought of charging you a fortune for a strut assembly replacement. They’ll try to tell you it’s some high-level suspension overhaul that requires a specialized lift and a master technician, but honestly? That’s mostly marketing fluff designed to keep your wallet thin.
I’ve spent enough time under grease-covered chassis to know that once you get the right tools in your hands, the mystery disappears. In this guide, I’m stripping away the jargon and showing you the actual, gritty process of how to handle a strut assembly replacement on your own terms. I’ll walk you through the specific sockets you’ll need, how to avoid the most common mistakes that leave you stranded, and the real-world tricks I use in the shop to get the job done without breaking a sweat. Let’s get to work.
Table of Contents
Guide Overview
Tools & Supplies
- Jack and Jack Stands for vehicle lifting
- Socket Set for various bolt sizes
- Spring Compressor for coil spring tension
- Torque Wrench for precise bolt tightening
- Breaker Bar for loosening stubborn bolts
- New Strut Assembly (pair or single)
- Replacement Mounting Hardware (set)
- Penetrating Oil for rusted bolts
Step-by-Step Instructions
- 1. First things first, you gotta get the car off the ground. Don’t be that person who relies on just a floor jack; you need to get some jack stands under the frame and make sure the car is rock solid before you even think about getting under there. Once it’s stable, grab your lug wrench and loosen the wheel bolts while the tire is still touching the ground—it makes it way harder for the wheel to spin while you’re fighting it.
- 2. Pop the wheel off and set it aside. Now, look behind the wheel well to find the brake line bracket and any sensor wires attached to the strut. You’ll need to unclip these so they aren’t pulling on anything when you move the assembly. Be extremely careful not to bend or stretch those brake lines, because if you crack one, you’re looking at a much bigger headache than just a strut swap.
- 3. Next, you need to tackle the mounting bolts. There are usually three or four bolts at the bottom that hold the strut to the steering knuckle. These are almost always covered in road grime and grit, so give them a good spray with some penetrating oil and let it sit for a few minutes. Use a heavy-duty socket and a breaker bar to crack them loose; if they feel stuck, don’t just muscle it—give it a second to soak so you don’t snap a bolt.
- 4. Once the bottom is disconnected, head up to the engine bay. You’ll see the top of the strut assembly poking through the strut tower. There are usually three nuts holding the assembly to the car. Pro tip: keep your magnetic parts tray handy for these, because if you drop one of these nuts down into the dark abyss of the engine bay, your afternoon just got a lot longer.
- 5. Now that the bolts are out, the strut assembly should be free. You might have to wiggle it or use a pry bar to get it to pop loose from the knuckle. Carefully lift the old assembly out of the wheel well. If you’re replacing the whole unit (which I highly recommend for beginners), you don’t have to mess around with a spring compressor, which can be pretty dangerous if you don’t know what you’re doing.
- 6. Slide your new strut assembly into place. Line up the top mounting holes with the studs in the strut tower first, then tilt the bottom of the strut into the knuckle. Thread the bottom bolts in by hand to make sure everything is aligned before you go in with the wrench. You want to make sure everything is seated perfectly before you start torquing things down.
- 7. Finish it up by tightening everything back down to the manufacturer’s specs. Don’t just “feel” like they’re tight; if you have a torque wrench, use it. Once the bolts are secure, put the wheel back on, lower the car off the stands, and give the lug bolts a final tighten once the weight of the car is actually on the tires. Give it a quick test drive around the block to make sure nothing is clunking.
Spotting the Signs of Worn Out Struts Before They Fail
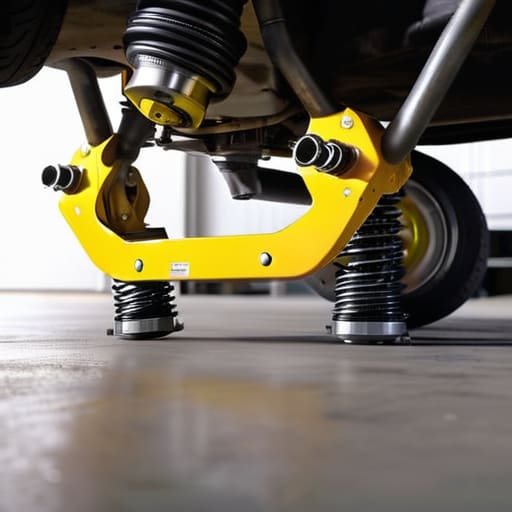
You don’t always need a computer scanner to tell you something is wrong; usually, your car will start talking to you through the steering wheel and your seat. The most obvious signs of worn out struts are those annoying bumps you feel every time you hit a minor pothole or a speed bump. If your car feels like it’s bouncing uncontrollably after a dip, or if it feels “floaty” when you’re cruising on the highway, your dampening is shot. You might also notice the nose of the car diving hard every time you hit the brakes, which is a massive red flag for your vehicle handling and stability.
Another thing to look for is the physical state of the hardware itself. If you peek behind your wheel well and see oily residue coating the strut body, that’s a dead giveaway that the internal seals have blown. Don’t confuse this with a simple leak; once that fluid is gone, the component is useless. I also tell people to keep an eye on uneven tire wear. If you see heavy cupping or bald spots on the tread, it’s likely because your suspension isn’t keeping the tire pressed firmly against the road. Catching these symptoms early can save you from a much more expensive repair down the line.
The Truth About Strut vs Shock Absorber Difference
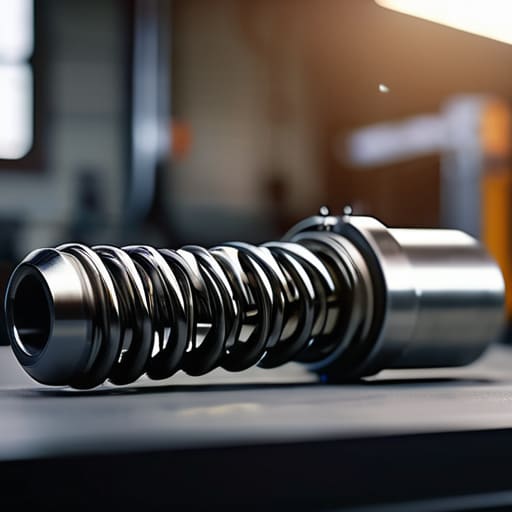
Look, I get it. People use these terms like they mean the same thing, but if you’re trying to DIY your way through a repair, you need to know the actual strut vs shock absorber difference. A shock absorber is basically just a damper; it controls the bounce of your springs. A strut, on the other hand, is a structural part of your car’s chassis. It holds everything together and actually supports the weight of the vehicle. If you try to treat a strut like a simple shock, you’re going to run into serious trouble with your vehicle handling and stability.
When you’re looking at your setup, remember that struts usually have a large coil spring wrapped around them. This is why you’ll often hear about replacing coil springs at the same time—it’s much easier and safer to just swap the whole assembly. If you’re dealing with a car that has shocks, you’re just managing the oscillation, but with struts, you’re maintaining the very backbone of your suspension. Don’t let a shop charge you for a “shock replacement” when your car actually needs a full strut rebuild.
Pro Tips to Save Your Knuckles and Your Wallet
- Don’t cheap out on the hardware. I’ve seen guys try to reuse old mounting bolts or nuts, but once you’ve torqued them down once, they’re done. Buy new ones; it’s a ten-dollar fix that prevents a hundred-dollar mistake later.
- Get a decent spring compressor. You might see some sketchy, cheap ones at the big-box stores, but if those springs slip while you’re working, they’ll launch across the garage like a missile. Invest in something that actually locks.
- Do both sides at the same time. If your driver-side strut is shot, the passenger side isn’t far behind. Replacing them in pairs keeps your handling even and means you only have to jack the car up once.
- Clean the area before you even start. I hate working on a mess, and you’ll hate it too. Use some brake cleaner to get the grime off the mounting points so you can actually see what you’re doing and ensure everything sits flush.
- Use a torque wrench, not just your “feel.” I know, it’s tempting to just crank it until it feels tight, but struts are critical for your steering and safety. If they’re too loose, they rattle; too tight, and you risk snapping a stud. Check your manual and hit the spec.
The Bottom Line on Swapping Your Struts
Don’t wait for a total failure; if your ride feels bouncy or you’re seeing fluid leaking down the side of the strut, it’s time to stop ignoring it before it wrecks your tires.
You don’t need a specialized shop setup, but you do need to respect the pressure—never mess around with a spring compressor unless you’ve got a solid grip on how it works.
Replacing the whole assembly is way easier and usually worth the extra cash over just swapping the shocks, because it saves you from having to tear everything apart again in six months.
## The Real Cost of Waiting
Most shops will try to tell you that struts are some high-level engineering nightmare, but honestly? If you can follow a basic set of instructions and don’t mind getting a little grease on your hands, you can save yourself a massive headache and a few hundred bucks. Don’t let a worn-out ride turn into a blown-out wallet just because you were intimidated by a few bolts.
Nikolai·Osterman
Getting Back on the Road
Look, swapping out your strut assemblies might feel like a massive undertaking when you’re staring at a pile of tools and a jacked-up car, but you’ve already done the hardest part by just showing up. We covered how to spot those telltale signs like excessive bouncing or uneven tire wear, and we cleared up the confusion between struts and shocks so you aren’t buying the wrong parts. Just remember to keep your workspace organized—I can’t tell you how many times I’ve lost a crucial bolt because I didn’t use a tray—and always double-check your torque specs before you lower the vehicle. If you follow the steps and take your time, you’ll have a ride that feels brand new without the massive shop markup.
At the end of the day, the goal isn’t just to fix a noisy suspension; it’s about taking ownership of what you drive. Every time you get your hands greasy and successfully complete a repair, you’re proving that you don’t need to be a slave to a service advisor’s quote. It’s about that feeling of confidence when you hit a pothole and the car stays planted instead of diving like a sinking ship. Keep turning wrenches, keep learning, and don’t let anyone tell you that you aren’t capable of maintaining your own machine. You’ve got this.
Frequently Asked Questions
Do I really need to replace the whole assembly, or can I just swap out the strut itself to save some cash?
Look, I get it. You want to save a few bucks, and on paper, swapping just the strut seems like the smart move. But honestly? Most of the time, it’s a trap. If you’re already tearing everything apart, just grab the whole assembly. You’ll get a pre-assembled spring and mount, which saves you from messing with a dangerous spring compressor in your driveway. It’s more upfront cash, but way less headache and risk.
Is it actually necessary to replace both sides at once, or can I just fix the one that's acting up?
Look, I get it—replacing one strut is way cheaper and easier than doing both. But here’s the reality: your car’s suspension works in pairs. If the driver-side strut is shot, the passenger side isn’t far behind. If you only swap one, you’re basically creating an imbalance that messes with your handling and tire wear. Do yourself a favor and just do both at once. It saves you from doing the same job twice next month.
How much of a headache is the alignment going to be after I finish the job?
Look, I’m not going to sugarcoat it: you definitely need an alignment after this. Swapping struts changes the geometry of your suspension, even if you’re careful. If you skip it, you’re basically begging for uneven tire wear and a car that pulls to one side. It’s not a “headache” in terms of tools, but it is a mandatory extra step. Just drive it straight to a shop once you’re done.
