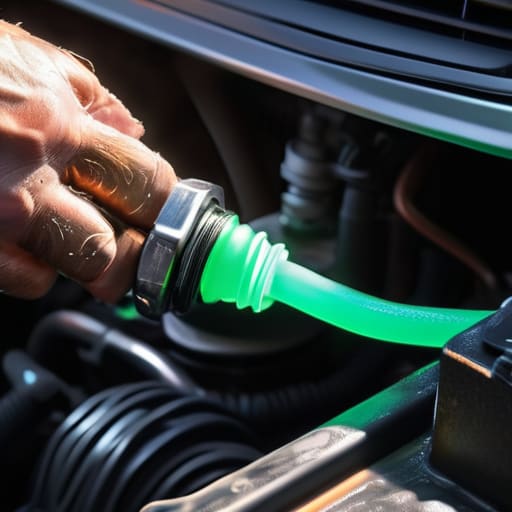
I remember watching my dad stare at a thermometer in frustration while steam poured out from under the hood of an old sedan, thinking the entire cooling system needed a total replacement. The shop told him it would cost a fortune, but the truth is, most of the time, you’re just looking at neglected fluid. A proper coolant flush isn’t some mysterious, high-level procedure that requires a master technician; it’s just about getting the old, acidic sludge out of your radiator before it starts eating your gaskets from the inside out. Don’t let a mechanic talk you into a massive bill when the fix is actually this straightforward.
I’m not here to give you some textbook lecture or sell you on expensive, unnecessary additives. I’m going to show you exactly how to tackle a coolant flush using basic tools you probably already have in your garage. We’ll go through the actual process—from draining the old junk to making sure you don’t leave any air pockets trapped in the lines—so you can do it right the first time. No hype, no fluff, just the real way to keep your engine from overheating on a hot summer day.
Table of Contents
- Step-by-Step Instructions
- Mastering Engine Temperature Regulation Without a Mechanic
- The Real Difference Between Coolant vs Antifreeze Differences
- Pro Tips to Keep You From Making a Mess (or a Mistake)
- The Bottom Line on Keeping Your Engine Cool
- ## The Truth About Your Cooling System
- Don't Let Your Engine Rot From the Inside Out
- Frequently Asked Questions
Guide Overview
Tools & Supplies
- Drain pan to catch old fluid
- Funnel to prevent spills
- Pliers to loosen hose clamps
- Gloves and safety glasses for protection
- New coolant/antifreeze (check manual for type)
- Distilled water (if mixing concentrate)
- Rags for cleaning spills
Step-by-Step Instructions
- 1. First things first, make sure your engine is completely cold. I’ve seen way too many people try to crack a radiator cap on a warm engine, and trust me, you don’t want a face full of boiling liquid. Once you’re sure it’s cool, grab your drain pan and position it right under the radiator petcock (that little plastic valve at the bottom) or the lower radiator hose.
- 2. Open your radiator cap to let the pressure vent, then slowly unscrew that petcock. If your car doesn’t have a petcock, just loosen the lower radiator hose clamp and pull the hose off. Let that old, murky fluid drain out until it’s just a slow drip. If the fluid looks like chocolate milk, you might have a bigger head gasket issue on your hands, but let’s just hope it’s just old coolant for now.
- 3. Now you need to get the gunk out of the system. Find your coolant reservoir (the plastic tank next to the radiator), drain that out too, and then refill it with distilled water. Start the car, turn your heater on full blast, and let it run for about ten minutes. This helps the water circulate through the heater core and flush out the hidden sludge.
- 4. Once the engine has cycled through the water, shut it off and let it cool down again. Drain that water out just like you did with the old coolant. I usually like to do this twice if the old stuff was particularly nasty. You want that water coming out looking as clear as possible before you move on to the actual refill.
- 5. Now it’s time for the good stuff. Grab a jug of the correct 50/50 pre-mixed coolant for your specific make and model—don’t just buy whatever is on sale at the grocery store. Slowly pour it into the radiator and the reservoir until they’re both at the proper levels. Don’t just dump it in and walk away; you need to watch for air bubbles.
- 6. With the cap off, start the engine and let it run. You’ll see the level drop as air pockets escape the system. Keep topping it off as needed. Once the level stays steady, put the cap back on tight. It’s a good idea to check the level again after your first drive to make sure everything settled in correctly.
Mastering Engine Temperature Regulation Without a Mechanic
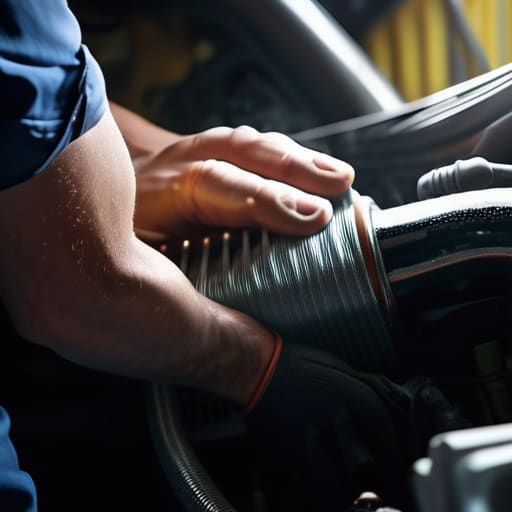
Look, keeping your engine at a steady temperature isn’t just about swapping fluids; it’s about understanding how the whole system breathes. A lot of people ignore their cooling system until they see steam pouring from under the hood, but by then, you’re already looking at a massive repair bill. To really master engine temperature regulation, you need to keep an eye on more than just the gauge. Check your hoses for soft spots or cracks and make sure your radiator cap isn’t losing pressure. If the rubber feels mushy, it’s time to swap it out before it fails you on the highway.
I also see way too many people getting confused about coolant vs antifreeze differences. Here’s the deal: antifreeze is the concentrated stuff you mix with water, while coolant is the pre-mixed version ready to go. If you’re doing your own cooling system maintenance, don’t just guess. Stick to what your owner’s manual says regarding the specific type your car needs. Getting the chemistry wrong can actually cause buildup that ruins your radiator cleaning process later on. Just stay consistent with your service intervals, and your car will thank you.
The Real Difference Between Coolant vs Antifreeze Differences
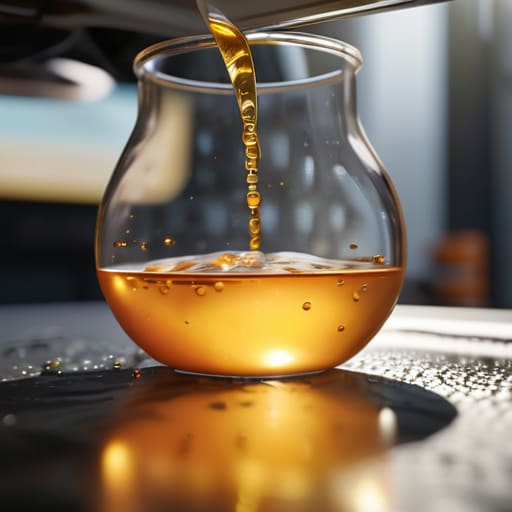
Look, I see people at the parts counter all the time grabbing whatever bottle is cheapest, thinking they’re saving money. But if you don’t understand the coolant vs antifreeze differences, you might actually be doing more harm than good. Technically, antifreeze is just the concentrated chemical—usually ethylene glycol—that you mix with water to keep things from freezing or boiling. Coolant is the finished product ready to go into your engine. If you’re just topping off with straight antifreeze without diluting it properly, you’re actually messing with the thermal properties and could end up sabotaging your engine temperature regulation.
When you’re doing your routine cooling system maintenance, you need to check your owner’s manual to see if your car requires a specific type, like OAT or HOAT. Using the wrong chemistry can lead to sludge buildup that ruins your radiator cleaning process. Don’t just guess; a mistake here is way more expensive than a $20 bottle of the right stuff. Keeping an eye on your coolant flush interval ensures you aren’t just circulating old, acidic fluid that eats away at your gaskets from the inside out.
Pro Tips to Keep You From Making a Mess (or a Mistake)
- Never, and I mean never, open that radiator cap while the engine is hot. You’re basically asking to get sprayed with pressurized, boiling liquid, and trust me, that’s a hospital trip you don’t want.
- Don’t just eyeball the fluid level. Once you’ve finished the flush and the engine has cooled back down, double-check the reservoir. If it’s low, top it off, or you’re heading straight for an overheat.
- Make sure you’re using the right stuff for your specific car. Mixing different types of coolant—like an organic acid technology (OAT) with an older conventional stuff—can actually turn into a weird, sludge-like mess that clogs your heater core.
- Get a dedicated drain pan that’s actually bigger than your radiator drain plug. I’ve seen too many guys get caught off guard when that old, heavy coolant comes out faster than they expected and spills all over their garage floor.
- When you’re refilling, try to run the car with the heater on full blast for a few minutes. It helps circulate the new fluid through the entire system, including the heater core, so you don’t end up with air pockets trapped inside.
The Bottom Line on Keeping Your Engine Cool
Don’t wait for a temperature spike to act; if your coolant looks like muddy water or feels gritty, it’s already time for a flush.
Stop treating coolant and antifreeze like they’re the same thing—using the wrong one can mess up your seals and lead to a much more expensive repair.
You don’t need a specialized shop rig to do this right, just a drain pan, some patience, and the right coolant for your specific make and model.
## The Truth About Your Cooling System
“Most shops will try to tell you that a radiator flush is some high-level technical procedure, but honestly? It’s just about clearing out the sludge before it turns your engine into a very expensive paperweight. Don’t wait for the temperature needle to climb; just get in there and clean it out yourself.”
Nikolai·Osterman
Don't Let Your Engine Rot From the Inside Out
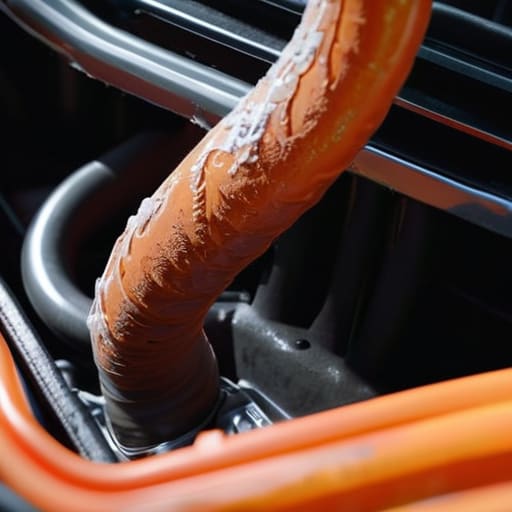
Look, at the end of the day, a coolant flush isn’t some high-level engineering feat; it’s just basic maintenance that keeps your car from turning into a very expensive paperweight. We covered how to spot the signs of old, sludge-like fluid, the real distinction between antifreeze and coolant, and the actual steps to get that old gunk out of your radiator. If you follow the process and don’t skip the final rinse, you’re already ahead of 90% of the drivers on the road. Taking twenty minutes to swap out your fluids now is a whole lot better than dealing with a blown head gasket and a massive repair bill three months down the line.
I know it can feel intimidating when you’re staring down a steaming engine bay for the first time, but don’t let that stop you. Every pro I know started exactly where you are—probably covered in a bit of spilled fluid and feeling a little unsure. The more you get your hands dirty, the more you realize that these machines aren’t mysteries; they’re just puzzles waiting to be solved. Grab your tools, keep your workspace clean, and trust your instincts. Once you realize you can handle the stuff the shops charge hundreds for, you’ll never look at your car the same way again.
Frequently Asked Questions
How do I know if I actually need a flush or if I can just top off the reservoir?
Look, if your reservoir is just a little low, topping it off with the right mix is fine. But don’t just ignore it. Pop the radiator cap (when it’s cold!) and check the color. If it looks like clean, bright liquid, you’re good. If it looks like muddy water, rusty sludge, or has oily chunks floating in it, stop topping it off and just do the flush. That’s old fluid doing damage.
Is it safe to mix different colors of coolant, or am I asking for trouble?
Look, I’ve seen guys do this thinking they’re saving a buck, and it’s a nightmare. Don’t do it. Different colors usually mean different chemical additives—like OAT vs. IAT. If you mix them, they can react, turn into a weird, thick sludge, and clog your heater core or radiator. If you’ve already mixed them, you’re looking at a full flush. Just stick to what your manual calls for. Don’t risk your engine for a shortcut.
How long does it actually take to do this, and do I need any special tools beyond a drain pan?
Honestly, if you’ve got a clear workspace, you can knock this out in about an hour or ninety minutes tops. Most of that is just waiting for the engine to cool down so you don’t melt your skin off. Beyond a drain pan, grab a funnel to avoid making a massive mess, some pliers to move the hose clamps, and maybe a cheap spill mat. Just don’t wing it without a way to catch the runoff.
