Category: Cars

  • Importance of Regular Tire Rotation

    Importance of Regular Tire Rotation

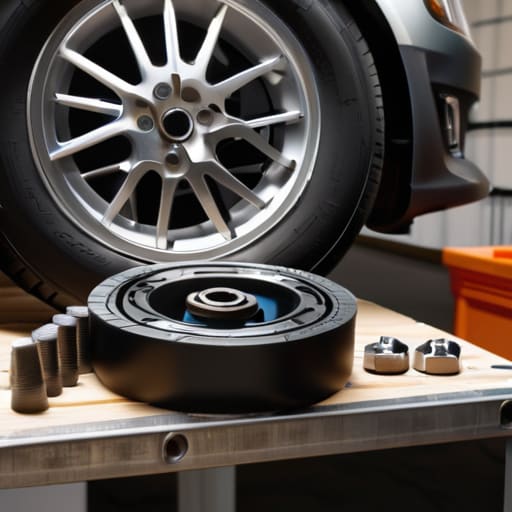
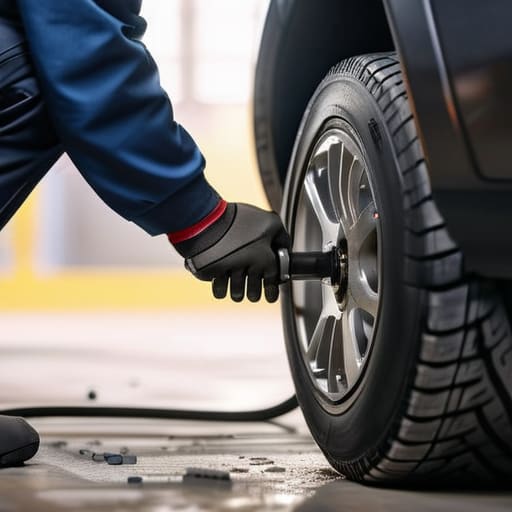
    I was working on a customer’s sedan last week when I saw the invoice for their “premium tire service.” They were charged nearly eighty bucks just for a basic tire rotation that takes maybe twenty minutes if you’ve got the right gear. It honestly makes my blood boil. Most shops try to frame this like it’s some complex, high-tech procedure that requires a specialized computer, but that’s just a total scam to pad their margins. You’re paying for their overhead, not for any special magic happening to your rubber.

    Look, I’m not here to give you some textbook lecture or a list of things you’ll never actually do. My goal is to show you that you can handle this yourself with just a jack and a bit of patience. I’m going to walk you through the exact way I do it in my own garage, from figuring out your specific pattern to making sure everything is torqued down right. No fluff, no unnecessary jargon—just the straight truth on how to keep your tread wearing even without getting ripped off.

    Table of Contents

    Spotting Even Tire Wear Patterns Before They Kill Your Grip
    Spotting Even Tire Wear Patterns Before They Kill Your Grip

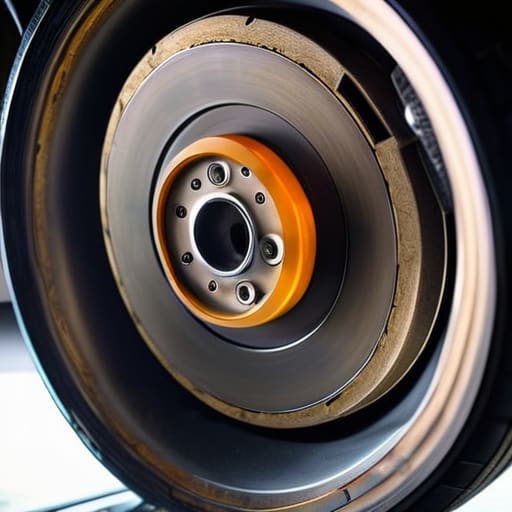
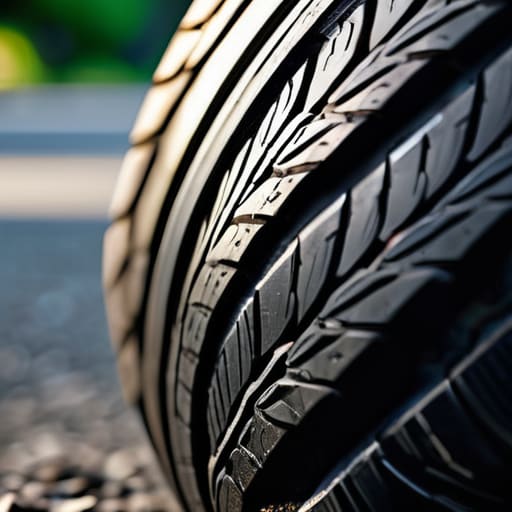
    Before you even think about grabbing a jack, you need to actually look at what your rubber is doing. I tell my buddies all the time: don’t just wait for a light to pop up on the dash. Get down on the ground and check for even tire wear patterns. If you notice the inside edge of the tread is looking smoother than the outside, you’re likely dealing with an alignment issue or a suspension problem that’s eating your money.

    You should also keep an eye on how the tread depth looks across the whole width of the tire. If one side looks like it’s been through a meat grinder while the other side looks brand new, you’re basically throwing money away. Paying attention to these small details is the easiest way to focus on extending tire lifespan without spending a dime on extra parts. It’s all about catching the problem before it turns into a blowout or a slide in the rain. Just grab a penny or a tread depth gauge and make it a habit every time you’re out in the garage.

    Extending Tire Lifespan Without Paying a Mechanics Fee
    Extending Tire Lifespan Without Paying a Mechanics Fee

    Look, you don’t need to drop a couple hundred bucks at a shop just to keep your rubber from balding prematurely. Most shops will try to upsell you on a full service, but extending tire lifespan really just comes down to being proactive with what you already have. Check your pressure at least once a month. If your tires are running low, they’re going to drag, heat up, and shred your tread way faster than they should. It’s a simple fix that saves you a massive headache down the road.

    You also need to pay attention to your automotive maintenance schedule regarding how often you’re actually swapping them around. For most people, hitting your tire rotation intervals every 5,000 to 7,500 miles is the sweet spot. If you’re driving an AWD rig, don’t get lazy; some of those systems require a specific pattern to avoid messing with the drivetrain. Just grab your floor jack, get the wheels off, and move them according to your manual. It’s basic stuff, but doing it yourself keeps your money in your pocket where it belongs.

    5 Pro Moves to Master Your Rotation

    • Check your owner’s manual first—don’t just guess. Some cars use a cross-pattern while others want a simple front-to-back swap, and if you get it wrong, you’re just scrubbing your tread for nothing.
    • Grab a torque wrench and actually use it. Don’t just “feel” if the lug nuts are tight with a tire iron; if you over-tighten them or leave them loose, you’re asking for a warped rotor or a wheel flying off.
    • Inspect the sidewalls every single time you jack the car up. Since you’ve already got the wheels off, check for cracks or bulges that you’d normally miss just by looking at the car from the driveway.
    • Don’t forget to reset your TPMS (Tire Pressure Monitoring System). Most modern cars will throw a dashboard light at you if you move the tires around without telling the car’s computer that the positions have changed.
    • Keep a dedicated pressure gauge in your glovebox. Rotating the tires is useless if you aren’t checking the PSI afterward, because different positions on the car might need slightly different pressures to stay balanced.

    The Bottom Line on Keeping Your Tread Right

    Don’t wait for a vibration in the steering wheel to check your tread; if you see uneven wear, your rotation schedule is already messed up.

    You don’t need a shop to do this—grab a jack, a torque wrench, and twenty minutes of your time to save yourself a massive bill later.

    Treat tire rotation like an oil change; it’s just basic maintenance that keeps you from buying a whole new set of rubber way too early.

    The Real Cost of Ignoring Your Tread

    Look, a mechanic is going to charge you fifty bucks just to move some rubber around, but if you skip it, you’re gonna end up paying a thousand for a new set because you let one corner go bald. It’s not rocket science; just swap them around so they wear even and save your cash for something better.

    Nikolai·Osterman

    Don't Overthink It, Just Do It
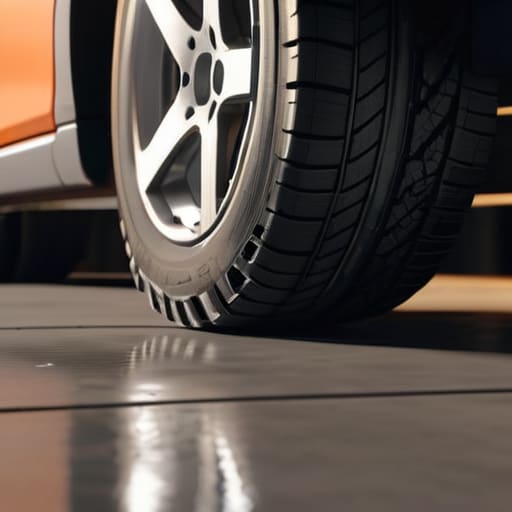
    Don't Overthink It, Just Do It: Tire Rotation.

    At the end of the day, rotating your tires isn’t some high-level engineering feat that requires a specialized shop or a massive invoice. It’s just about keeping an eye on those wear patterns and making sure you aren’t letting one corner of your car do all the heavy lifting. If you can spot uneven tread and you’ve got a decent jack in your garage, you’ve already done the hardest part. Taking twenty minutes to swap those wheels around is way cheaper than replacing a full set of rubber because you let them wear down prematurely. Just remember: consistency is everything when it comes to keeping your grip reliable and your wallet full.

    I know it can feel intimidating when you’re staring at a car and wondering if you’re about to mess something up, but trust me, you’ve got this. Most people let mechanics charge them for “preventative maintenance” that you can handle yourself with a little bit of patience and the right tools. Don’t let the fear of a little grease under your fingernails stop you from taking control of your own machine. Once you get the hang of it, it becomes second nature. Own your maintenance, keep your car safe, and stop giving away your hard-earned money for things you can do yourself.

    Frequently Asked Questions

    Do I really need to rotate them if I only drive on the highway most of the time?

    Honestly, yeah, you still do. Even if you’re just cruising on the highway, your front tires are doing way more work than the rears. They’re handling all the steering, most of the braking, and carrying the bulk of the weight every time you hit a bump. If you skip the rotation, those fronts are gonna bald way faster than the backs. Just swap ’em out every few months to keep things even.

    How do I know if my car is front-wheel drive or all-wheel drive before I start moving tires around?

    Look, you don’t want to be swapping tires blindly. The easiest way is to check your owner’s manual or look for a badge on the trunk—it’ll usually say AWD or 4WD if you’ve got it. If there’s no badge, check your floor mats; if they’re worn weirdly, it’s a hint. Honestly, just check your VIN online or look at the center differential if you’re already under there. Don’t guess; just know.

    Is it okay to just swap the fronts to the back, or do I have to do that weird X-pattern thing?

    Look, just swapping front-to-back is fine if you’re in a rush, but it’s not the best way to do it. If you’ve got a rear-wheel drive car, you really want that “X-pattern”—moving the fronts to the opposite rear corners and vice versa. It helps the tread wear more evenly across the whole set. If you just swap front to back, you’re basically just moving the problem around instead of fixing it.
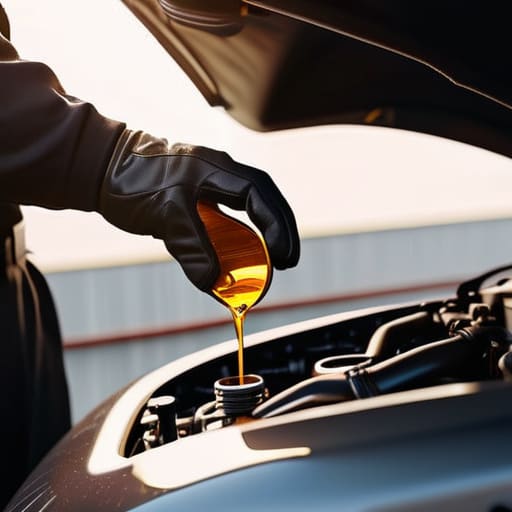
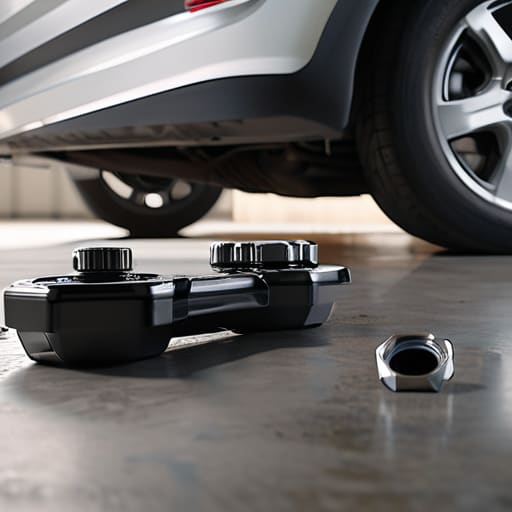
  • Steps for a Basic Oil Change

    Steps for a Basic Oil Change

    I was sitting in my dad’s garage last Saturday, watching him wipe grease off a 90s Silvia, when I realized something that still bugs me today: most shops charge you a massive markup just for something you can do in your own driveway. They try to make it sound like some high-level science, but honestly, a lot of these “professional” service centers are just banking on you being too intimidated to get your hands dirty. If you’re looking for a complicated, technical manual, you’re in the wrong place, but if you want a real oil change guide that actually respects your time and your wallet, I’ve got you covered.

    I’m not here to sell you on fancy, overpriced synthetic blends you don’t need or tell you that you need a lift to get the job done. My goal is to walk you through the actual process—from picking the right filter to making sure you don’t leave a puddle on your floor—using nothing but basic tools and a bit of patience. This is the no-nonsense truth about keeping your engine healthy without letting a service advisor talk you into a hundred-dollar “maintenance package” you never asked for.

    Table of Contents

    Guide Overview

    Total Time: 30-60 minutes
    Estimated Cost: $30-70
    Difficulty: Beginner

    Tools & Supplies

    • Socket wrench set for drain plug
    • Oil filter wrench for removal
    • Oil drain pan to catch old fluid
    • Funnel to prevent spills
    • Jack and jack stands for vehicle lifting
    • Motor oil (check manual for quantity and grade)
    • New oil filter (vehicle specific)
    • Drain plug washer/gasket (if replacement is needed)
    • Rags or paper towels for cleanup

    Step-by-Step Instructions

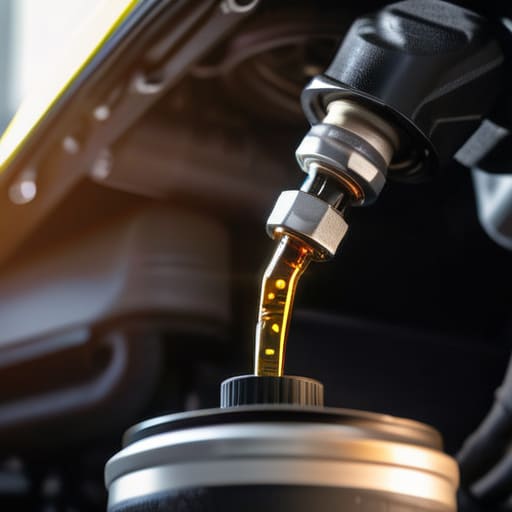
    • 1. First things first, grab your oil and a new filter, and get them ready before you even touch a wrench. You don’t want to be halfway through the job, covered in sludge, only to realize you forgot the specific oil weight your owner’s manual calls for. Check the cap under your hood to be sure; putting the wrong viscosity in can mess with your sensors later on.
    • 2. Pop the hood and let the engine run for maybe two or three minutes. You don’t want it screaming hot—that’s a quick way to get a serious burn—but you want the oil warm enough to flow out easily. If the engine is stone cold, the old gunk is going to be thick and slow, making a mess of your driveway.
    • 3. Get your car up on jack stands or a ramp. Never, and I mean never, trust just a hydraulic jack to hold you up while you’re underneath a heavy piece of machinery. Once you’re settled, find the oil pan and position your drain pan directly underneath the plug. If you don’t line it up right, you’re going to be cleaning black sludge off your garage floor for the next hour.
    • 4. Unscrew the drain plug using your socket wrench. As soon as it gets loose, finish it by hand, but be ready for the flow. Once the stream slows down to a tiny drip, wipe the plug clean and check the washer. If it looks crushed or nasty, swap it out for a new one so you don’t end up with a slow leak down the road.
    • 5. Now, tackle the old filter. Position your drain pan under it because, trust me, oil is going to spill out the second you break that seal. Use an oil filter wrench if it’s stuck, but once it’s off, take a clean rag and wipe the mounting surface on the engine. You want that area to be completely spotless before you try to seat the new one.
    • 6. Before you screw the new filter on, dip your finger in some fresh oil and smear it around the rubber gasket. This is a pro tip that most beginners skip, but it’s the best way to prevent the gasket from binding or tearing when you tighten it down. Thread the new filter on by hand until it’s snug, then give it just one more little nudge. Don’t over-tighten it like you’re trying to win a wrestling match.
    • 7. Screw that drain plug back in tight, grab your new oil, and start pouring. Use a funnel to keep things clean—nobody likes oil dripping down the side of the engine block. Once you’ve filled it to the correct level, start the car, let it idle for a minute to circulate everything, and then check the dipstick one last time to make sure you’re in the sweet spot.

    The Essential Oil Change Tools Checklist for Real Work

    The Essential Oil Change Tools Checklist for Real Work.

    Before you even crack the hood, you need to get your gear sorted. I’ve seen too many people start a job only to realize halfway through that they’re missing a specific socket or a way to catch the mess. My personal oil change tools checklist always starts with a decent jack and jack stands—never, and I mean never, trust a hydraulic jack alone while you’re under a car. You’ll also want a drain pan that’s actually big enough to catch the flow, otherwise, you’re just painting your driveway with black sludge.

    One thing that trips up most beginners is the drain plug wrench size. Don’t just guess; check your manual beforehand so you aren’t struggling with a rounded-off bolt because you used the wrong socket. While you’re at it, grab a new crush washer if your car requires one. Also, don’t get caught in the debate of synthetic vs conventional oil without a plan; just check your owner’s manual to see what the manufacturer actually calls for. If you follow the specs, you won’t have to worry about premature engine wear.

    Synthetic vs Conventional Oil Choosing What Your Engine Deserves

    Synthetic vs Conventional Oil Choosing What Your Engine Deserves

    Look, when you’re staring at that shelf full of colorful bottles at the auto parts store, it’s easy to just grab the cheapest one and call it a day. But if you want to actually follow your automotive maintenance schedule without constant headaches, you need to understand what you’re pouring in. Conventional oil is basically the old-school standard—it works fine for older, low-mileage engines that aren’t under much stress. However, if you’re driving something modern or you push your car hard, you really should be looking at synthetic vs conventional oil more closely.

    Synthetic oil is engineered to handle extreme heat and stay stable much longer than the basic stuff. It doesn’t break down as fast, which means it keeps your engine internals cleaner for longer periods. If you’re working on a newer car with tight tolerances, synthetic is almost always the better play. It might cost a few extra bucks upfront, but it’s way cheaper than the repair bill you’ll get if your oil turns into sludge. Just make sure you still know how to check oil level regularly, regardless of which type you choose.

    Pro Tips to Keep You From Making a Mess (or a Mistake)

    • Don’t trust the manual blindly; always double-check your owner’s manual or the oil cap for the exact viscosity your engine actually needs.
    • Get the car warm before you start. A little bit of heat makes the oil flow much faster and easier when you pull that drain plug.
    • Always replace the crush washer on the drain bolt. It’s a tiny piece of metal, but if you skip it, you’re going to be dealing with a slow, annoying leak for weeks.
    • Never, and I mean never, tighten that drain plug like you’re trying to win a wrestling match. Hand-tight plus a tiny nudge with the wrench is plenty; over-tightening is how you strip threads.
    • Keep a catch pan positioned slightly under the plug before you unscrew it. Oil likes to come out faster than you expect, and nobody wants a puddle of black sludge all over their driveway.

    The Bottom Line on Your Next Oil Change

    Don’t let a shop talk you into expensive synthetic blends if your manual calls for conventional; just follow what the manufacturer says and save your money.

    Having the right tools, especially a decent oil filter wrench and a way to catch the old stuff without a mess, is the difference between a quick job and a disaster in your driveway.

    Doing this yourself isn’t just about saving cash—it’s about actually knowing what’s going on with your engine so nobody can pull a fast one on you later.

    ## The Truth About Maintenance

    Look, most shops will try to sell you a whole list of “essential” services the second you pull into the bay, but at the end of the day, an oil change isn’t some complex mystery—it’s just the most basic way to show your engine some respect. If you can handle a wrench and follow a few steps, you’re already doing more for your car than most people ever will.

    Nikolai·Osterman

    Wrapping It All Up

    Wrapping It All Up: Car Oil Maintenance

    At the end of the day, changing your oil isn’t some mysterious ritual reserved for people with expensive degrees. We’ve covered the ground: you need the right tools, you need to pick a quality oil that actually matches your engine’s specs, and most importantly, you need to follow the procedure without cutting corners. Whether you went with a full synthetic or stuck to a conventional blend, the goal remains the same: keeping the sludge out of your internals so your car actually lasts. It’s about taking control of your maintenance instead of just handing over your credit card and hoping for the best.

    I know it can feel intimidating when you’re staring down at a greasy drain plug for the first time, but honestly, the first time is always the hardest. Once you’ve got the rhythm down, it becomes just another Saturday morning task. Don’t let the fear of making a mess stop you from learning something useful. Every time you get under that chassis, you’re building a connection with your machine and saving yourself a massive headache down the road. Grab your wrench, keep that magnetic tray handy, and just get to work. You’ve totally got this.

    Frequently Asked Questions

    How do I know if I'm actually stripping the drain plug bolt when I'm tightening it?

    You’ll know something’s wrong if the bolt feels “mushy.” If you’re turning the wrench and there’s zero resistance—like you’re just spinning it in butter—you’ve likely stripped the threads. It’s a gut-sinking feeling, I know. Also, if the bolt feels loose even when it’s seated, or if you see metal shavings in your old oil, that’s a massive red flag. Just stop immediately. Don’t try to force it; you’ll only make the hole bigger.

    Is it actually okay to reuse the old crush washer, or am I asking for a leak?

    Look, I’ve seen guys try to get away with it, and honestly? You’re asking for a headache. That crush washer is designed to deform slightly to create a perfect, airtight seal. Once you’ve squeezed it down once, it’s done. If you try to reuse it, you’re basically gambling on a slow drip that’ll eventually coat your driveway in oil. Grab a new one—they cost pennies and save you a massive mess.

    What’s the best way to clean up the spilled oil so I don't ruin my driveway?

    Look, nothing kills the vibe of a successful DIY job like seeing a dark stain creeping across your driveway. If you spill, don’t just spray it with a hose—that just spreads the mess. Grab some kitty litter or even sawdust and dump it thick over the puddle. Let it sit for a bit to soak up the liquid, then sweep it up. If there’s a stubborn stain left, a little dish soap and a stiff brush usually do the trick.

  • How to Replace Brake Pads

    How to Replace Brake Pads

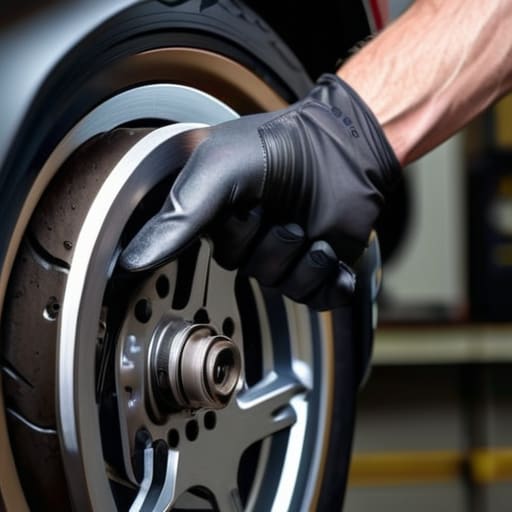
    I was working on a customer’s sedan last Tuesday when I heard that high-pitched, rhythmic squeal—the kind that makes your stomach drop every time you hit the pedal. The service advisor already had a quote ready for a full rotor resurfacing and a “premium” service package, totaling something close to a car payment. It’s honestly ridiculous. Most shops will try to sell you a whole overhaul when all you really need is a straightforward brake pad replacement. They count on you being too intimidated by the grease and the heavy metal to realize that you’re essentially just swapping out a couple of parts.

    I’m not here to give you some textbook lecture or a list of “safety precautions” that sounds like a legal disclaimer. I’m going to show you how to get this done with the basic tools you probably already have in your garage. My goal is to walk you through the actual, gritty reality of a brake pad replacement so you can stop handing your hard-earned money to mechanics for things you can do yourself. If you’ve got a bit of patience and a steady hand, you’ve got enough to handle this.

    Table of Contents

    Listen Closely Decoding Those Squealing Brake Sounds Causes

    Listen Closely Decoding Those Squealing Brake Sounds Causes

    If you hear a high-pitched screeching every time you hit the pedal, don’t just turn up the radio and hope it goes away. Most of the time, that sound is actually a built-in alarm system. Many pads come equipped with little metal tabs called brake pad wear indicators that scrape against the rotor once the friction material gets too thin. It’s a deliberate design meant to let you know that your stopping power is getting compromised before you actually hit metal-on-metal.

    Sometimes, though, the noise isn’t a warning—it’s just a symptom of how you’re driving or what you’ve got installed. If you’re running ceramic vs semi-metallic brake pads, you might notice different acoustic profiles; ceramics are generally quieter, while some metallic blends can be a bit more vocal. You might also be dealing with simple glazed rotors or even just some grit stuck in the assembly. Either way, pay attention to these squealing brake sounds causes early. Catching it now means you’re just swapping pads, rather than paying a shop to resurface your rotors or replace the whole caliper assembly because you waited too long.

    Spotting the Signs of Worn Brake Pads Before Its Too Late

    Spotting the Signs of Worn Brake Pads Before Its Too Late

    Most people wait until they hear that high-pitched screeching to even think about their brakes, but by then, you’re already playing catch-up. One of the easiest signs of worn brake pads to catch is a subtle vibration in your steering wheel or brake pedal when you’re slowing down. It’s not just an annoyance; it’s your car telling you that the friction material is getting thin and things are starting to get uneven. If you feel a rhythmic pulsing, you’re likely dealing with warped rotors, which is a much bigger headache than just swapping out a set of pads.

    Another thing to keep an eye on is the dashboard. A lot of modern cars have specific brake pad wear indicators built into the sensor system, so if that light pops up, don’t just ignore it or cover it with some electrical tape. I’ve seen plenty of guys ignore these warnings only to end up facing a massive bill because they ruined their rotors. Catching it early is the difference between a quick, cheap DIY job and a total overhaul that drains your bank account.

    Don't Mess This Up: 5 Pro-Tips for a Smooth Brake Job

    • Grab a C-clamp or a brake piston compressor before you start; trying to force that piston back into the caliper with a screwdriver is a recipe for a scratched seal and a massive headache.
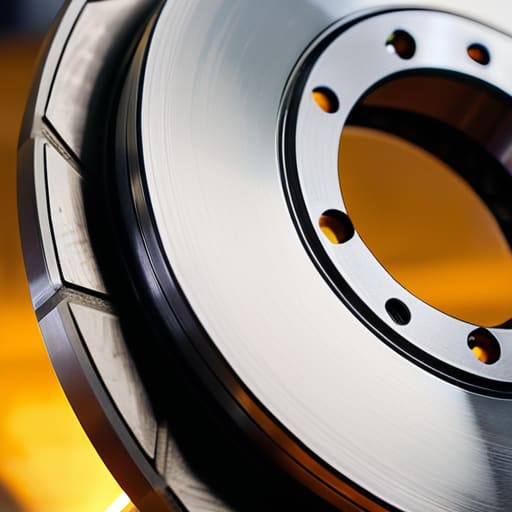
    • Clean your rotors with brake cleaner before you put the new pads on; if there’s any leftover grease or grime from the factory, your brakes are going to feel spongy and won’t bite right away.
    • Don’t forget to lube the slide pins with high-temp silicone grease; if those pins seize up because you were too lazy to clean them, your new pads will wear down unevenly and you’ll be right back under the car in a month.
    • Always check your brake fluid level in the reservoir after you compress the pistons; pushing that fluid back up the lines can cause it to overflow, so keep a rag handy to catch the mess.
    • Use a torque wrench on your caliper bolts instead of just guessing; I’ve seen too many guys over-tighten them and snap a bolt, or leave them loose and end up with a terrifying rattling sound while driving.

    The Bottom Line on Your Brakes

    Don’t ignore those squeals or vibrations; they aren’t just annoying noises, they’re your car telling you that your stopping power is literally disappearing.

    You don’t need a shop’s diagnostic computer to know your pads are shot—if you see metal-on-metal or feel the pedal go soft, it’s time to get to work.

    Most shops will try to upsell you a whole brake job, but if you’ve got a basic jack and some decent wrenches, swapping the pads yourself is a rite of passage that saves you a massive chunk of change.

    ## Don't Let Them Fleece You

    “Most shops will try to tell you that your rotors are shot or that you need a whole new caliper system the second you mention a squeak, but honestly? Nine times out of ten, you just need a decent jack, a socket set, and twenty minutes to swap the pads yourself.”

    Nikolai·Osterman

    Don't Let Them Fleece You

    Don't Let Them Fleece You: Brake Repair

    Look, at the end of the day, replacing your brake pads isn’t some mysterious dark art reserved for guys with master certifications. We’ve covered the warning signs—from that high-pitched squeal that keeps you up at night to the feeling of your steering wheel vibrating when you hit the pedal. If you can recognize those sounds and symptoms early, you’re already ahead of 90% of drivers. Just remember to grab a decent jack, keep your parts organized in a tray so you don’t lose those tiny clips, and never skip the cleaning step before you slap the new pads in. It’s all about being proactive rather than waiting for a metal-on-metal grinding sound to tell you your rotors are toast.

    I know it feels intimidating the first time you crawl under your car, but honestly, that’s where the real confidence comes from. There is a specific kind of satisfaction you get from hearing your car stop smooth and quiet, knowing you did that work yourself without handing over a month’s worth of grocery money to a dealership. Don’t let the complexity of modern cars scare you off; most of the time, it’s just a matter of having the right socket and a little bit of grit. Keep your tools ready, stay focused, and I’ll see you in the next one.

    Frequently Asked Questions

    Do I really need to replace the rotors at the same time as the pads, or can I just swap the pads and call it a day?

    Look, I get it—you want to save the cash. If your rotors are still smooth and don’t have any deep grooves or heavy warping, you can usually just swap the pads. But if you feel that steering wheel shaking when you hit the brakes, your rotors are toast. Slapping new pads on beat-up rotors is just asking for noise and uneven wear. Do the job right once; don’t make me fix it again later.

    How do I know if my brake calipers are actually fine, or if I'm about to deal with a much bigger, more expensive headache?

    Look, if your pads are fresh but the car still pulls to one side or you feel a rhythmic pulsing when braking, your calipers are likely the culprit. Check for uneven pad wear—if one side is shredded and the other looks brand new, that caliper is sticking. Also, if you see fluid leaking around the piston or the brake pedal feels “mushy,” stop driving. That’s a massive headache waiting to happen.

    Is there a specific way to "bed in" new pads so they don't squeal or lose stopping power right after I install them?

    Yeah, don’t skip this part. If you just slam on the brakes immediately, you’ll glaze those pads and ruin them before you even leave the driveway. You need to “bed” them to transfer a thin layer of friction material onto the rotors. Find an empty stretch of road, get up to about 45 mph, and brake down to 10 mph firmly—but don’t stop completely. Do that five or six times. It ensures they grab right.