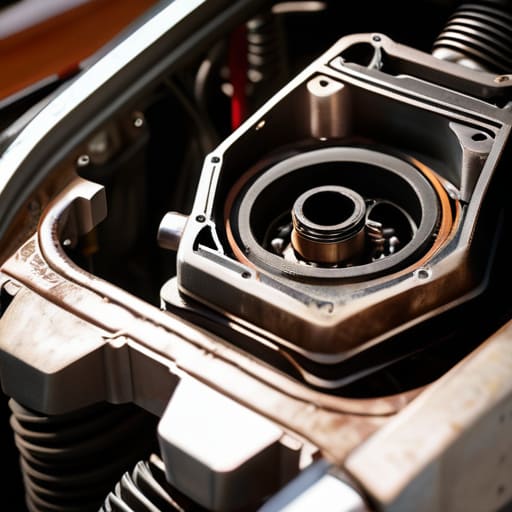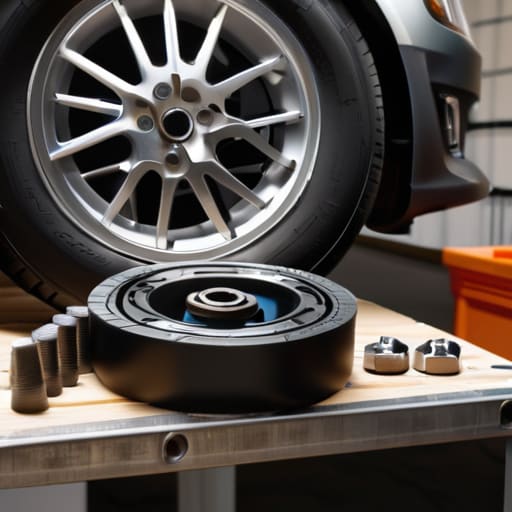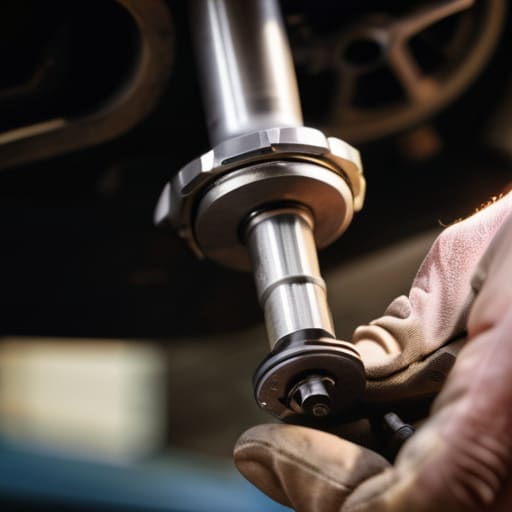
You ever feel like your car is fighting you every time you try to shift gears? I remember working on my neighbor’s old hatchback last summer—the guy was convinced he needed a whole new transmission because the pedal felt like it was made of lead. I pulled my magnetic tray out of my back pocket, took one look at the linkage, and realized he was about to spend a fortune on something that just needed a simple clutch adjustment. Most shops will try to sell you a whole kit or a new pressure plate when, in reality, your pedal engagement is just off-center.
I’m not here to give you some textbook lecture or a list of expensive specialized tools you’ll never use again. I’m going to show you exactly how to dial in your pedal feel so your gear shifts feel crisp and predictable again. We’re going to walk through the actual process of clutch adjustment step-by-step, focusing on the real-world tweaks that make a difference. No fluff, no gatekeeping—just the straight truth on how to get your car back to feeling smooth without getting ripped off.
Table of Contents
Guide Overview
Tools & Supplies
- Wrench or Socket set for adjusting linkage bolts
- Screwdriver for accessing adjustment screws or covers
- Penetrating oil for loosening rusted bolts
- Rag for cleaning debris
Step-by-Step Instructions
- 1. First things first, you need to get your car on something stable. If you’re working on a cable-operated clutch, you’ll usually be under the dash, but if it’s a hydraulic setup, you might be looking at the master cylinder under the hood. Either way, make sure the car is parked on level ground and the parking brake is pulled tight so you aren’t moving while you’re elbow-deep in the footwell.
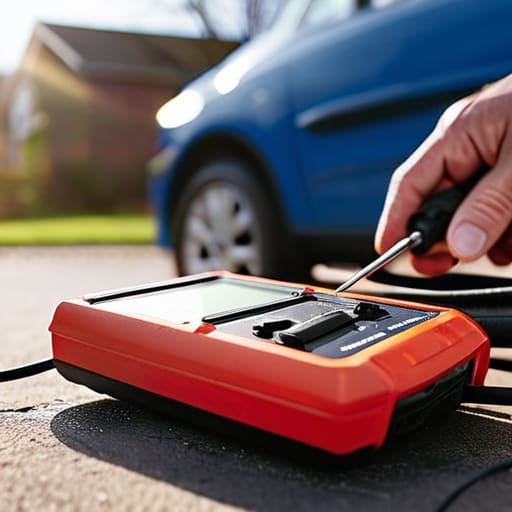
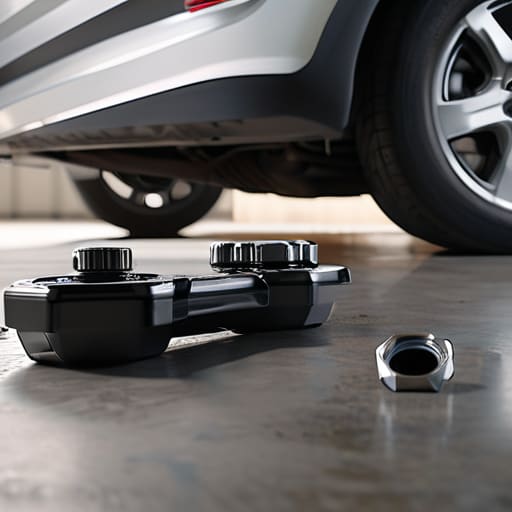
- 2. Grab a flashlight and find the adjustment nut. On most older cars or tuners, this is a threaded rod right where the clutch cable meets the pedal assembly. You’re looking for a little nut that you can turn to either tighten or loosen the tension. I always keep my magnetic parts tray handy for this because those little nuts love to disappear into the carpet the second you let go of them.
- 3. Before you start turning anything, check your “free play.” This is that tiny bit of wiggle you get in the pedal before it actually starts feeling resistance. Push the pedal down with your hand and see how much it moves before it hits the actual mechanism. If there’s zero play, you’re going to burn through your clutch plate in no time, so we definitely need to fix that.
- 4. Now, start adjusting. If the pedal feels too “mushy” or engages way too high up, you need to tighten the tension by turning the adjustment nut so the cable pulls the lever closer to the pedal. Don’t go overboard in one go; just give it a half-turn at a time. If you over-tighten it, the clutch won’t fully disengage, and you’ll start having a nightmare of a time shifting gears.
- 5. Once you think you’ve nailed it, test the pedal feel. Press it down a few times to make sure it doesn’t feel “sticky” or weird. You want a smooth, consistent travel from the top of the stroke to the bottom. If it feels consistent and firm, you’re likely heading in the right direction.
- 6. Take it for a quick spin around the block. This is the most important part because you need to see how it actually behaves under load. Pay close attention to how easy it is to get into first gear from a standstill and how the gear transitions feel while you’re moving. If it’s not biting where it should, go back to step four and tweak it a little more.
- 7. Finally, double-check your work one last time before you pack up your tools. Make sure the adjustment nut is secure and isn’t going to vibrate loose while you’re driving down the highway. Once you’re sure it’s solid, clean up your workspace—a messy garage is a recipe for losing a 10mm socket in the floorboards.
Decoding the Symptoms of a Bad Clutch
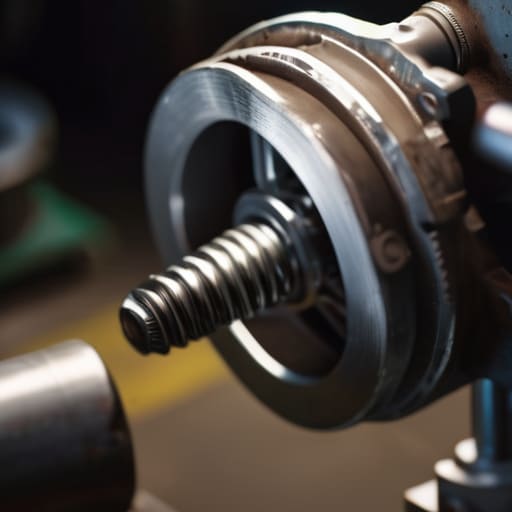
Before you start turning bolts, you need to be sure you’re actually dealing with a setup issue and not a part that’s just plain dead. One of the biggest giveaways is a shifting clutch engagement point that feels way too high or too low. If you’re having to floor it just to get the gear to bite, or if it’s grabbing the second you touch the pedal, your linkage is likely out of whack. I’ve seen plenty of guys rush into a full replacement when all they really needed was a simple tweak to the tension.
Keep an eye (and an ear) out for other symptoms of bad clutch behavior, like a pedal that feels spongy or doesn’t spring back up like it should. If you have a newer car, that mushy feeling usually points toward a leak in the hydraulic clutch master cylinder rather than a simple mechanical slack issue. If it’s an older tuner with a physical cable, you’ll notice the pedal feels inconsistent. Don’t just ignore the warning signs; catching a minor adjustment early can save you from a massive repair bill down the road.
Finding Your Perfect Clutch Engagement Point
Once you’ve finished the actual mechanical work, you need to figure out exactly where that bite point sits. It’s not just about whether the car moves; it’s about how it feels when you’re actually driving. If you find that you have to ride the pedal halfway up before the power kicks in, you’re probably dealing with too much clutch pedal free play. I always tell people to test this in a controlled environment—a quiet side street is perfect. You want that engagement to happen in a predictable, consistent window so you aren’t constantly guessing when the gears are going to catch.
If you’re working on an older rig, you’re likely adjusting clutch cable tension to get this right, which is a bit of a trial-and-error game. If you’ve got a newer setup, you might be looking at a hydraulic clutch master cylinder, where things get a little more complicated because you’re dealing with fluid pressure rather than just physical slack. Either way, the goal is the same: smooth, predictable transitions. If it feels jumpy or “grabby,” you haven’t hit the sweet spot yet. Grab a coffee, take a breath, and tweak it until it feels natural.
Pro Tips to Keep Your Clutch from Acting Up
- Don’t go overboard with the adjustment; if you tighten it too much, you’ll end up riding the clutch without even realizing it, which is a fast track to burning out your pressure plate.
- Keep your workspace clean, seriously. I can’t tell you how many times I’ve lost a tiny adjustment screw in a pile of greasy rags or floor mats. Use that magnetic tray I’m always talking about.
- Check your hydraulic fluid levels while you’re at it. Sometimes what feels like a mechanical adjustment issue is actually just a low reservoir or some air trapped in the lines.
- Listen to the car. If you adjust it and start hearing a new grinding noise or a weird shudder when you pull away, back off the tension immediately—you’ve gone too far.
- Treat the pedal with some respect. Once you’ve got the engagement point dialed in, stop “stabbing” the clutch at red lights; a smooth release goes a long way in making a DIY adjustment actually last.
The Bottom Line on Your Clutch
Don’t let a mushy pedal scare you; most of the time, a quick adjustment is all it takes to get that crisp engagement back without dropping hundreds at a shop.
Trust your gut—if the pedal feels weird or you’re smelling something burnt, stop messing around and actually look at the hardware before you turn a small fix into a total transmission nightmare.
Grab the right tools and take your time; rushing a clutch adjustment is the fastest way to strip a bolt or mess up your cable, and nobody has time for that.
## The Truth About That Feeling
“A clutch that’s fighting you isn’t a death sentence for your car; usually, it’s just a sign that it’s lost its rhythm. You don’t need a master tech to find it again—just a steady hand and the patience to dial it back in.”
Nikolai·Osterman
Getting It Right
Look, adjusting your clutch isn’t some high-level engineering feat, but you can’t afford to be sloppy with it. We went over how to spot those early warning signs like slipping or a pedal that feels like it’s stuck in mud, and we walked through the actual process of dialing in that engagement point. If you’ve followed these steps, you should notice the pedal feeling more consistent and the gear shifts feeling a lot more natural. Just remember to double-check your work before you head out on the highway; you want to make sure that tension is exactly where it needs to be so you aren’t constantly fighting the gearbox every time you hit a stoplight.
At the end of the day, my goal is to make sure you feel confident when you’re staring down an open hood. Most shops will try to tell you that a weird pedal feel means you need a whole new assembly, but more often than not, it’s just a matter of taking control of your own maintenance. Don’t let the fear of a little grease or a heavy wrench keep you from understanding your own machine. Grab your tools, trust your hands, and keep that car running on your terms. You’ve got this.
Frequently Asked Questions
If I adjust the clutch and it still feels like it's slipping, does that mean the pressure plate is shot?
Look, if you’ve dialed in the adjustment and it’s still slipping, yeah, you’re likely looking at a hardware problem. If the pedal feels fine but the RPMs jump without the car actually speeding up, your pressure plate or the clutch disc itself is probably toast. You can’t adjust your way out of worn-down friction material. It’s frustrating, I know, but at that point, it’s time to stop tweaking and start replacing.
Can I mess things up if I over-tighten the adjustment screw, or is there a specific limit I should watch out for?
Yeah, you definitely can mess things up. If you crank that screw down too tight, you’re basically putting constant pressure on the release bearing. That’s a fast track to premature wear or even a total failure of the throw-out bearing. It’s not like a bolt where you just “tighten it until it stops”; you’re looking for a specific feel. Just go slow. If you feel heavy resistance, back it off a hair. Don’t force it.
How often should I actually be checking this, or is it a "only when it feels weird" kind of thing?
Honestly? It’s mostly a “only when it feels weird” kind of thing. Your car talks to you; you just have to listen. If the pedal starts feeling mushy, or you notice you’re having to push it almost to the floor to get into gear, that’s your signal. Don’t wait for it to fail completely on the highway. Just keep an eye on the pedal travel during your regular oil changes. If it changes, check it.