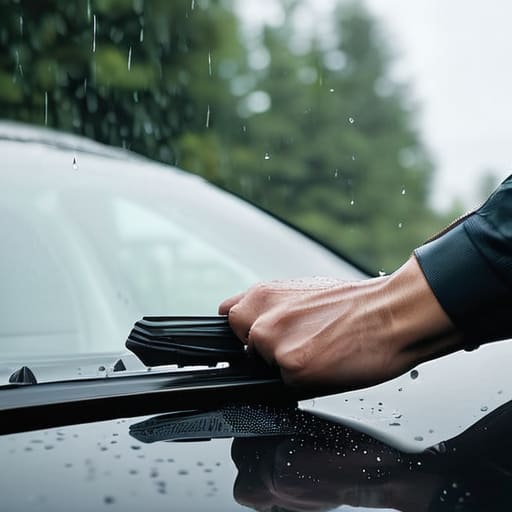
I was driving home during a massive downpour last Tuesday, squinting through a blurry, streaky mess of water, when I realized my wipers were basically just smearing mud around my field of vision. It’s one of those things that feels like a huge deal when you’re behind the wheel in a storm, but honestly, most people let a shop charge them thirty bucks just to handle a windshield wiper replacement that takes less time than making a sandwich. You don’t need a specialized tool kit or a mechanic’s certification to fix this; you just need to stop letting minor maintenance turn into an unnecessary bill.
In this guide, I’m going to cut through the fluff and show you exactly how to swap those old blades out for a fresh set without breaking anything. I’ll walk you through identifying your specific blade type, the actual clicking sound you should hear when they lock in, and a few pro tips I’ve picked up working in the shop to make sure they don’t squeak on day one. Let’s get it done so you can see the road clearly again.
Table of Contents
- Step-by-Step Instructions
- Spotting the Signs of Worn Wiper Blades Before They Fail
- Mastering How to Change Wiper Blades Without the Mechanics Fee
- Pro Tips to Keep Your View Crystal Clear
- The Bottom Line on Keeping Your View Clear
- Don't Get Ripped Off for a Five-Minute Fix
- Don't Let Them Overcharge You
- Frequently Asked Questions
Guide Overview
Tools & Supplies
- Microfiber cloth to clean the glass surface
- Owner's manual to verify wiper blade size
- Set of replacement wiper blades (driver and passenger side)
- Glass cleaner or water for cleaning residue
Step-by-Step Instructions
- 1. First things first, grab your new blades from the store and check the packaging to make sure they actually match your car’s year and model. I’ve seen too many guys get halfway through a job only to realize they bought the wrong size, which is a massive headache.
- 2. Lift your wiper arms up away from the glass until they’re standing at a comfortable angle. If your car has a built-in “service mode” that makes the arms pop up from the hood, use that, but for most older cars, you can just manually pull them up until they lock into place.
- 3. Locate the little plastic tab or button on the underside of the wiper arm where the blade meets the metal. You’re going to press that button or squeeze the clip to release the old blade from the arm; it might feel a bit stiff, but don’t force it so hard that you snap the plastic.
- 4. Once the old blade slides off, take a micro-fiber cloth or a paper towel and wipe down the metal arm itself. You’ll probably see a layer of grime and old rubber residue sitting right in the hinge, and you want that surface clean so the new blade sits perfectly flush.
- 5. Take your new wiper blade and line up the connector with the hook or tab on the wiper arm. Slide it in until you hear a satisfying click—that’s how you know it’s actually locked in and won’t fly off onto the highway the second you hit forty miles per hour.
- 6. Before you let the arms snap back down, do a quick visual check to ensure the blade is centered and isn’t wobbling around on the arm. You want it to look solid and straight.
- 7. Slowly lower the arms back onto the windshield, being extremely careful not to let them slam down too hard. If you let them snap back too fast, you run a real risk of cracking your windshield, and trust me, that’s a repair you definitely don’t want to deal with.
Spotting the Signs of Worn Wiper Blades Before They Fail

You don’t always have to wait for a massive rainstorm to realize something is wrong. Usually, your blades will start giving you subtle hints long before they actually stop clearing the glass. If you notice those annoying streaks or smudges every time you flip the switch, that’s your first big red flag. Sometimes it’s just dirt, but if the pattern repeats, the rubber is likely cracked or dried out from sitting in the sun. Another dead giveaway is that high-pitched squealing sound; that’s basically the blade screaming for help because it’s lost its grip on the windshield.
I also tell people to watch out for “chattering.” If your wipers are jumping or skipping across the glass instead of gliding smoothly, the internal structure is shot. Don’t ignore these signs of worn wiper blades, because trying to drive through a downpour with bad visibility is a massive risk to your automotive visibility safety. It’s way better to catch it early and spend ten bucks on a new set than to end up squinting through a blurry mess when you actually need to see the road.
Mastering How to Change Wiper Blades Without the Mechanics Fee
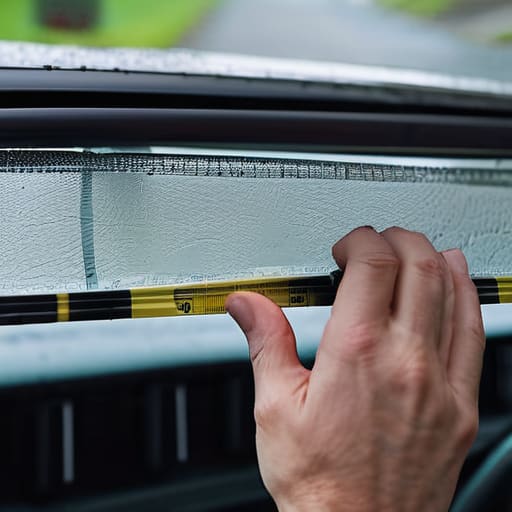
Look, the biggest mistake I see people make isn’t even the installation itself—it’s walking into the auto parts store and grabbing whatever looks cheapest. You need to actually know your wiper blade types and sizes before you even leave the house. Most cars use a specific length for the driver versus the passenger side, and if you get a “universal” fit that’s too short, you’re going to have massive blind spots right when a storm hits. I always tell my friends to check the owner’s manual or just measure the old ones with a tape measure first. It saves you that annoying second trip back to the store.
Once you’ve got the right parts, the real trick to a smooth wiper arm installation is being gentle with the metal. Those arms are under tension; if you let them snap back against the glass without a blade attached, you’re looking at a cracked windshield and a very expensive mistake. I always keep a folded towel on my glass to cushion the arm while I’m swapping things out. It takes two seconds, but it’s the difference between a quick fix and a massive headache.
Pro Tips to Keep Your View Crystal Clear
- Don’t just buy the cheapest blades at the grocery store; spend the extra few bucks on a decent brand like Bosch or Rain-X. The cheap ones start streaking after two weeks of sun exposure, and you’ll just end up doing this whole job again.
- Always check your wiper arm tension before you swap the blades. If the arm feels loose or doesn’t press the blade firmly against the glass, you’re going to get annoying gaps in your wipe pattern no matter how new the rubber is.
- Grab a bottle of dedicated windshield washer fluid instead of just using plain old water. It helps lubricate the blades and prevents that nasty buildup of road grime and minerals that makes your wipers chatter across the glass.
- Keep a clean microfiber cloth handy while you’re working. Once the old blades are off, wipe down the glass thoroughly to get rid of any old residue or grit that could scratch your new blades the second you turn them on.
- Watch out for your wiper arms when you’re swapping them out. If you let that metal arm snap back against the windshield without a blade attached, you’re looking at a cracked windshield and a much more expensive afternoon than you bargained for.
The Bottom Line on Keeping Your View Clear
Don’t wait for the storm to realize your blades are shot; if they’re streaking or squealing now, swap them out before you’re actually stuck in the rain.
You don’t need a shop appointment for this—grab the right size from any auto parts store and you can knock it out in your driveway in under five minutes.
Keep an eye on the rubber. Even if they look okay, heat and grime wear them down, so checking them once a season saves you from a massive headache later.
Don't Get Ripped Off for a Five-Minute Fix
Honestly, it kills me seeing people pay a shop fifty bucks just to swap out some rubber blades. It’s not a mechanical mystery; it’s a five-minute job that anyone with a little patience can handle. Don’t let a mechanic charge you for something you can do yourself in your own driveway.
Nikolai·Osterman
Don't Let Them Overcharge You
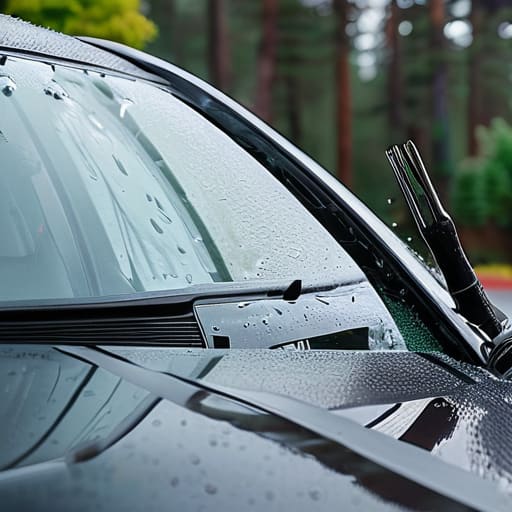
At the end of the day, replacing your wipers is one of those small wins that keeps you in the driver’s seat. We covered how to spot those annoying streaks before they turn into a visibility nightmare, picked out the right blades for your specific car, and walked through the actual swap so you aren’t sitting there staring at a confusing connector. It really comes down to two things: knowing when to swap them and having the right size in your trunk. Once you realize it’s just a matter of clicking a tab and sliding a new arm into place, you’ll see why I hate seeing people pay fifty bucks at a quick-lube shop for something that takes less than five minutes to do yourself.
I know it can feel intimidating when you first pop the hood or mess with the wiper arms, but don’t let that stop you. Every pro mechanic started exactly where you are, just trying to figure out which way a bolt turns. Taking care of your own car isn’t just about saving a few bucks—though that definitely helps—it’s about the confidence that comes from knowing your machine is actually safe to drive. Keep your tools handy, stay patient, and remember that you are more than capable of handling the basics on your own. See you in the next one.
Frequently Asked Questions
How do I know which specific blade size I need for my car without driving to the parts store?
Don’t waste your gas driving to the shop just to guess. The easiest way is to grab a tape measure and measure your current blades from tip to tip—just make sure you’re measuring the rubber part, not the whole arm. If you don’t have a tape, pull up your owner’s manual online or search your car’s year, make, and model on a parts site. They’ll tell you the exact inches you need.
Is it worth buying those expensive beam blades, or are the cheap ones just as good?
Look, I get why you’re hesitant to drop twenty bucks on a single blade. Honestly? If you’re just driving a commuter car in a dry climate, the cheap ones do the job. But if you deal with heavy rain or snow, go for the beam blades. They don’t have those metal frames that get clogged with grit or lose tension. They stay pressed against the glass way better. Save your money on the oil change, but spend it on the blades.
I accidentally popped my wiper arm up and it feels loose—did I break something?
Relax, you probably didn’t snap anything. Most wiper arms are designed to lift up so you can swap the blades without smashing your windshield. If it feels “loose,” you’re likely just feeling the tension from the spring mechanism or the pivot joint. As long as it still snaps back into place firmly against the glass, you’re golden. Just don’t go yanking it around too aggressively, or you might actually stress the mounting bolt.
