Category: Maintenance

  • Replacing Worn Windshield Wiper Blades

    Replacing Worn Windshield Wiper Blades

    Ever find yourself white-knuckling the steering wheel during a downpour because your windshield looks like it’s covered in smeared grease? Most people think they need to head to the dealership or wait for a “service special” to fix that annoying streaking, but honestly, that’s just a way to drain your wallet. The truth is, wiper blade replacement is one of those tasks that mechanics love to overcharge for, even though it’s basically a five-minute job. I remember my first real storm driving home from a late shift; the old blades just chattered across the glass, leaving me totally blind. It was a wake-up call that I should’ve handled my own maintenance instead of just hoping for the best.

    I’m not here to give you some overly complicated manual or sell you on expensive, fancy gadgets you don’t need. I’m going to show you exactly how to grab the right parts and swap them out yourself without breaking a sweat. We’re going to cover how to identify your specific blade size and the proper way to click them into place so you don’t snap the wiper arm. Let’s get it done.

    Table of Contents

    Guide Overview

    Total Time: 10-20 minutes
    Estimated Cost: $15-50
    Difficulty: Beginner

    Tools & Supplies

    • Microfiber cloth to protect windshield
    • Owner's manual to verify wiper type
    • New wiper blade set (driver and passenger side)
    • Glass cleaner to prep surface

    Step-by-Step Instructions

    • 1. First things first, grab your new blades and make sure they actually match your car. I’ve seen guys buy the wrong size and spend twenty minutes trying to force a fit, which is a total waste of time. Check your owner’s manual or just pop into the auto parts store and double-check the length before you head home.
    • 2. Lift the wiper arm up away from the windshield. You want it standing straight up like it’s in a “salute” position. Be careful here, though—if you let that metal arm snap back down without a blade on it, it’ll crack your windshield, and that’s a much more expensive headache than just buying new wipers.
    • 3. Look at where the blade connects to the arm. Most cars use a simple “J-hook” style, which is basically a little metal hook at the end of the arm. You’ll usually see a small tab or a button on the underside of the connector; press that tab firmly to release the tension holding the old blade in place.
    • 4. Once the tab is pressed, slide the old blade down and out of the hook. Once it’s free, set it aside. Before you do anything else, take a clean rag and wipe down the metal arm and the area where the blade sits. You don’t want to trap old grit or dirt under your brand-new rubber.
    • 5. Take your new blade and line up its connector with the hook on the arm. It should slide right in. You’ll know it’s secure when you hear a solid click or feel it lock into place. Give it a quick, firm tug to make sure it isn’t going anywhere.
    • 6. Slowly lower the wiper arm back onto the glass. Don’t just let it fly; guide it down gently so you don’t stress the mechanism. Once it’s seated, turn on your wipers and give them a quick spray of washer fluid to make sure they’re sweeping clean without any weird skipping or dragging.

    Spotting the Signs of Worn Wiper Blades Before Its Too Late
    Spotting the Signs of Worn Wiper Blades Before Its Too Late

    You don’t always have to wait for a downpour to realize your blades are shot. Honestly, most people wait until they’re driving through a storm and can barely see the lines on the road, but that’s when it gets dangerous. One of the biggest signs of worn wiper blades is that annoying, rhythmic chattering sound they make across the glass. If they’re jumping or skipping instead of gliding smoothly, the rubber has likely hardened or cracked from sitting out in the sun.

    Another dead giveaway is those annoying streaks that refuse to clear, no matter how much fluid you spray. If you notice “ghosting” or a cloudy film left behind, your blades aren’t making full contact anymore. I always tell people to keep an eye out for physical damage like tiny tears or chunks missing from the rubber edge. Catching these things early is just part of solid automotive maintenance tips that save you from a massive headache later. Don’t wait for a visibility crisis to realize you need a quick swap.

    How to Change Windshield Wipers Without Breaking a Sweat
    How to Change Windshield Wipers Without Breaking a Sweat

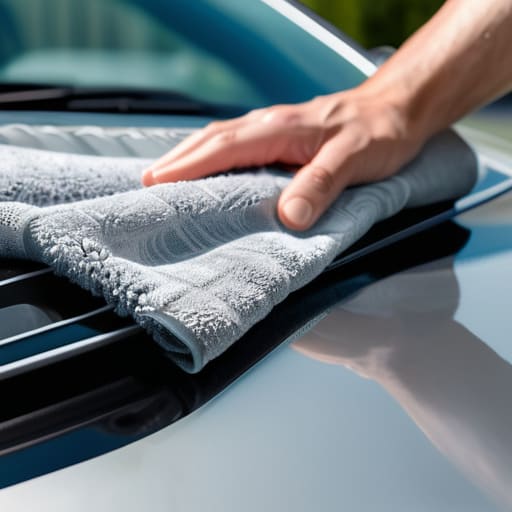
    Look, I’ve seen plenty of people struggle with this because they treat it like a high-stakes surgery, but it’s really not that deep. The biggest mistake I see is people rushing the process and accidentally snapping the wiper arm back against the glass. If that metal arm slams down without a blade attached, you’re looking at a cracked windshield and a much more expensive afternoon. My best piece of advice? Grab a thick towel and lay it right over the glass before you start. It acts as a buffer so if things slip, you aren’t paying for a new windshield on top of new blades.

    Another thing that trips people up is getting the wrong gear. Don’t just grab whatever’s on sale at the big-box store without checking your manual first. Knowing the correct wiper blade size for your specific make and model is the difference between a smooth swipe and a constant, annoying chatter. If you’re looking for more automotive maintenance tips to keep your visibility sharp, just remember: check your blades every time the seasons shift. It takes two minutes and keeps you from driving blind.

    Pro Tips to Keep Your Wipers From Acting Up

    • Don’t just buy the cheapest blades at the big-box store; if you want them to actually last through a storm, spend the extra few bucks on a decent brand that uses high-quality rubber.
    • Before you snap the new ones on, give the wiper arm itself a quick wipe with a clean rag to get rid of any grit or road grime that could scratch your windshield.
    • If your new blades start streaking right away, check the tension on the wiper arm—sometimes they aren’t seated perfectly in the clip, and that’s all it takes to mess up the contact.
    • Protect your windshield while you’re working; if you accidentally lift that metal wiper arm too far back without a blade attached, it can snap back and crack your glass in a heartbeat.
    • Once the new blades are on, do a quick test spray of your washer fluid to make sure everything is aligned and sweeping the glass smoothly before you head out on the road.

    The Bottom Line on Keeping Your Vision Clear

    Don’t wait for a storm to realize your wipers are shot; if they’re streaking or squealing now, just swap them out.

    You don’t need a mechanic for this—grab the right size at the parts store, spend five minutes on it, and save yourself the shop fee.

    Check your wiper connections before you buy new ones so you aren’t stuck with a blade that doesn’t actually fit your arm.

    The Real Cost of Neglect

    “Don’t let a shop charge you fifty bucks for a ten-minute job just because you’re scared of a little plastic clip; keeping your visibility clear shouldn’t break your bank or your spirit.”

    Nikolai·Osterman

    Don't Let the Rain Catch You Off Guard
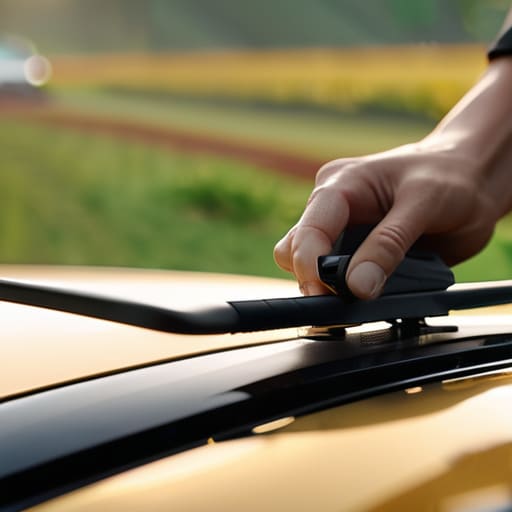
    Don't Let the Rain Catch You Off Guard.

    At the end of the day, swapping out your wipers is one of those small wins that keeps your car feeling reliable. We covered how to spot those annoying streaks before they turn into a safety hazard, the right way to unclip the old blades without snapping the wiper arm, and how to make sure the new ones are seated perfectly. It’s a quick process, but if you rush it, you might end up with a scratched windshield or a blade that flies off on the highway. Just remember to double-check the connection before you turn the ignition back on; it only takes a second and saves you a massive headache later.

    I know it can feel intimidating when you first look under the hood or reach into those tight gaps, but honestly, this is exactly how you build confidence. You don’t need to be a master technician to handle the basics, and you definitely shouldn’t be paying shop labor rates for a job that takes ten minutes in your own driveway. Every time you tackle a small fix like this, you’re taking control of your machine and keeping more money in your pocket. Keep that magnetic tray handy, stay patient, and just keep turning wrenches. You’ve got this.

    Frequently Asked Questions

    How do I know which specific blade size I need if my car manual is missing?

    If your manual’s gone missing, don’t sweat it. First, grab a tape measure and just measure the old blades from end to end—that’s usually the easiest way. If you want to be 100% sure, pull up your car’s year, make, and model on a site like RockAuto or even just Google it. Most parts sites have a fitment guide that’ll tell you exactly what fits your specific windshield. Just double-check both sides; they aren’t always the same length.

    Is it actually worth buying the expensive blades, or can I just grab the cheap ones from the big-box store?

    Look, I get the temptation to grab the $5 generic set, but honestly? You usually get what you pay for. Cheap blades tend to chatter or leave those annoying streaks across your view after just a few weeks of sun and rain. If you’re on a tight budget, go for it, but if you actually care about seeing clearly during a downpour, spend the extra few bucks on a decent mid-range brand. It’ll save you the headache of replacing them twice.

    My wipers are still streaking even after I put on brand new ones—what else could be wrong?

    That’s frustrating, I get it. If brand new blades aren’t cutting it, the problem usually isn’t the rubber—it’s the glass. You’ve probably got a layer of road grime, tree sap, or even old oil buildup that the new blades can’t scrub off. Grab some glass cleaner or even a bit of isopropyl alcohol and a microfiber towel. Scrub that windshield down real good. If it still streaks, your wiper arms might be bent and not applying even pressure.
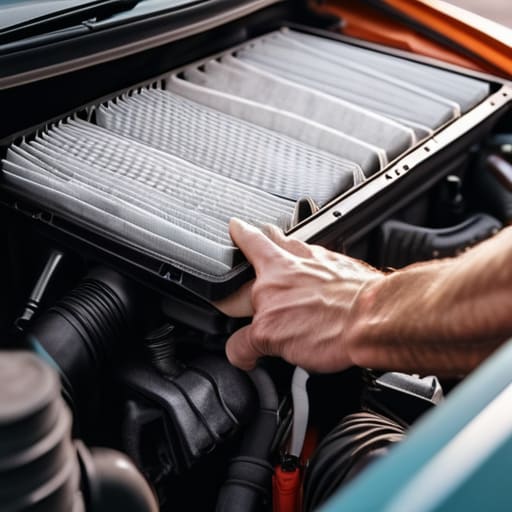
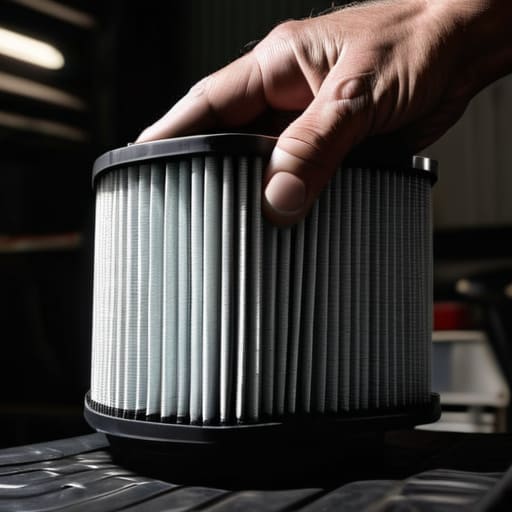
  • How to Replace Engine and Cabin Air Filters

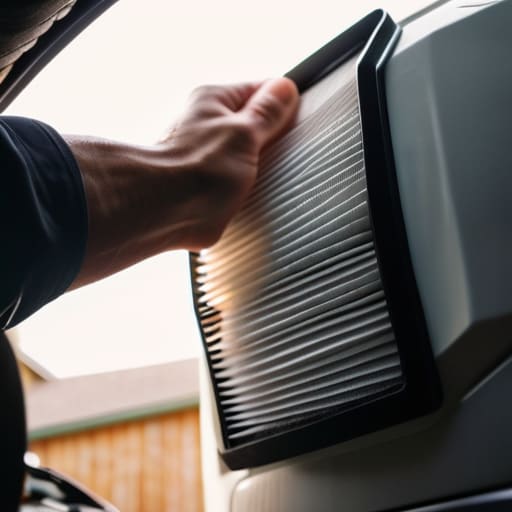
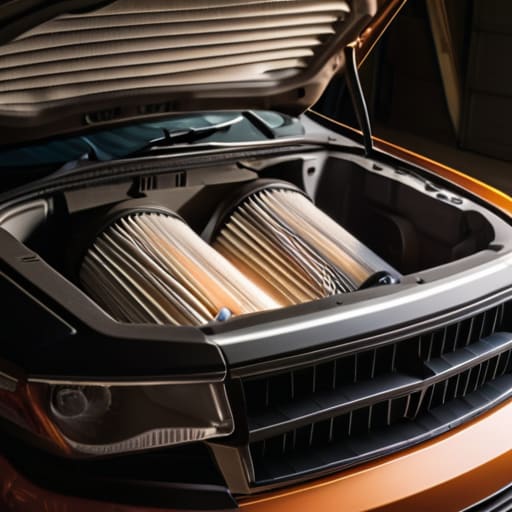
    How to Replace Engine and Cabin Air Filters

    I was working on a beat-up old sedan last week when a customer came in, looking totally stressed because the shop told him he needed a “major intake system overhaul” just to fix a sluggish engine. I almost lost it. The guy was looking at a bill for hundreds of dollars when all his car actually needed was a simple air filter replacement. It kills me how some shops try to dress up the most basic maintenance as some high-tech, expensive surgery just to pad their margins. Honestly, if your car feels like it’s gasping for breath, it’s usually not a mystery—it’s just choking on dust.

    Look, I’m not here to give you some textbook lecture or sell you on fancy additives you don’t need. I’m going to show you exactly how to handle an air filter replacement yourself, without the headache or the massive markup. I’ll walk you through what to look for, how to spot a bad one, and how to swap it out in under five minutes. You’ve got this, and I’m going to make sure you don’t get ripped off.

    Table of Contents

    Spotting the Signs of a Clogged Filter Before It Costs You

    Spotting the Signs of a Clogged Filter Before It Costs You

    You don’t always have to wait for a dashboard light to tell you something is wrong. Usually, your car will start “talking” to you through how it drives. If you notice your engine feels sluggish or you’re getting significantly worse gas mileage, it’s a huge red flag. A choked-out filter makes the engine work twice as hard just to breathe, which is a total killer for improving fuel efficiency. If you’re constantly hitting the gas just to keep up with traffic, your car is likely gasping for air.

    Another thing to watch for is how your cabin feels. If you turn on the AC and it feels like a weak breeze instead of a blast, or if you start noticing a musty smell, that’s a clear sign of a clogged filter. It’s not just about the engine, though; it’s about your HVAC system performance and the air you’re actually breathing. If the vents feel weak or the air quality inside the car just feels off, don’t ignore it. Catching these small issues early keeps you from turning a cheap fix into a massive headache.

    Mastering Your Vehicle Maintenance Schedule Without a Mechanics Degree

    Mastering Your Vehicle Maintenance Schedule Without a Mechanics Degree

    Look, you don’t need a massive binder full of technical jargon to stay on top of things. Most shops try to make the vehicle maintenance schedule seem like some complex, high-stakes puzzle just to justify their labor rates. In reality, it’s mostly about rhythm. I always tell my friends to just pick a milestone—like every oil change or every six months—and make that their trigger for a quick inspection. If you can check your oil, you can definitely check a filter.

    Don’t get bogged down in the fine print of your owner’s manual, either. Just focus on the stuff that actually impacts how your car feels on the road. For example, keeping your engine breathing clean air is one of the easiest ways of improving fuel efficiency without spending a dime on fancy additives. It’s about being proactive rather than reactive. If you wait until the car is sputtering to look at your logs, you’ve already lost the battle. Just stay consistent, and you’ll find you’re saving a ton of money in the long run.

    Pro Tips to Keep Your Engine Breathing Easy

    • Don’t just eyeball it; if you see a thick layer of gray dust or debris stuck in the pleats, it’s already time for a swap.
    • Grab a can of compressed air to blow out the airbox housing before you drop the new filter in—you don’t want old grit falling onto your clean sensor.
    • Check your owner’s manual for the actual interval, but honestly, if you live somewhere dusty or near a construction site, expect to change it more often than the book says.
    • Never try to “clean” a paper filter by washing it; you’ll just ruin the fibers and end up sucking dirt straight into your intake.
    • Make sure the rubber seal on the new filter sits perfectly flush in the housing; if it’s crooked, you’re basically letting unfiltered air bypass the whole system.

    The Bottom Line on Keeping Your Engine Breathing

    Don’t wait for a dashboard light or a massive drop in MPG; if your filter looks like it’s been through a sandstorm, just swap it out.

    You don’t need a specialized toolkit for this—most cars let you pop the airbox open with just a screwdriver or even your bare hands.

    Checking your filter every few oil changes takes two minutes and can save you hundreds in fuel costs and engine wear down the road.

    The Real Cost of Cutting Corners

    “Mechanics love it when you ignore your air filter because it turns a five-minute swap into a massive bill for engine cleaning later. Don’t give them that satisfaction; just grab a new one, pop it in, and keep your money in your pocket.”

    Nikolai·Osterman

    Don't Let Them Charge You for Five Minutes of Work

    Don't Let Them Charge You for Five Minutes of Work.

    Look, at the end of the day, swapping an air filter isn’t some high-level engineering feat. We’ve covered how to spot that sluggish acceleration, how to keep track of your mileage without feeling overwhelmed, and why letting that debris build up is just throwing money out the window. It really comes down to two things: staying observant and having that one new filter sitting in your trunk when you need it. Once you realize that most of these “maintenance tasks” are just simple mechanical movements, you stop being a victim to the service advisor’s sales pitch. You’ve got the signs to watch for and the schedule to follow; now you just need to actually do the work.

    I know it can feel intimidating when you first pop that hood and see all those wires and plastic housings, but I promise you, it gets easier. Every time you grab your tools and handle a repair yourself, you’re taking back control of your ride and your wallet. Don’t let the fear of “doing it wrong” keep you stuck in a cycle of expensive shop visits. Just grab a new filter, take your time, and trust your hands. You’re more capable than any mechanic wants you to believe, and honestly, your car will probably run better for it.

    Frequently Asked Questions

    Can I just blow the dust out with some compressed air instead of buying a new one?

    Look, I get the temptation to save a few bucks, but honestly? Don’t do it. Blowing out a filter with compressed air might clear the big chunks, but it’s not going to pull the fine grit out of those microscopic pleats. You’re basically just rearranging the dirt. Plus, you risk tearing the paper, which lets debris straight into your engine. Just grab a new one; it’s cheaper than a ruined turbo or engine rebuild.

    How do I know if I need a standard paper filter or one of those reusable oiled ones?

    Look, don’t let the marketing fool you. Check your owner’s manual first—that’s your bible. If it calls for a standard paper filter, stick with it. They’re cheap and they do the job. Those reusable oiled ones can be cool for tuning, but if you over-oil them, you’ll actually gunk up your Mass Air Flow sensor, and then you’re looking at a much more expensive headache. If you’re just daily driving, paper is king.

    Is it actually worth checking the cabin air filter too, or is that just another way for shops to upcharge me?

    Look, I get it—it feels like another way for shops to pad the bill. But here’s the truth: the cabin filter is actually worth your time. While the engine filter keeps the motor breathing, the cabin filter keeps you breathing. If your AC smells funky or the airflow feels weak, it’s probably clogged with dust and dead bugs. It’s usually a five-minute job behind the glovebox. Don’t pay a shop $50 for it.

  • Signs Your Brakes Need Inspection

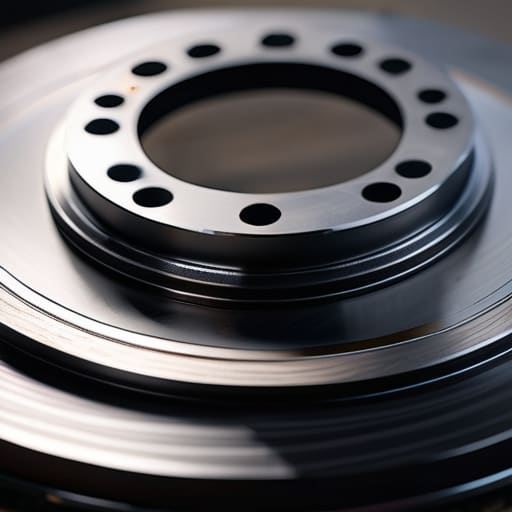
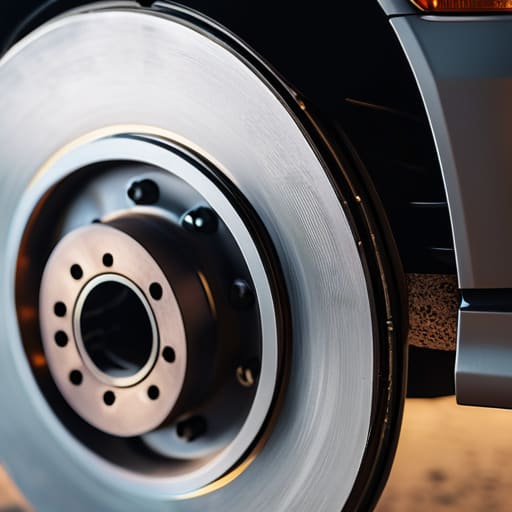
    Signs Your Brakes Need Inspection

    I remember sitting in my dad’s garage when I was ten, listening to that high-pitched, metal-on-metal screech every time he tapped the pedal on his old sedan. He’d just sigh, grab his wrench, and tell me that most shops would try to sell you a whole new rotor assembly when all you really needed was a simple brake inspection and some fresh pads. It drives me crazy how some mechanics treat a basic check like it’s some kind of complex, high-tech mystery just to pad their service invoices. Most of the time, your car is trying to tell you exactly what’s wrong; you just have to know how to listen.

    I’m not here to give you some textbook lecture or a list of parts you don’t actually need. My goal is to show you how to grab a flashlight, get under there, and do a real brake inspection yourself so you know exactly what’s happening behind those wheels. I’ll walk you through the actual signs of wear and the specific things I look for when I’m on the clock at the shop. No fluff, no gatekeeping—just the honest truth about keeping your stopping power solid without getting ripped off.

    Table of Contents

    Listen Close to Those Annoying Brake Squealing Sounds

    Listen Close to Those Annoying Brake Squealing Sounds

    If you start hearing a high-pitched screech every time you hit the pedal, don’t just turn up the radio and hope it goes away. Most of the time, those brake squealing sounds are actually a built-in warning system. Many pads have a tiny metal tab called a wear indicator designed to scrape against the rotor once the material gets too thin. It’s annoying as hell, but it’s basically your car screaming at you that it’s time for a change before you end up with metal-on-metal grinding that ruins your rotors.

    Beyond the noise, pay attention to how the car actually reacts when you slow down. If you notice a weird vibration or a spongy brake pedal feel, that’s a massive red flag. It could be anything from air in the lines to warped rotors. I always tell people that if the car feels “off” during a stop, your stopping distance safety is officially compromised. Don’t wait until you’re at a red light and the pedal goes straight to the floor to realize something is wrong.

    Watch for the Real Signs of Worn Brake Pads

    Watch for the Real Signs of Worn Brake Pads.

    Beyond just the noise, you need to pay attention to how the car actually behaves when you’re hitting the pedal. One of the biggest red flags is a change in your brake pedal feel. If it suddenly feels spongy, or if it sinks way too close to the floor before the car actually slows down, that’s not just “old car character”—that’s a warning. You might also notice a slight vibration or pulsing through the pedal when you’re slowing down from highway speeds. That usually means your rotors are getting warped, which is a sign that your pads have been overheating or are just worn down too thin.

    Another thing to keep an eye on is your stopping distance safety. If you find yourself having to press harder or earlier just to get the car to come to a halt, don’t just ignore it. It’s easy to think you’re just driving more aggressively, but your car is literally telling you it’s struggling to do its job. If you notice you’re traveling a few extra feet before the weight shifts forward, it’s time to pull the wheels off and do a proper brake component inspection to see exactly how much meat is left on those pads.

    5 Ways to Check Your Brakes Without Getting Ripped Off

    • Grab a flashlight and look through your wheel spokes. You don’t need to take the whole wheel off just to see if your pads are getting dangerously thin; a quick visual check can save you a massive headache later.
    • Get your hands a little dirty and feel the brake rotors for any deep grooves or “lip” around the edge. If the surface feels like a record player with scratches, your rotors are likely warped or too worn to keep things smooth.
    • Pay attention to how the pedal feels under your foot. If it feels spongy or you have to floor it just to get the car to slow down, you probably have air in the lines or a failing master cylinder, and that’s not something to ignore.
    • Check your brake fluid level in the reservoir, but don’t just look at the lines. If the fluid looks dark or murky like old coffee, it’s time for a flush because moisture in that fluid will eat your system from the inside out.
    • Do a quick shake test when the car is on a jack. If you wiggle the wheel and feel any play or clicking, your calipers might be loose or your brake components are shot, which is a huge red flag for your safety.

    The Bottom Line on Your Brakes

    If you’re hearing high-pitched squealing or feeling a weird vibration in the pedal, don’t ignore it—that’s your car telling you something is actually wrong.

    Grab a flashlight and visually check your pad thickness; if they look paper-thin, it’s time to swap them before you end up ruining your rotors too.

    You don’t need to be a master tech to spot the basics, but you do need to be proactive so you don’t get hit with a massive repair bill later.

    Stop Guessing, Start Looking

    A mechanic might tell you that you need a whole new rotor assembly just to get you out the door, but if you actually take five minutes to look at the pad thickness yourself, you might realize you just need a simple pad swap. Don’t let anyone charge you for a problem that’s staring you right in the face.

    Nikolai·Osterman

    Don't Leave Your Safety to Chance

    Don't Leave Your Safety to Chance.

    At the end of the day, checking your brakes isn’t some complex science project; it’s just about paying attention to what your car is trying to tell you. Whether you’re listening for that high-pitched squeal that means the wear indicators are doing their job, or you’re actually getting down on the ground to check the thickness of your pads with a flashlight, you’re taking control. Don’t ignore the vibrations in the pedal or that weird pulling sensation when you hit the brakes. If you catch these things early, you’re looking at a simple pad swap instead of a massive, expensive bill for new rotors or calipers that could have been avoided.

    Look, I know it can feel intimidating to poke around under your car, especially when you’re worried about messing something up. But honestly, most people get overcharged because they’re too afraid to ask questions or look for themselves. Once you realize that maintenance is just patience and the right set of tools, you’ll stop feeling like a victim of the repair shop. Keep that magnetic tray handy, stay observant, and don’t let anyone tell you that you aren’t capable of understanding your own machine. You’ve got this.

    Frequently Asked Questions

    How do I know if it's just the pads wearing down or if my rotors are actually warped?

    Here’s the easiest way to tell: feel the steering wheel or the brake pedal. If you hit the brakes and the whole car starts shaking or the steering wheel vibrates in your hands, that’s almost always warped rotors. If it’s just a high-pitched squeal or a grinding noise but the car feels smooth, you’re likely just down to the wear indicators on your pads. Don’t let a shop charge you for rotors if it’s just pads.

    Is it worth trying to change the brake fluid myself, or is that something I should leave to a shop?

    Honestly? It’s worth doing yourself, but don’t go in blind. Changing fluid is mostly about patience and not letting air bubbles into the lines—that’s where people mess up. If you’ve got a friend to help you pump the pedal or a decent vacuum bleeder, you’re golden. It’s way cheaper than a shop markup, and it’s a solid way to make sure your system stays clean. Just grab a manual and take your time.

    Can I still drive the car if I hear a grinding noise, or am I asking for a total breakdown?

    Look, I’m gonna be straight with you: if you’re hearing grinding, you’re already past the “warning” stage. That’s metal-on-metal contact. You aren’t just wearing down your pads anymore; you’re actively eating into your rotors. You might make it to the shop, but you’re risking a total brake failure or a much more expensive bill for new rotors. Stop driving it and get those pads swapped before you lose stopping power entirely.