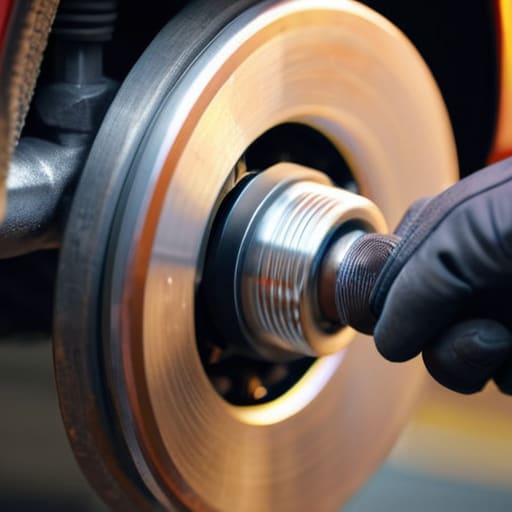
I remember being ten years old, crouched in my dad’s garage with a flashlight between my teeth, staring at a rusted-out chassis that looked more like a science project than a car. I watched him wrestle with a seized brake caliper bolt for twenty minutes, his knuckles bleeding and his face red, before he finally gave up and reached for the torch. It felt like the car was winning, and honestly, most of the time, it feels that way when you’re staring at a job that looks impossible. Most people think you need a specialized shop and a massive invoice just to deal with a bolt that won’t budge, but that’s just a way to keep your wallet thin.
I’m not here to give you some sanitized, textbook manual that assumes you have a pneumatic setup and a clean floor. I’m going to show you how to actually handle a stubborn brake caliper bolt using the stuff you probably already have in your toolbox. We’re going to talk about leverage, heat, and when to stop fighting the metal and start working smarter. My goal is to make sure you walk away from your driveway feeling like you actually own your car, not like it owns you.
Table of Contents
- Spotting Brake Caliper Bolt Thread Damage Before Its Too Late
- Mastering Brake Hardware Installation Without a Mechanics Degree
- Five Pro Tips to Keep Your Brake Bolts from Becoming a Nightmare
- The Bottom Line on Your Caliper Bolts
- ## The Real Cost of Cutting Corners
- Getting Back on the Road
- Frequently Asked Questions
Spotting Brake Caliper Bolt Thread Damage Before Its Too Late
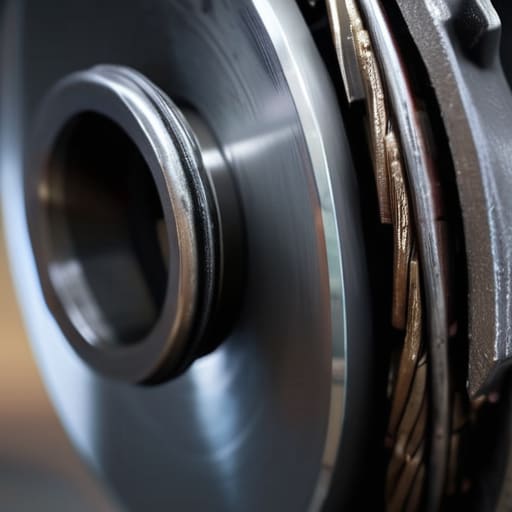
You don’t always need a specialized gauge to tell if something is wrong; usually, your hands and eyes will give you the heads-up. When I’m working on a job, I always run my fingers along the threads before I even think about torquing anything down. If the metal feels gritty or uneven, you’re likely looking at brake caliper bolt thread damage. If those threads are flattened or look like they’ve been chewed up by a cheap socket, stop right there. Trying to force a bolt into a compromised hole is a one-way ticket to a much more expensive afternoon.
Another red flag is how the bolt actually behaves when you’re removing it. If it feels like it’s “mushing” or spinning without any real resistance, that’s a massive warning sign. It usually means the internal threads in the bracket are stripped, not just the bolt itself. Don’t just ignore it and hope for the best; part of solid automotive brake component maintenance is knowing when a part has reached its limit. Catching this early saves you from a situation where your caliper starts dancing around while you’re driving.
Mastering Brake Hardware Installation Without a Mechanics Degree
Look, you don’t need a master technician’s certification to get this right, but you do need to respect the hardware. When you’re handling brake hardware installation, the biggest mistake I see is people just cranking on a lug wrench or an impact driver without thinking. If you feel any resistance that isn’t just “it’s tight,” stop immediately. You’re likely cross-threading it, and once those threads are trashed, you’re looking at a much more expensive headache than a simple bolt swap.
The secret is all in the prep. Before you even think about tightening anything down, double-check your caliper mounting bolt specifications in your service manual or even a quick search online. Every car has a specific torque value for a reason—too loose and that bolt starts vibrating out, too tight and you’re stretching the metal. I always keep my magnetic parts tray handy to make sure I don’t mix up the long bolts with the short ones. Just take it slow, use a proper torque wrench, and don’t force the fit. If it feels wrong, it probably is.
Five Pro Tips to Keep Your Brake Bolts from Becoming a Nightmare
- Stop using your impact wrench for the final tightening; it’s way too easy to over-torque and strip those threads, so just finish it off with a solid hand torque wrench.
- Always grab a small tube of anti-seize for the bolt threads, because if you don’t, you’re going to be fighting a rusted-on piece of metal the next time you need to do a pad swap.
- Check your bolt heads for rounding before you even start; if they look worn, don’t force it with a cheap socket, or you’ll end up needing an extractor kit and a lot more time than you planned.
- Keep your magnetic parts tray handy—seriously—because losing one of these small bolts into the subframe is a fast way to turn a quick job into a massive headache.
- Don’t forget to inspect the bolt itself for any stretching or cracks; if the head looks wonky or the shank seems thin, just toss it and buy a new one—it’s cheaper than a trip to the shop.
The Bottom Line on Your Caliper Bolts
Don’t force a bolt that’s fighting you; if it feels like it’s stripping or won’t turn smoothly, stop immediately and check the threads so you don’t end up needing a whole new caliper.
You don’t need a shop’s worth of expensive gear, just make sure you’ve got a solid socket and a torque wrench to avoid the two biggest mistakes: leaving them too loose or over-tightening them into oblivion.
Treat your brake hardware with some respect by cleaning off the old grit and using a bit of anti-seize, which keeps things from becoming a nightmare the next time you need to do this job.
## The Real Cost of Cutting Corners
“A stripped caliper bolt isn’t just a headache; it’s a sign you rushed a job that requires patience. I’ve seen guys try to force a cross-threaded bolt just to get out of the garage faster, but in my book, if you aren’t taking the time to thread it by hand first, you’re just asking for a much more expensive mistake later.”
Nikolai·Osterman
Getting Back on the Road
Look, we’ve covered a lot of ground here, from spotting those nasty stripped threads early on to making sure you actually seat that hardware correctly the first time. At the end of the day, working on your brakes isn’t some mysterious science; it’s just about being meticulous with your inspection and not rushing the torque. If you keep an eye on your bolt condition and use the right tools instead of trying to force a stubborn wrench, you’re already ahead of half the people walking into a dealership. Just remember: check your work twice before you even think about pumping that brake pedal.
I know it can feel intimidating when you’re staring down a pile of greasy parts and a heavy caliper, but don’t let that stop you. Every time you successfully tighten a bolt or swap out a piece of hardware, you’re gaining a level of confidence that a mechanic’s invoice can’t buy. You’re taking control of your own machine and your own safety. Keep your tools organized, keep your head in the game, and trust your hands. You’ve got this, and honestly, your car—and your wallet—will definitely thank you for it.
Frequently Asked Questions
What happens if I accidentally strip the threads while I'm trying to tighten the bolt back down?
Look, it happens to the best of us. If you feel that bolt just spin and spin without any resistance, you’ve stripped the threads. Don’t try to force it or just tighten it more—you’ll only make the mess worse. You’re likely looking at a thread repair kit like a HeliCoil, or if the housing is really chewed up, you might need a new caliper. It’s a bummer, but better to fix it now than lose a wheel later.
Should I be using blue Loctite on these bolts, or is the factory thread locker enough?
Look, if you’re seeing factory-applied thread locker on the bolt, you’re usually good to go. Most manufacturers use a specific strength that’s designed to stay put through heat cycles. I wouldn’t go dumping heavy-duty red Loctite on there—you’ll regret it when you’re trying to service them again. If the bolt looks bone dry or you’re reusing an old one, a little dab of blue is fine. Just don’t overthink it; keep it simple.
How can I tell if the bolt itself is stretched or damaged versus just being stuck because of rust?
If you’re wrestling with a bolt, look at the threads first. If the metal looks “smushed” or the grooves look flattened and shiny, that’s a sign of stretching or stripping. Rust usually looks crusty and uneven, but it won’t change the shape of the thread itself. If you feel the bolt “give” or turn too easily without actually coming out, it’s likely stretched. In that case, don’t even try to reuse it—just grab a new one.
