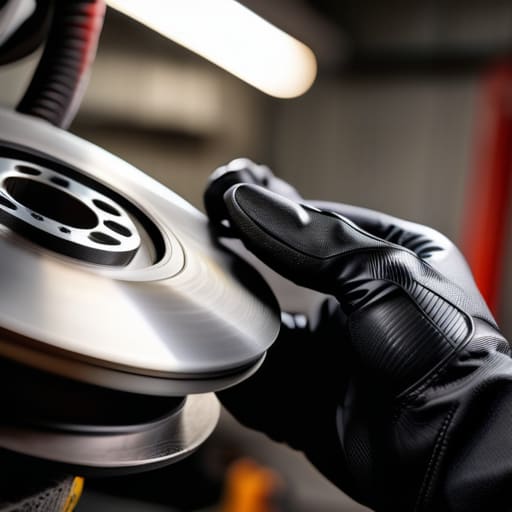
You ever see someone pull into a shop, see that dashboard light flicker on, and immediately start sweating because they think they’re about to drop a grand on a service visit? It’s a total scam to act like a simple brake sensor replacement is some kind of high-level electrical wizardry that only a master technician can handle. I remember one of my regulars last week, a guy who’s been driving the same old sedan for a decade, nearly had a heart attack when his computer flagged a sensor issue. He thought his whole braking system was shot, but honestly, it was just a cheap little component that had seen better days.
I’m not here to give you some textbook lecture or hide behind fancy jargon. I’m going to walk you through the actual, hands-on process of getting this done in your own driveway without getting ripped off. We’ll go over the specific tools you’ll need—and no, you don’t need a professional scanner to get started—and I’ll show you how to spot the real culprits so you aren’t wasting time on parts that aren’t broken. Let’s just get under the car and get to work.
Table of Contents
- Step-by-Step Instructions
- Spotting the Truth Common Brake Light Switch Symptoms
- Mastering the Craft Brake Pedal Sensor Installation Made Simple
- Pro Tips to Save You a Headache (and a Trip Back to the Shop)
- The Real Bottom Line
- ## The Real Cost of a Warning Light
- Getting Back on the Road
- Frequently Asked Questions
Guide Overview
Tools & Supplies
- Jack and Jack Stands for lifting the vehicle safely
- Socket Wrench Set for removing caliper bolts
- Brake Caliper Compressor or C-clamp to retract piston
- Wire Brush for cleaning connector terminals
- Replacement Brake Wear Sensor (specific to vehicle model)
- Brake Cleaner spray for removing debris
- Lithium Grease or Anti-seize for connector protection
Step-by-Step Instructions
- 1. First things first, you need to get the car off the ground. Don’t just rely on a jack sitting there alone; you need to use jack stands to keep things stable. Once the car is secure and the wheel is off, take a quick look at the brake assembly. You’re looking for that little sensor wire tucked near the pads or the caliper. It’s usually pretty obvious, but if it’s covered in road grime, give it a quick wipe so you can actually see what you’re doing.
- 2. Now, you’ve got to disconnect the old sensor from the wiring harness. Most of these use a simple plastic clip, but they can get really stubborn if they’ve been exposed to heat and salt for years. If it feels like it’s going to snap, don’t just yank it. Give it a little wiggle or use a small flathead screwdriver to gently pry the tab. You want to avoid breaking the plastic housing because then you’re looking at a much bigger headache.
- 3. Once the electrical side is disconnected, you’ll need to unbolt the sensor from its mounting point. Depending on your car, this might be a single bolt or just a friction fit. I usually grab my socket set for this. If it’s a bolt, make sure you don’t drop it into the abyss of your undercarriage—this is exactly why I always keep my magnetic tray handy. If you drop a bolt in there, you’ll be cursing for the next twenty minutes.
- 4. Pull the old sensor out and take a second to inspect the area. Check the wiring for any signs of fraying or melted insulation. If the wire looks trashed, you might be looking at more than just a sensor swap, but usually, it’s just a localized failure. Once you’re sure the path is clear, grab your new sensor. Make sure it’s the exact match for your vehicle; don’t try to “make it work” with a generic part that’s slightly off-spec.
- 5. Slide the new sensor into position and secure it. If it’s a bolt-on type, thread the bolt back in by hand first. You never want to start with the wrench because you might cross-thread it, and that’s a total nightmare to fix. Once it’s threaded in smoothly, give it a firm snug with your socket, but don’t go overboard. You aren’t trying to crush the sensor; you just want it tight enough that it doesn’t vibrate loose.
- 6. Reconnect the electrical clip. You should hear a distinct click when it seats properly. Give the wire a very gentle tug just to make sure it’s locked in. If it feels loose or wobbly, it’s not seated right, and you’ll end up with that annoying warning light popping back up on your dash five minutes after you leave the driveway.
- 7. Finally, put the wheel back on and lower the car. Before you head out for a test drive, start the engine and check your dashboard. If the warning light stays off, you’re golden. I always recommend doing a few low-speed stops in your driveway or a quiet street just to confirm the system is reading the brake pressure or pad wear correctly before you hit the main road.
Spotting the Truth Common Brake Light Switch Symptoms
Before you even grab your tools, you need to be sure that’s actually what’s going on. Most people panic when they see a dashboard light or realize their brake lights aren’t firing, but identifying the specific brake light switch symptoms is half the battle. A dead giveaway is when your cruise control suddenly stops engaging or your car refuses to shift out of Park. It sounds weird, but if the car doesn’t “know” you’re pressing the pedal, the computer won’t let you move.
If your lights are acting erratic—flickering or staying on even when you lift your foot—you’re likely looking at a mechanical failure in the switch or some messy automotive electrical troubleshooting issues. I’ve seen plenty of cases where it’s just a loose connector or some grime buildup preventing the contact. If you want to be certain before buying parts, I always recommend a quick check of the brake sensor wiring diagram in your manual to see if the power is actually reaching the unit. Don’t just swap parts blindly; verify the connection first so you aren’t wasting your hard-earned cash.
Mastering the Craft Brake Pedal Sensor Installation Made Simple
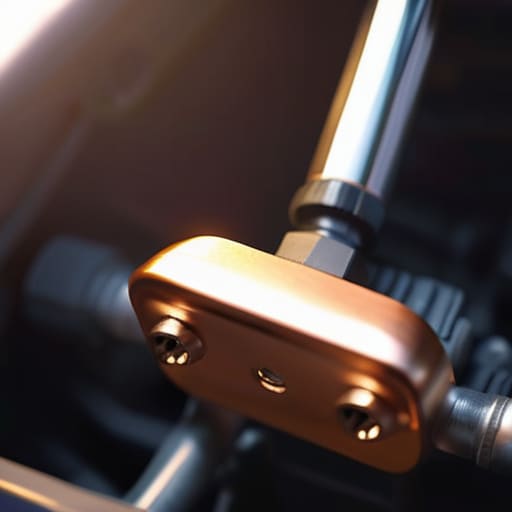
Once you’ve got the old unit out, the real work begins with the new one. When you’re diving into the brake pedal sensor installation, don’t just jam it in there like you’re forcing a stubborn bolt. These sensors are sensitive, and if you cross-thread the housing, you’re looking at a much bigger headache than a simple electrical glitch. I always tell people to take a second to check the connector pins for any corrosion or bent metal before you plug it in. If the connection is messy, the new sensor won’t matter because you’ll still be fighting ghost signals.
If you find yourself stuck mid-job, don’t panic. If the lights still aren’t behaving, you might need to dig into some basic automotive electrical troubleshooting to see if the issue is actually a blown fuse or a ground wire issue instead of the sensor itself. Always double-check your connections before you slam the door shut and call it a day. It’s those tiny details—like making sure the clip actually “clicks”—that separate a job done right from a job that leaves you stranded at a stoplight.
Pro Tips to Save You a Headache (and a Trip Back to the Shop)
- Don’t go hunting for parts until you’ve actually seen the sensor. I’ve seen guys buy the wrong clip or connector because they relied on a generic part number, and trust me, nothing kills a Saturday faster than a wasted trip to the auto parts store.
- Keep your workspace clean, especially around the electrical connections. If you get grease or grit inside that new sensor plug, you’re basically asking for a bad connection that’ll bring that annoying warning light right back to life.
- Grab a can of electronic contact cleaner while you’re at it. Before you snap the new sensor in, give the wiring harness a quick spray to make sure you aren’t plugging a brand-new part into a dirty, corroded socket.
- Watch your fingers in that footwell. The space around the brake pedal is tight, and it’s easy to scrape your knuckles on the steering column or the pedal assembly. Take it slow and use a flashlight so you actually see what you’re touching.
- Test the pedal feel immediately. Once the new sensor is seated, pump the brakes a few times before you even think about starting the engine. You want to make sure the switch is actually engaging and disengaging properly before you’re out on the road.
The Real Bottom Line
Don’t panic when that light pops up on your dash; a faulty sensor is usually a quick, cheap fix that doesn’t require a professional shop visit.
Grab the right tools—specifically a decent socket set and maybe some electrical contact cleaner—before you start, so you aren’t stuck halfway through a job.
Trust your gut and take your time; if a sensor feels stuck or a clip isn’t snapping right, stop and double-check your work instead of forcing it.
## The Real Cost of a Warning Light
“Most shops will try to sell you a whole new brake assembly when all you really need is a ten-minute sensor swap and a bit of patience. Don’t let a dashboard light bully you into a massive repair bill; once you see how simple the part actually is, you’ll realize they’re just charging you for the fear.”
Nikolai·Osterman
Getting Back on the Road
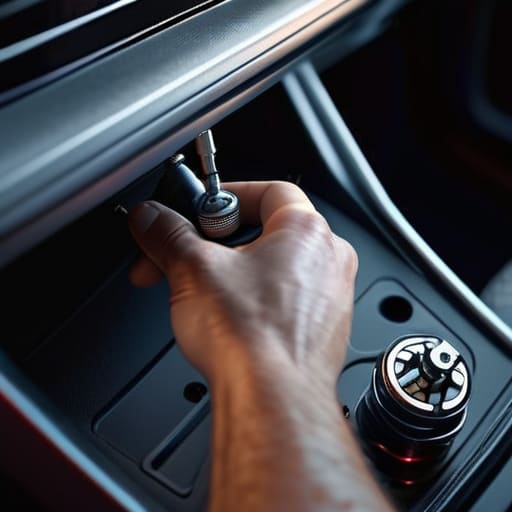
At the end of the day, replacing a brake sensor isn’t some high-level engineering feat that requires a master technician’s license. We’ve covered how to spot those annoying symptoms, like your brake lights staying on or your cruise control acting up, and we walked through the actual installation process step-by-step. Once you’ve confirmed the sensor is the culprit and you’ve got your tools ready, it’s really just a matter of staying organized and making sure you don’t drop any small clips into the abyss under your dash. If you followed the steps and double-checked your connections, you’ve already done the hardest part of the job.
I know it can feel intimidating when you’re staring down a dashboard full of warning lights, but don’t let a little piece of plastic and wire intimidate you. Every time you pick up a wrench and tackle a job like this yourself, you’re taking the power back from the big shops that thrive on overcharging for simple fixes. My goal is to see more people out there realizing that maintenance is manageable. Keep your tools clean, keep your head focused, and don’t be afraid to get a little grease under your fingernails. You’ve got this.
Frequently Asked Questions
Can I just clean the old sensor with some contact cleaner instead of buying a new one?
Look, I get the temptation to save a few bucks, but honestly? Don’t bother. If the sensor is acting up, it’s usually because the internal components are shot or the housing is compromised. Spraying contact cleaner might fix a dirty connection for a day, but it won’t fix a failing circuit. It’s a temporary band-aid that’ll just leave you stranded with a dashboard full of lights again next week. Just buy the new part.
How do I know if it's actually the sensor acting up or if I've just got a blown fuse or a bad brake light bulb?
Look, don’t go tearing into the sensor until you’ve done the easy stuff first. Grab a multimeter or just swap in a fresh bulb—it’s the most common culprit and takes two seconds. If the bulbs are fine, check your fuse box; a blown fuse is a cheap fix compared to a sensor. If the lights are dead but the fuse is solid and the bulbs are good, then yeah, you’re likely looking at a sensor.
Is there a specific way to seat the sensor so it doesn't trigger a dashboard error code immediately after I install it?
Yeah, that’s a rookie mistake that happens more than you’d think. If it’s not seated perfectly, the sensor won’t hit the trigger point on the pedal, and you’ll be staring at a dashboard light immediately. Make sure the connector is fully clicked in—don’t just push it until it feels tight. Once it’s in, give it a firm wiggle to ensure it’s flush against the mounting bracket. If there’s any play, you’re gonna get a code.
