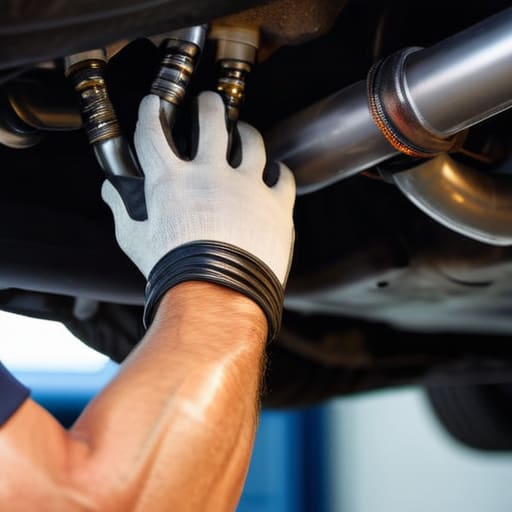
I was staring at a customer’s sedan last Tuesday, watching him shake his head because the car was stuttering every time he hit forty miles per hour. He’d already been quoted a ridiculous price at the dealership for a “complex fuel system overhaul,” but I knew better. Most shops love to make a simple fuel filter replacement sound like some high-level surgical procedure just to pad their labor hours. Truth is, that clogged little canister is probably the only thing standing between him and a smooth ride, and it doesn’t take a master technician to swap it out.
I’m not here to give you some textbook lecture or sell you on expensive specialty equipment you’ll never use again. My goal is to walk you through the real-world process of getting this done in your own driveway without getting soaked by a service advisor. I’ll show you exactly which tools you actually need, how to avoid the messy spills that usually ruin a Saturday, and the little tricks I learned in my dad’s garage to make sure everything clicks into place perfectly the first time.
Table of Contents
- Step-by-Step Instructions
- Spotting the Signs of a Clogged Fuel Filter Before It Fails
- Engine Performance Troubleshooting Without the Expensive Shop Fees
- Pro Tips to Save Your Sanity (and Your Wallet)
- The Bottom Line on Fuel Filters
- ## Don't Let a Cheap Part Kill Your Engine
- Wrapping It All Up
- Frequently Asked Questions
Guide Overview
Tools & Supplies
- Socket set and ratchet for mounting bolts
- Screwdrivers for hose clamps
- Pliers for spring clamps
- Drain pan to catch residual fuel
- Replacement fuel filter (vehicle specific)
- Nitrile gloves for skin protection
- Shop rags for cleaning spills
Step-by-Step Instructions
- 1. First things first, you need to relieve the fuel pressure. If you just yank those lines off, you’re going to end up with a face full of gasoline, and trust me, that’s a mess nobody wants. Find your fuel pump fuse in the box under the hood or dash, pull it, and then crank the engine until it stalls out. This ensures the lines are actually empty before you start messing with them.
- 2. Once the pressure is gone, get your car up on jack stands or a lift. Don’t even think about crawling under there with just a jack; I’ve seen too many close calls. Locate the filter—it’s usually tucked along the frame rail or near the tank—and clear out any junk or debris around it. I always keep a rag handy because even with the pressure relieved, things get a little messy.
- 3. Now, grab your tools. You’ll likely need a pair of fuel line disconnect tools if you’re working on something newer, or just a good set of wrenches if it’s an older setup. Carefully unclip the fittings from the old filter. If a connection feels like it’s going to snap, don’t force it; give it a little wiggle and try again. You want to be careful not to bend any of the metal lines.
- 4. Once the old filter is out, take a second to inspect the lines for any cracks or heavy corrosion. If the lines look like they’re about to crumble, this is your chance to fix that before you put the new part on. Grab your new filter and check the flow direction—most of them have an arrow stamped on the housing. If you put it in backward, you’re going to have a bad time.
- 5. Slide the new filter into place and reconnect your lines. Make sure you hear that satisfying click from the quick-connect fittings so you know they’re seated right. If you’re using clamps, tighten them down firmly but don’t go overboard; you don’t want to crush the line, just make sure it’s tight and secure.
- 6. Before you lower the car, you’ve gotta put everything back to life. Pop that fuel pump fuse back in, then turn your ignition to the “on” position without actually starting the engine. Do this a few times to let the pump prime the system and push fuel through the new filter. It’s a simple way to check for leaks before you actually fire the engine up.
- 7. Finally, start the car and let it idle for a minute while you watch for leaks. Keep your flashlight handy and check every single connection point you just touched. If everything stays dry, you’re golden. You just saved yourself a couple hundred bucks in labor, and your engine is going to run a whole lot smoother for it.
Spotting the Signs of a Clogged Fuel Filter Before It Fails
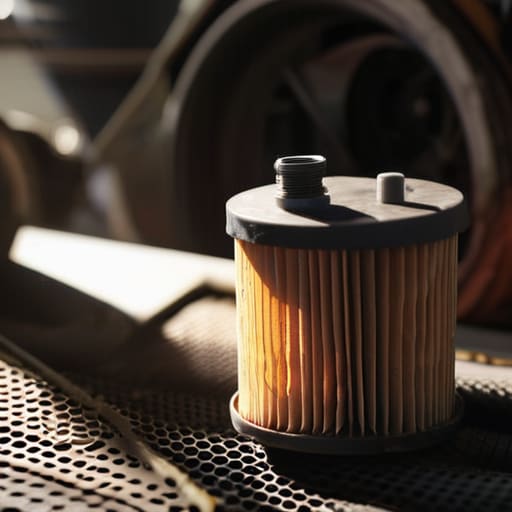
You don’t always have to wait for the car to die on the side of the highway to know something is wrong. Usually, your car will start throwing little hints at you first. If you notice your engine stumbling or feeling sluggish when you step on the gas, you’re likely looking at fuel pump performance issues caused by a filter that’s too choked with grit to let anything through. It’s a common symptom—the car just feels like it’s fighting you every time you try to merge onto the highway.
Another big red flag is when your car struggles to start or idles like it’s about to stall out. If you’re constantly having to crank the engine just to get it to catch, it’s a sign that the flow is restricted. I’ve seen plenty of people mistake this for a bad battery or a starter issue, but often, it’s just basic engine performance troubleshooting that leads right back to a dirty filter. Pay attention to these little hiccups; catching them early means you won’t end up having to replace a much more expensive fuel pump later on.
Engine Performance Troubleshooting Without the Expensive Shop Fees
Look, if your car feels sluggish or keeps stumbling when you hit the gas, don’t immediately assume you’re looking at a dead fuel pump. Before you drop hundreds on a new pump, you need to do some basic engine performance troubleshooting yourself. A lot of times, the issue isn’t a massive mechanical failure; it’s just a restriction in the flow. If you notice the engine hesitating under load, it’s a huge red flag that you might be dealing with fuel pump performance issues caused by nothing more than a dirty filter.
Instead of letting a shop run a diagnostic scan that costs more than your weekend budget, grab a pressure gauge—it’s one of those essential fuel system maintenance tools every DIYer should own. By checking the pressure at the rail, you can tell if the blockage is upstream or if the pump itself is actually dying. Sometimes, just doing a quick fuel line inspection steps routine—checking for kinks or leaks—is all it takes to find the culprit. Don’t let them talk you into a whole new system when a simple swap is all you really need.
Pro Tips to Save Your Sanity (and Your Wallet)
- Don’t forget to relieve the fuel pressure before you touch a single line. If you just yank that filter out without depressurizing the system, you’re going to end up with a face full of gasoline, and that’s a mess nobody wants in their driveway.
- Grab a couple of new O-rings or gaskets if your kit doesn’t come with them. I’ve seen guys finish a whole job only to realize they have a tiny, annoying leak because they tried to reuse an old, flattened seal. It’s not worth the extra trip to the parts store.
- Keep a dedicated drain pan and some shop rags right next to you. Even if you do everything by the book, a little bit of fuel is going to spill. Trust me, once you get it on your hoodie, that smell stays with you for days.
- Use a flashlight—and I don’t mean your phone. When you’re reaching into those tight engine bays or under the chassis, you need a real light to see if those quick-connect clips are actually seated properly. If they aren’t clicked in, they’re coming loose.
- Double-check your part number against your VIN. I’ve seen plenty of rookies get halfway through a job only to realize they bought a filter for a different engine trim. It’s a massive headache that’ll leave your car sitting on jack stands for hours.
The Bottom Line on Fuel Filters
Don’t wait for your car to start sputtering on the highway; if you’re noticing sluggish acceleration or rough idling, your filter is probably already crying for help.
You don’t need a fancy shop setup to get this done—just grab a decent wrench, a couple of fuel line disconnect tools, and a clean workspace to avoid making a mess.
Swapping this part yourself is one of the easiest ways to save a couple hundred bucks and keep your engine running smooth without getting ripped off by a service advisor.
## Don't Let a Cheap Part Kill Your Engine
A clogged fuel filter is one of those things that’ll make you think your entire fuel system is shot, but usually, it’s just a ten-dollar part that’s been ignored for too long. Don’t let a shop talk you into a massive repair bill when all you really needed was a fresh filter and twenty minutes of your time.
Nikolai·Osterman
Wrapping It All Up
At the end of the day, replacing your fuel filter isn’t some high-level engineering feat that requires a master technician’s license. We’ve covered how to catch those early warning signs like stumbling at idle or that annoying hesitation when you hit the gas, and we walked through the actual process of getting the job done. Just remember: keep your workspace clean, make sure you’ve got the right fittings, and don’t rush the connections. If you follow the steps and keep your tools organized, you’ve just saved yourself a massive headache and a much larger bill at the dealership.
I know it can feel intimidating when you’re staring at a dirty engine bay for the first time, but honestly, that’s how everyone starts. Every time you pick up a wrench and actually fix something yourself, you’re taking the power back from the shops that try to upcharge you for the simple stuff. Don’t let the fear of making a mistake keep you from learning. Grab your gear, stay patient, and trust your hands. Once you get this filter swapped out, you’ll realize that you’re more than capable of keeping your own ride on the road.
Frequently Asked Questions
How do I know if my car has an inline filter or if it's built right into the fuel pump assembly?
Honestly, the easiest way to tell is to pop the hood and look at your fuel lines. If you see a small, cylindrical canister sitting right in the line between the tank and the engine, that’s your inline filter. If the lines go straight from the tank to the engine without anything in between, it’s almost certainly built into the pump assembly inside the tank. If you’re still unsure, just check your service manual—don’t guess.
Is it safe to do this job in my driveway, or do I need a specialized setup to deal with the fuel pressure?
Look, you don’t need a hydraulic lift or a professional bay to do this. Your driveway is perfectly fine, but don’t get sloppy. Since you’re messing with the fuel system, there’s going to be pressure and some spilled gas. Keep a fire extinguisher nearby, work in a well-ventilated area, and for the love of everything, make sure you depressurize the system before you crack any lines. Just be smart and stay focused.
Once I swap the filter, do I need to do anything special to prime the system so I don't damage the injectors?
Yeah, you definitely don’t want to just crank the engine and hope for the best. If the lines are dry, you’re forcing the fuel pump to work way harder than it should, which is a headache you don’t need. The easiest way? Turn your key to the “ON” position without actually starting the car. You’ll hear that faint hum from the pump—that’s it priming. Do that a few times, then go for it.
