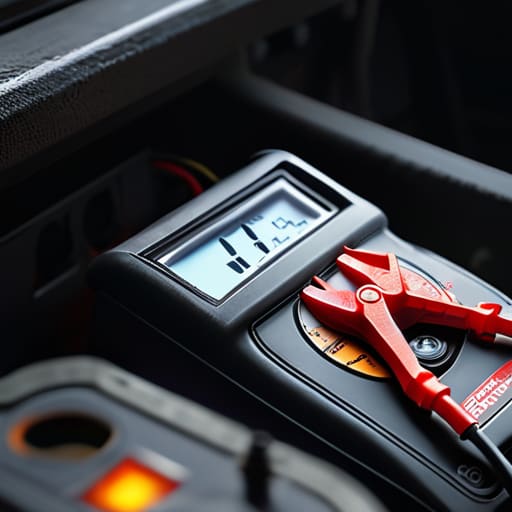
I remember sitting on my dad’s oil-stained garage floor when I was twelve, staring at a dead battery and feeling completely helpless. I thought I needed a whole new electrical system or a massive loan to fix it, but all I really needed was to understand how to use a multimeter. Most shops will try to tell you that an electrical issue means you need a whole new ECU or a massive wiring harness overhaul, charging you hundreds just to “diagnose” it. That’s a load of crap. Usually, it’s just a single bad ground or a blown fuse that you could have found in five minutes if you weren’t guessing in the dark.
I’m not here to give you some textbook lecture on electrical engineering or sell you on a thousand-dollar piece of gear you’ll never use. My goal is to show you how to grab a decent multimeter, poke around the sensors and wires, and actually see what’s happening with your power supply. I’ll give you the straight truth on what to test and how to read the numbers, so you can stop getting ripped off and start trusting your own hands.
Table of Contents
Digital Multimeter vs Analog Choosing Your Real Tool
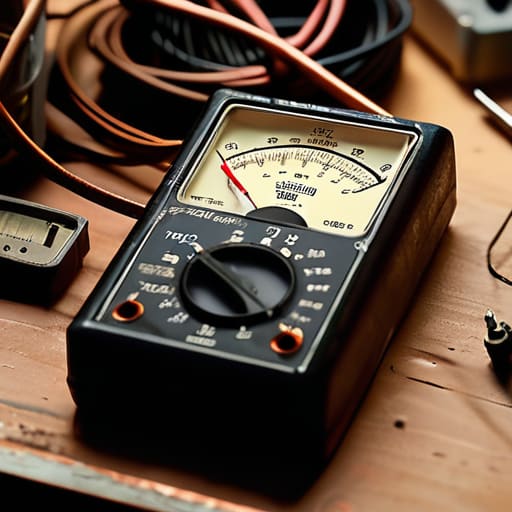
When you’re staring at a wall of tools at the shop, you’ll see these two types of testers, and honestly, it can get confusing. The old-school analog versions use a needle that swings across a scale. Some veteran techs swear by them because they’re great for watching slow, steady fluctuations in voltage, but for most of us, they’re just a headache to read accurately. If you aren’t precise with your eyes, you’ll misread the scale and end up chasing a ghost in your wiring.
For anyone starting out or just trying to get through a weekend project without losing their mind, go with a digital one. When you’re deep into automotive electrical troubleshooting, you need numbers you can actually trust. A digital display gives you a clear, steady reading, which makes tasks like continuity testing basics a whole lot easier. You aren’t guessing if that needle is on the 5 or the 10; you just see the exact decimal point. It’s more reliable, harder to mess up, and frankly, it’s just more efficient when you’re trying to find a short in a harness.
Measuring Ac vs Dc Voltage Without Wasting Time

This is where most people get stuck and end up blowing a fuse or, worse, damaging their meter. In a car, almost everything you’re touching—the battery, the starter, the fuel pump—runs on DC (Direct Current). If you leave your dial set to AC while poking at the battery terminals, you aren’t going to get a useful reading, and you’re just wasting your time. When you’re deep into automotive electrical troubleshooting, you need to be certain that your dial is pointed toward that straight line symbol.
Now, don’t get confused; you will encounter AC (Alternating Current) if you start testing things like the actual wall outlets in your garage or certain specialized inverter systems. The key is to switch your settings to the wavy line icon for AC. I’ve seen guys struggle for an hour thinking a component was dead, only to realize they were just on the wrong setting. Mastering measuring AC vs DC voltage is basically the “don’t trip over your own feet” rule of electrical work. Get the setting right first, then start probing.
Pro Tips to Keep You From Blowing a Fuse (Literally)
- Always check your leads before you start poking around; if the insulation is cracked or the metal tips are corroded, you’re going to get garbage readings or, worse, a nasty shock.
- Don’t just trust the first number you see—car electrical systems can be noisy, so take a few readings over a minute to make sure the voltage isn’t just jumping around.
- If you’re testing a battery, make sure the car is off and everything is shut down; trying to test a live system while the alternator is cranking will just confuse your meter and your brain.
- Keep your probes clean of grease and oil, especially when working in a shop like mine; a layer of gunk on the tip acts like an insulator and’ll make you think a circuit is dead when it’s actually fine.
- Learn to read your continuity setting properly—it’s the fastest way to find a broken wire in a harness, but don’t use it on a live circuit unless you want to see your meter go up in smoke.
The Bottom Line: Don't Fly Blind
Stick with a digital multimeter; analog tools are cool for nostalgia, but you need the precision and ease of a digital readout when you’re chasing a ghost in a wiring harness.
Always double-check your settings—switching between AC and DC by mistake is the fastest way to get a junk reading or, worse, blow a fuse in your meter.
Stop guessing which part is dead; use your meter to isolate the problem to a specific fuse, wire, or sensor so you aren’t throwing money at parts you don’t actually need.
## Stop Guessing, Start Testing
“Look, you can spend three hours staring at a wiring harness praying for a miracle, or you can spend five minutes with a multimeter and actually see where the juice is stopping. Don’t let a mechanic charge you a hundred bucks just to tell you a fuse is blown—trust the numbers, not your gut.”
Nikolai·Osterman
Stop Guessing and Start Testing
Look, we’ve covered a lot of ground here. We talked about why you’re probably better off sticking with a solid digital multimeter instead of messing around with those old analog needles, and we broke down the difference between AC and DC so you don’t end up blowing a fuse—or worse, your meter. At the end of the day, whether you’re chasing a parasitic drain that’s killing your battery overnight or trying to see if a sensor is actually sending a signal, the goal is the same: get accurate data. Don’t just swap parts blindly hoping the car starts; use your meter to actually see what’s happening in the circuit.
I know it can feel a bit intimidating when you’re staring at a mess of wires and a screen full of numbers, but I promise you, it gets easier. Every time you use your multimeter to solve a mystery, you’re getting one step closer to being the person who knows their stuff. You don’t need to be a master electrical engineer to keep your ride on the road; you just need the right tool and the guts to use it. So, grab your meter, keep that patience high, and stop letting the mystery under the hood get the better of you. You’ve got this.
Frequently Asked Questions
Do I really need a high-end multimeter, or can I just get a cheap one from a hardware store to start?
Look, I get it. You don’t want to drop a hundred bucks on a tool you might only use twice. If you’re just checking if a battery is dead or a fuse is blown, a cheap hardware store meter will get the job done. But if you’re digging into sensitive sensors or ECU wiring, those cheap ones can be wildly inaccurate. Grab something mid-range with a decent auto-ranging feature—it’ll save you more headaches than it costs.
How do I know if I'm actually getting a reading or if my probes are just making bad contact with a corroded wire?
That’s the million-dollar question. If your reading is jumping all over the place, you’re likely fighting corrosion. First, check your probe tips; if they look dull or crusty, clean them. Next, try scraping the wire insulation back a bit to hit fresh copper. If you’re still unsure, use a jumper wire to bypass the suspected bad connection. If the reading stabilizes, you’ve found your culprit. Don’t trust a floating number.
Can I use a multimeter to find a parasitic drain that's killing my battery overnight?
Yeah, you definitely can, and honestly, it’s way better than just buying a new battery every month. If your car’s sitting dead in the morning, you’ve likely got a parasitic drain—something’s staying awake when it should be sleeping. Set your meter to Amps, pull a fuse to isolate circuits, and see what’s pulling juice. It takes a little patience, but it’ll save you a massive headache (and a tow truck).
