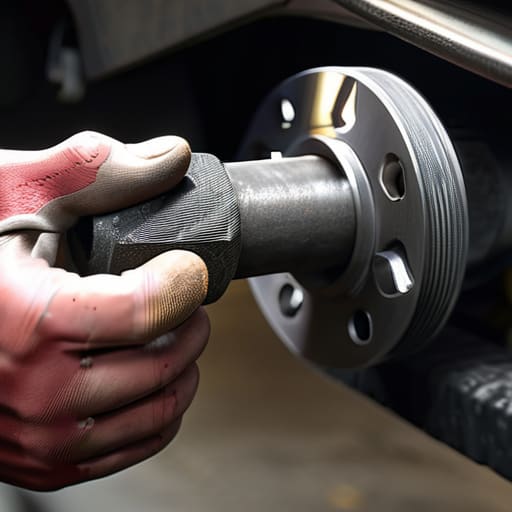
You hear that annoying, rhythmic clunking every time you hit a pothole, and your first instinct is to call the shop and brace for a massive bill. Most mechanics will try to tell you that you need a whole new control arm or a professional alignment rig just to fix a little noise, but that’s a total lie. The truth is, a lot of the time, you’re just looking at a simple suspension bushing replacement job. I spent my entire childhood in my dad’s garage watching him tear down old sedans, and if there’s one thing I learned, it’s that these rubber components are usually the only thing standing between you and a smooth ride.
I’m not going to sugarcoat it: this isn’t the easiest job in the world, and you might get a little frustrated with a stubborn bolt or two. But I’m going to walk you through exactly how to tackle this without getting ripped off. I’ll show you the specific tools you actually need—and the ones that are a complete waste of money—so you can get those worn-out parts out and the new ones in. We’re going to do this the right way, focusing on real-world grit rather than textbook perfection.
Table of Contents
- Step-by-Step Instructions
- Spotting the Signs of Worn Suspension Bushings Before They Fail
- Replacing Rubber Bushings vs Polyurethane Choosing Your Own Path
- Pro Tips to Save Your Sanity (and Your Knuckles)
- The Bottom Line on Your Suspension
- The Truth About Your Ride
- Don't Let the Shop Win
- Frequently Asked Questions
Guide Overview
Tools & Supplies
- Ball joint separator or pickle fork to disconnect components
- Hydraulic press or specialized bushing driver kit for removal/installation
- Socket set and wrenches for bolt removal
- Penetrating oil to loosen rusted hardware
- Replacement bushing set (specific to vehicle make/model)
- Chassis grease or assembly lube for installation
- Penetrating oil spray for rusted bolts
Step-by-Step Instructions
- 1. First things first, get the car on jack stands. Don’t even think about working under a car held up by just a hydraulic jack; that’s how people get hurt. Once the car is stable, you’ll want to remove the wheel to get a clear view of the control arm. If you’re working on an older car, keep a can of penetrating oil handy because those bolts haven’t seen the light of day in years.
- 2. Now you need to unbolt the control arm from the chassis. This is where most people start to sweat because the bolts are usually seized tight. Use a long breaker bar to get some real leverage on them. If they won’t budge, soak them in some PB Blaster and give it ten minutes. Just take your time so you don’t strip the heads, or you’ll be having a much worse day than you planned.
- 3. Once the arm is loose, you’ve got to get the old, crusty bushing out of the way. Since you probably don’t have a professional hydraulic press sitting in your driveway, you’ll need to get creative. I usually use a heavy-duty socket that’s slightly smaller than the bushing itself. Use it as a makeshift driver to tap the old bushing out of the housing. It’s a bit of a workout, but it gets the job done.
- 4. Clean out the housing before you even touch the new parts. If there’s old rubber or grit left inside the metal sleeve, your new bushing isn’t going to sit right, and you’ll be doing this whole thing over again in a month. Grab a wire brush or even just a clean rag to make sure the surface is smooth and ready for the new install.
- 5. Apply a little bit of chassis grease to the new bushing. You don’t want to go in bone-dry, or you’ll be fighting it the whole way in. Slide the new bushing into the control arm, and if it’s a tight fit, use a mallet to gently tap it home. Don’t go ham on it with a sledgehammer or you might crack the metal, but you definitely need to be firm.
- 6. Reinstall the control arm back onto the vehicle. Line up the holes, slide your bolts through, and get them started by hand first. This is a crucial tip: do not tighten the bolts all the way down while the car is still up in the air. If you torque them down while the suspension is hanging, you’ll bind the new rubber and it’ll tear itself apart the second you drive it.
- 7. Finally, lower the car back to the ground so the weight of the vehicle is resting on the suspension. Now that the car is at its natural ride height, go back in with your torque wrench and tighten everything to spec. Once those bolts are locked down, pop your wheels back on, and you’re officially done. You just saved yourself a couple hundred bucks in labor.
Spotting the Signs of Worn Suspension Bushings Before They Fail
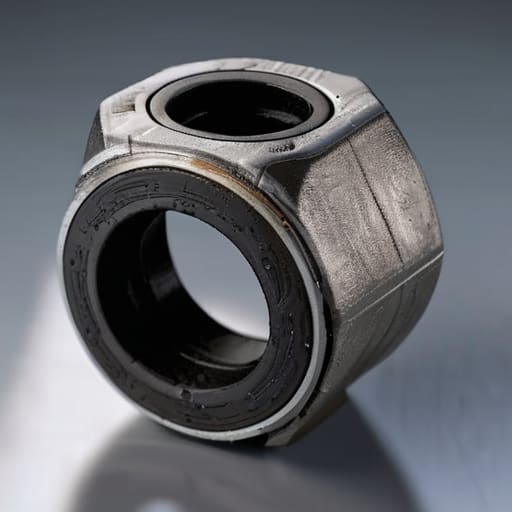
You don’t always need a diagnostic scanner to know something is off; usually, your car will tell you through how it feels on the road. If you’re noticing a weird clunking sound every time you hit a pothole or go over a speed bump, that’s a massive red flag. Another big one is if your steering feels “loose” or if the car pulls to one side when you’re cruising on a straight road. These are classic signs of worn suspension bushings that are starting to lose their shape. When that rubber gets compressed or cracked, you lose that tight connection between your components, and your vehicle handling and stability take a serious hit.
I always tell people to do a quick visual check during their regular automotive suspension maintenance. Get under there with a flashlight and look for any visible tearing or oily residue around the joints. If the rubber looks dry, cracked, or completely squished, it’s time to stop ignoring it. Catching these issues early might save you from having to deal with much more expensive repairs down the line.
Replacing Rubber Bushings vs Polyurethane Choosing Your Own Path
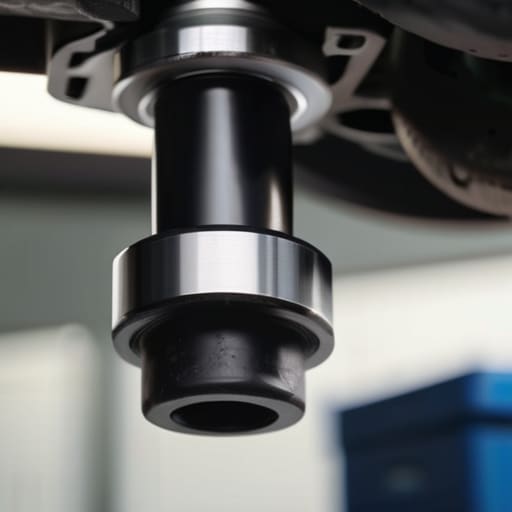
Once you’ve finished your initial suspension component inspection and realized it’s time to swap things out, you’re going to hit a fork in the road: rubber or polyurethane. Most factory setups use rubber because it’s great at soaking up road vibration and noise. If you just want your daily driver to feel smooth and quiet, stick with rubber. It’s the standard for a reason, and it keeps that factory-spec ride quality intact without making every pebble feel like a pothole in your spine.
On the flip side, if you’re working on one of my vintage tuner projects, you’re probably looking at polyurethane. These are much stiffer and won’t compress nearly as much under load, which drastically improves vehicle handling and stability when you’re carving corners. Just a heads-up though: they don’t absorb vibration well, so expect a bit more “road feel” inside the cabin. When you’re deciding between replacing rubber bushings vs polyurethane, just ask yourself if you value a silent cabin or a sharper steering response more. There’s no wrong answer, just different goals.
Pro Tips to Save Your Sanity (and Your Knuckles)
- Don’t even bother trying to press out old bushings with just a hammer and a prayer. If you aren’t renting a hydraulic shop press or using a heavy-duty driver kit, you’re just going to end up frustrated and bruised. Get the right tool for the job from the start.
- Clean the control arm housing like your life depends on it before you seat the new bushing. Even a tiny bit of grit or a leftover shaving of old rubber can make the new part sit crooked, and once it’s in, it’s a massive pain to fix.
- Always use a little bit of assembly lube or specialized grease on the outer edges of the bushing. It helps everything slide into place without binding, which saves you from having to fight the metal halfway through the install.
- If you’re installing polyurethane bushings, don’t skip the grease. Unlike the factory rubber ones, poly needs that lubricant to prevent it from squeaking like a haunted house every time you hit a pothole.
- Tighten your suspension bolts only when the car is back on the ground at ride height. If you torque everything down while the wheels are hanging in the air, you’ll preload the bushings and tear them apart before you even leave the driveway.
The Bottom Line on Your Suspension
Don’t wait for a massive repair bill to hit; if your car starts clunking over bumps or feeling loose in the turns, those bushings are already shot and need replacing.
You don’t need a fancy shop setup to do this—just grab a decent socket set, some patience, and maybe a bit of grease, and you’ll save yourself a couple hundred bucks in labor.
Pick your materials based on how you actually drive—stick with rubber if you want a smooth, quiet ride, or go polyurethane if you’re looking to tighten up the handling for more aggressive driving.
The Truth About Your Ride
Most shops will try to tell you your whole control arm is shot just to pad their bill, but usually, it’s just a couple of cracked bushings and a little bit of sweat that’ll get your car back to feeling tight again.
Nikolai·Osterman
Don't Let the Shop Win
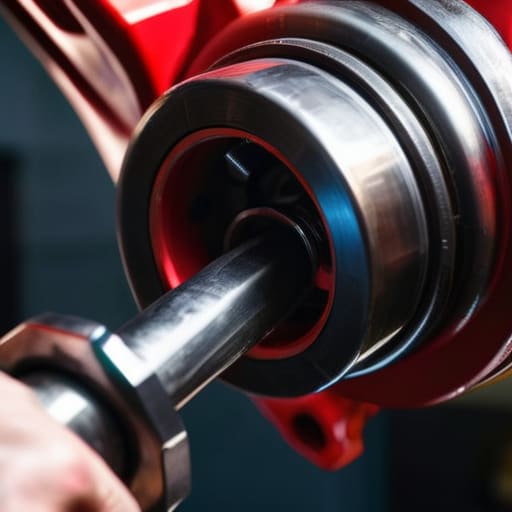
At the end of the day, swapping out your bushings comes down to a few simple things: knowing when they’re shot, picking the right material for your driving style, and having the right tools on hand. Whether you went with the classic feel of rubber or the stiff, responsive bite of polyurethane, you’ve just saved yourself a massive chunk of change that a dealership would’ve happily pocketed. It’s not about being a master mechanic; it’s about recognizing the signs early and realizing that a little grease on your hands is a small price to pay for a ride that actually feels tight and controlled again.
I know it can feel intimidating when you’re staring at a pile of greasy parts and a heavy subframe, but don’t let that stop you. Every time you finish a job like this, you’re building a level of confidence that no textbook can teach you. You’re taking control of your machine and proving that you don’t have to be a slave to the service department’s schedule or their inflated quotes. Keep that magnetic tray handy, stay patient, and just keep turning wrenches. You’ve got this.
Frequently Asked Questions
Do I really need a specialized press to get the old bushings out, or can I get away with a hammer and a punch?
Look, I’ll be real with you: you can do it with a hammer and a punch, but you’re probably going to hate yourself halfway through. If you’re working on a tight control arm, you’ll end up bruising your knuckles and potentially mushrooming the metal. If you’re on a budget, try to borrow a shop press or rent one. If you absolutely must go old-school, grab some heavy-duty drift punches and a lot of patience.
If I replace just one bushing on an arm, am I going to mess up the alignment and ruin my tires?
Look, here’s the straight truth: replacing even one bushing is going to throw your geometry off. When you swap a part, you’re changing the exact resting position of that control arm. Even if it feels fine when you pull out of the driveway, your alignment is definitely out of whack. If you don’t get an alignment check right after, you’re basically asking for uneven tire wear that’ll eat your tread for breakfast.
How long am I actually going to have to wait for the new polyurethane bushings to "settle in" before the ride feels normal?
Look, don’t expect that “factory smooth” feel the second you tighten everything down. Polyurethane is stiffer by nature, so it’s going to feel a bit harsh or even “clunky” at first. Give it about 500 to 1,000 miles of real-world driving. That’s usually how long it takes for the material to mate properly with the housing and for the initial stiffness to settle. Just drive it, let it work, and don’t panic.
