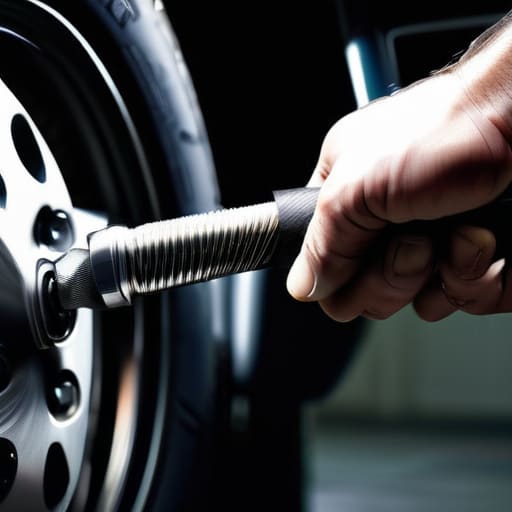
Ever feel like your car is trying to fight you every time you hit a pothole? If your steering feels loose, shaky, or like it’s wandering all over the road, don’t let a shop talk you into a massive labor bill just because they say it’s “complex.” Most mechanics will try to make a simple steering tie rod replacement sound like rocket science, but the truth is, it’s mostly just about fighting a stubborn bolt and having the right leverage. I remember the first time I tried this on my old project car; I spent an hour cursing a rusted nut, but once I realized I just needed a better breaker bar and a little bit of patience, the whole thing clicked.
I’m not here to give you some textbook lecture or a list of fancy diagnostic tools you can’t afford. I’m going to walk you through the actual, grease-under-your-fingernails process of getting those old rods out and the new ones in. We’ll cover exactly what you need to get the job done safely and, more importantly, how to avoid the common mistakes that end up wasting your afternoon. Let’s get to work.
Table of Contents
- Step-by-Step Instructions
- Spotting Worn Tie Rod Signs Before They Break
- The Truth About Steering Rack Symptoms and Suspension Repair
- Pro Tips to Save Your Sanity (and Your Knuckles)
- The Bottom Line on Fixing Your Steering
- ## The Real Cost of Ignoring the Shake
- Wrapping It All Up
- Frequently Asked Questions
Guide Overview
Tools & Supplies
- Socket set and ratchet for removing bolts
- Ball joint separator or pickle fork to disconnect tie rod
- Penetrating oil (e.g., WD-40) to loosen rusted threads
- Torque wrench to tighten new hardware to spec
- Jack and jack stands for vehicle lifting
- Inner or outer tie rod end (depending on repair) 1 unit
- Cotter pins (if applicable) 1-2 units
- Threadlocker (e.g., Loctite) 1 small tube
Step-by-Step Instructions
- 1. First things first, get the car on the ground and jack it up. Don’t even think about working under a car supported only by a jack; you need to set it on jack stands for safety. Once it’s stable, take the wheel off so you actually have room to move. If you’re working on a tight subframe, you might need to turn the steering wheel slightly to give yourself a better angle to reach the components.
- 2. Locate the tie rod end where it connects to the steering knuckle. You’ll see a rubber boot protecting the joint, and you’ll need to loosen the lock nut that holds everything in place. Grab a wrench and back that nut off until it’s no longer tight against the stud. If it’s rusted on there—and let’s be real, it probably is—give it a good spray of penetrating oil and let it sit for a few minutes.
- 3. Now comes the part most people dread: breaking the tie rod free from the knuckle. You can try to hammer it out, but honestly, a tie rod puller is your best friend here. If you don’t have one, you can use a heavy mallet to tap the side of the knuckle, but be careful not to damage anything else. You want that stud to pop out of the hole smoothly without you having to fight it for an hour.
- 4. Once the old end is disconnected, unscrew the remaining part of the tie rod from the inner sleeve. You’ll likely need a deep socket or a specialized tool for this, as these things can be stubborn as hell. If it’s not budging, don’t just manhandle it; use a bit more penetrant and keep tapping it until the threads finally start to move.
- 5. Take your new tie rod end and thread it onto the inner tie rod. Before you tighten it down, take a second to look at the old part versus the new one to make sure they actually match. Once you’re sure, thread the new part on by hand first to avoid cross-threading, which is a mistake you definitely don’t want to make.
- 6. Tighten everything down until it’s snug, making sure the lock nut is secured properly against the tie rod end. You want it tight enough that it won’t vibrate loose, but don’t go over-torquing it like you’re trying to snap the bolt. Once it’s secure, pop the wheel back on and lower the car.
- 7. Here is the one part you cannot skip: you must get an alignment immediately after this. Since you just messed with the steering geometry, your wheels are definitely going to be pointing in slightly different directions. If you skip this, you’ll be burning through a brand-new set of tires in a matter of weeks, and that’s money straight down the drain.
Spotting Worn Tie Rod Signs Before They Break

You don’t always have to wait for a loud clunk to know something is wrong. Usually, your car will try to tell you something is up through the steering wheel. If you notice the car drifting to one side when you’re on a flat road, or if the wheel feels like it’s “hunting” for a center point, you’re likely looking at worn tie rod signs. I’ve seen plenty of guys ignore that slight shimmy in the steering wheel, only to end up with a much more expensive headache later.
Another big giveaway is uneven tire wear. If you look closely at your tread and see it’s wearing down more on one side than the other, your steering linkage components are probably shot. This isn’t just about a bumpy ride, either; it’s a major part of automotive suspension maintenance that affects your safety. If you catch these issues early, you can avoid a total failure that could leave you stranded. Just keep an ear out for any clicking or popping when you turn the wheel—that’s usually the final warning before you’re looking at a much bigger repair bill.
The Truth About Steering Rack Symptoms and Suspension Repair
Here’s the thing: sometimes you’ll swap those tie rods and think you’ve fixed the problem, only to realize the issue is actually deeper in the system. If you’re still feeling a weird shudder or a “clunk” when you hit a bump, you might be dealing with more serious steering rack symptoms. It’s easy to blame the easiest part, but if the internal gears of the rack are shot, no amount of new tie rods is going to save your steering feel. I’ve seen plenty of guys waste money on small parts when the real culprit was a failing rack.
You also need to keep an eye on the rest of your front end suspension repair needs. If your ball joints or control arm bushings are trashed, they’re going to chew through your new tie rods in no time. It’s all connected. Once you finish the job, don’t skip the wheel alignment importance—if your toe-in is even slightly off, you’ll be back in my shop with unevenly worn tires before the month is out. Just take the extra time to do it right.
Pro Tips to Save Your Sanity (and Your Knuckles)
- Don’t skip the penetrating oil. Seriously, spray your tie rod ends with some PB Blaster or Liquid Wrench a good hour before you even touch them. If you try to muscle a seized nut without it, you’re probably going to end up stripping the bolt or snapping something.
- Get a dedicated tie rod end puller. You might think you can just hammer it off, but you’ll likely end up bruising your knuckles or damaging the steering rack. A cheap puller from the local parts store will save you a massive headache and a lot of swearing.
- Count your turns on the jam nut. Before you loosen anything, make sure you know exactly where that nut is sitting. It’s not a perfect science, but keeping the new part as close to the old setting as possible means your car won’t feel like it’s drifting into the next lane the second you pull out of the driveway.
- Keep your magnetic tray handy. I know I always have mine in my back pocket, but you’ll need it. Those tiny cotter pins and lock nuts have a nasty habit of bouncing off the driveway and disappearing into the grass the second you drop them.
- Book an alignment immediately after you’re done. Even if you’re careful, you’ve messed with the geometry of the steering. If you don’t get a professional alignment right away, you’re going to chew through a brand-new set of tires in no time, and that’s just throwing money away.
The Bottom Line on Fixing Your Steering
Don’t wait for a total failure; if you’re feeling vibration in the wheel or seeing uneven tire wear, your tie rods are already screaming for help.
You don’t need a massive shop setup to do this—just get a decent set of wrenches, a ball joint separator, and enough patience to not strip your bolts.
Replacing the part is only half the battle—once you’ve swapped the rods, get your alignment checked immediately so you don’t shred your tires in a week.
## The Real Cost of Ignoring the Shake
“Most shops will try to tell you your whole front end is shot just to pad the bill, but usually, it’s just a worn-out tie rod. Don’t let them scare you—if you can hold a wrench and keep your head straight, you can fix this yourself and keep that extra couple hundred bucks in your pocket.”
Nikolai·Osterman
Wrapping It All Up
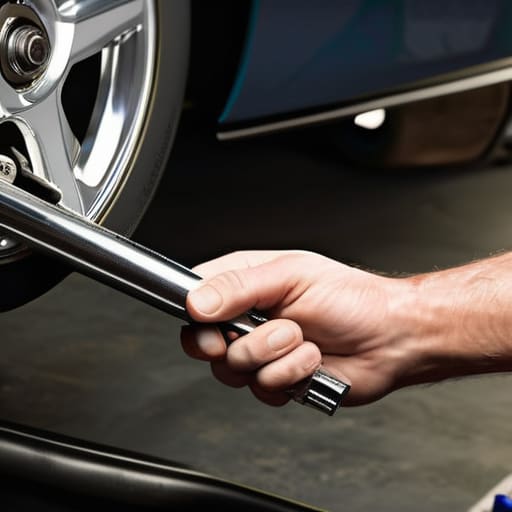
Look, swapping out those tie rods isn’t some mystical feat reserved for master techs with specialized diagnostic computers. If you kept an eye out for that loose steering feel or the uneven tire wear we talked about, you’ve already done the hardest part, which is catching the problem early. Just remember that once you’ve got the new parts seated and everything is torqued down to spec, you aren’t quite finished. You absolutely have to get an alignment immediately after, or you’ll just end up wrecking your new tires in a matter of weeks. It’s a simple process, but you can’t afford to skip that final step if you want the job done right.
At the end of the day, the biggest hurdle isn’t the wrenching—it’s the hesitation. It’s easy to let a shop talk you into a massive bill because you’re afraid of making a mistake under the car, but I promise you, you’re more capable than you think. Every time you get your hands dirty and successfully fix something yourself, you’re taking back control of your ride and your wallet. Don’t let the fear of a little grease stop you from owning your maintenance. Grab your tools, stay focused, and just get to work.
Frequently Asked Questions
Do I really need to get an alignment immediately after swapping the tie rods, or can I wait a few weeks?
Look, I’ll be real with you: don’t wait a few weeks. Even if you’re super careful with your measurements, you’re almost definitely going to throw your toe-in or toe-out off by a fraction. If you keep driving like that, you’re just going to chew through a brand-new set of tires in no time. It’s a waste of money. Get the alignment done right away so you don’t end up paying for more than just the tie rods.
Is there a way to tell if it's just the inner tie rod that's shot, or do I have to replace the whole assembly?
Look, you definitely don’t need to swap the whole assembly if it’s just the inner rod. Here’s the trick: if you’ve got the outer tie rod feeling tight and solid, but you can feel play or a “clunk” coming from deeper inside the boot, it’s likely the inner. I usually grab a pry bar to check the movement—if the shaft moves independently of the steering rack, that inner rod is shot. Swap just the part, save the cash.
Can I use a standard ball joint separator, or am I going to need a specific puller to get these out without stripping anything?
Look, you can definitely use a standard ball joint separator, but don’t go at it like a caveman. If you’re just hammering away with a heavy mallet, you’re asking for stripped threads or a bent stud. I usually grab a decent pickle fork for the quick stuff, but if it’s being stubborn, a dedicated press-style puller is worth the extra few bucks. It saves your knuckles and keeps the hardware intact.
