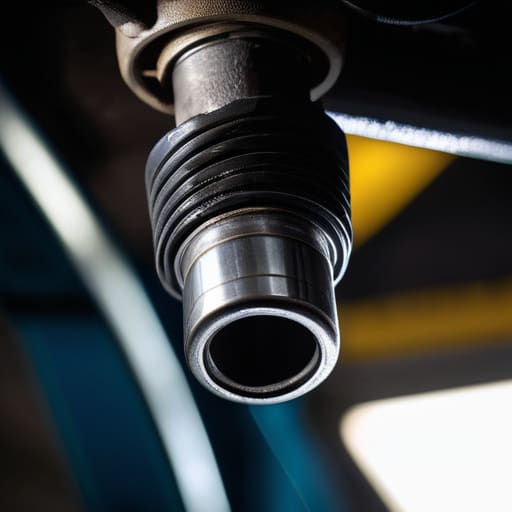
I was under a lifted ’98 Silvia last Tuesday, knuckles bleeding and sweat stinging my eyes, staring at a bolt that looked like it hadn’t been touched since the Clinton administration. Most shops will see a loose tie rod or a heavy vibration and immediately quote you three grand for a full steering rack replacement, acting like it’s some kind of mystical surgery. They want you to think it’s too complex for a DIYer, but honestly? It’s mostly just a battle against stubborn rust and making sure you don’t lose your mind searching for a dropped bolt in the grease.
I’m not going to feed you any of that polished, textbook nonsense that makes the job sound easy when it’s actually just gritty. In this guide, I’m giving you the real breakdown of how to tackle a steering rack replacement without getting ripped off by a dealership. We’re going to talk about the specific tools you actually need, how to deal with those nightmare bolts, and the small tricks I’ve learned in the shop to make sure you don’t end up with a car that pulls harder to the left than a drunk driver.
Table of Contents
- Step-by-Step Instructions
- Spotting the Steering Rack Symptoms Before They Ruin Your Drive
- Navigating Steering Rack Assembly Installation Without the Headache
- Pro Tips to Keep You From Getting Stuck Under the Chassis
- The Bottom Line on Your Steering Rack
- The Real Cost of Ignoring the Play
- Wrapping It All Up
- Frequently Asked Questions
Guide Overview
Tools & Supplies
- Socket set and ratchets for various bolt sizes
- Jack and jack stands for vehicle lifting
- Flare nut wrenches for brake/power steering lines
- Ball joint separator or pickle fork
- Torque wrench for precise tightening
- Replacement steering rack assembly (1 unit)
- Power steering fluid (1-2 quarts)
- New tie rod ends (if not included with rack)
- Penetrating oil for rusted bolts (1 can)
Step-by-Step Instructions
- 1. First things first, you need to get the car up and stable. Don’t even think about crawling under there if you’re just using a jack; get it on jack stands so you aren’t staring death in the face while you’re working. Once it’s secure, pop the wheels off and clear out as much junk as you can from the wheel wells. Having a bit of extra breathing room makes a massive difference when you’re wrestling with heavy components.
- 2. Now, you’ve got to disconnect the tie rod ends from the steering knuckles. This is usually where people get frustrated because those bolts love to seize up. I always keep a can of penetrating oil nearby for exactly this reason. Spray it on, let it sit, and then use a separator tool if you have one to pop them loose. If you try to force it without the right tool, you’re just going to strip a bolt and turn a simple job into a nightmare.
- 3. Next, you need to deal with the steering column connection inside the cabin. You’ll usually have to peel back some plastic trim under the dash to find the universal joint or the intermediate shaft. Loosen the clamp and slide it off the shaft. It’s a bit of a tight squeeze, so take your time so you don’t accidentally damage any of the sensitive sensor wiring tucked away in the dash.
- 4. Once the connections are loose, it’s time to unbolt the rack itself from the subframe. You’ll be looking for a few large mounting bolts that hold the housing in place. These are often covered in road grime and old grease, so give them a quick wipe down first. Use a long breaker bar if they’re stubborn; you’ll need that extra leverage to break them free without breaking your knuckles.
- 5. With the bolts out, the rack is going to be heavy, so don’t just let it drop. Carefully slide it out from under the car, making sure you aren’t snagging any brake lines or ABS sensor wires on the way out. If you’ve done it right, the old unit should slide out with just a bit of muscle and patience.
- 6. Before you drop the new rack in, check your mounting points for any rust or debris. You want those surfaces clean so the new unit sits perfectly flush. When you go to install the replacement, it’s actually easier to work backwards. Line up the mounting bolts first, get them started by hand to avoid cross-threading, and then tighten everything down once the unit is seated properly.
- 7. Finally, you’ve got to hook everything back up—tie rods, column, and mounting bolts—but don’t think you’re finished yet. You absolutely must get an alignment immediately after this. Since you’ve messed with the steering geometry, your car is going to pull hard to one side if you don’t. Don’t skip this step, or you’ll end up ruining a brand new set of tires in a matter of weeks.
Spotting the Steering Rack Symptoms Before They Ruin Your Drive

You don’t always need a diagnostic scanner to know something is wrong; usually, your car will start talking to you through the steering wheel. The most obvious steering rack symptoms are those sudden, annoying vibrations or a feeling like you’re fighting the car just to stay in your lane. If you notice a heavy, “dead” feeling when you try to turn, or if you hear a rhythmic whining sound every time you hit the lock, that’s a massive red flag. It might feel like a simple power steering pump failure, but if the fluid level is fine and the noise persists, the issue is likely deeper in the rack itself.
Keep a close eye on the ground under your car, too. If you see fresh puddles of red or clear fluid, you’re likely looking at a leak in the hydraulic steering system maintenance area. A small leak might seem fine for a week, but once that pressure drops, you’re looking at a much more expensive headache. Don’t ignore the signs—catching a leak early can be the difference between a quick seal swap and a full-blown teardown.
Navigating Steering Rack Assembly Installation Without the Headache
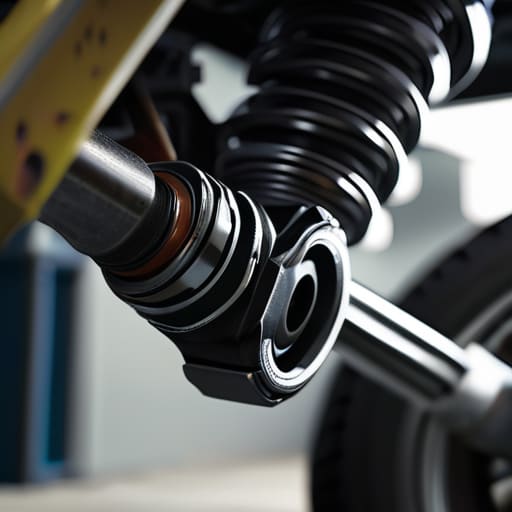
Once you’ve actually got the new unit in hand, the real work starts. When you’re tackling the steering rack assembly installation, the biggest mistake I see is rushing the alignment. If you don’t get your tie rods lined up perfectly before you start tightening everything down, you’re going to be fighting a losing battle with your alignment shop later. I always tell people to double-check your mounting points before you even think about torquing those heavy-duty bolts. It’s way easier to adjust a loose component now than it is to jack the whole car back up because something is sitting a fraction of an inch off.
Also, keep a close eye on your fluid lines. If you’ve been dealing with a messy leak or suspected power steering pump failure, make sure you thoroughly flush the old system. You don’t want tiny bits of metal debris from your old, failing unit circulating through your brand-new rack. It’s a bit of extra sweat, but clean fluid is the lifeblood of a smooth drive. Take your time, keep your magnetic tray handy for those small clips, and don’t let the complexity get in your head.
Pro Tips to Keep You From Getting Stuck Under the Chassis
- Don’t skip the thread locker. When you’re bolting that new rack into place, a little bit of blue Loctite on those mounting bolts is the difference between a solid connection and a nightmare where things start rattling loose after a week of driving.
- Get a decent set of flare nut wrenches. If you try to tackle the hydraulic lines with standard open-end wrenches, you’re probably going to round off the fittings. Once those are rounded, you’re looking at a much bigger, much more expensive headache.
- Keep your magnetic parts tray handy. I can’t tell you how many times I’ve dropped a crucial mounting bolt into the subframe or lost it in the grease. If it’s small and metal, it goes in the tray immediately. No exceptions.
- Bleed the system properly or prepare for a mess. Air bubbles in a new steering rack will make your steering feel like you’re driving through a bowl of oatmeal. Take your time with the bleeding process; it’s better to spend an extra twenty minutes now than to struggle with a spongy steering wheel later.
- Check your tie rod ends while you’re in there. Since you already have the rack out and everything is disassembled, it’s the perfect time to see if your tie rods are shot. It’s a two-minute inspection that could save you from having to tear everything apart again in a month.
The Bottom Line on Your Steering Rack
Don’t ignore that weird vibration or loose feeling in the wheel; catching a leaking seal early can save you from a much more expensive replacement later.
You don’t need a shop’s worth of specialized gear, but you absolutely cannot skimp on the right wrenches and a solid jack setup if you want to do this safely.
Take your time with the alignment after you’re done—if you rush the final steps, you’ll just end up fighting a crooked steering wheel and uneven tire wear.
The Real Cost of Ignoring the Play
Most shops will try to sell you a whole new front end the second they feel a little play in your steering, but don’t let them spook you. A steering rack replacement is a heavy job, sure, but it’s not magic—it’s just about getting the right leverage and making sure you don’t strip a bolt. Once you feel that tight, responsive steering again, you’ll realize you just saved yourself a massive headache and a whole lot of wasted cash.
Nikolai·Osterman
Wrapping It All Up
Look, replacing a steering rack isn’t exactly a walk in the park, but you’ve already done the heavy lifting. We covered how to spot those early warning signs like wandering or clunking, walked through the actual teardown, and navigated the tricky installation process. The most important thing I can tell you is that it’s all about the prep work. If you took the time to get the right wrenches and didn’t rush the alignment steps, you’ve already beaten the guys at the dealership who would charge you double just to turn a few bolts. Just remember to double-check your connections before you go for that first test drive.
At the end of the day, there’s a specific kind of satisfaction that comes from turning the key and feeling a steering wheel that actually responds the way it’s supposed to. It’s more than just fixing a mechanical part; it’s about knowing that you own your machine, not the other way around. Don’t let a complex-looking component intimidate you into handing over your paycheck to a shop. Keep your tools organized, stay patient when a bolt gets stubborn, and keep wrenching. You’ve got this.
Frequently Asked Questions
Do I really need to replace the tie rod ends at the same time, or can I just reuse my old ones?
Look, I get it—you’re trying to save a few bucks, and I’m all for that. But honestly? If you’re already pulling the rack, just swap the tie rod ends. They’re cheap, and they’re almost certainly worn out if your steering felt sketchy to begin with. There’s no point in doing the heavy lifting of a rack replacement only to have a $30 part fail and ruin your alignment a month later. Do it once, do it right.
How much of a mess am I looking at when it comes to bleeding the air out of the power steering system?
Honestly? It’s more of a “controlled spill” than a total disaster, but you gotta be ready. You’ll be opening the bleeder valve or loosening a line, so have a drain pan and some shop rags sitting right there. It’s messy, and the fluid gets everywhere if you aren’t careful, but it’s nothing a little degreaser can’t fix. Just don’t let it drip on your driveway—that stuff is a nightmare to clean up.
Is there any way to tell if it's just a leaky seal I can fix, or am I stuck replacing the whole assembly?
Look, I get the hesitation. Replacing the whole assembly is a massive job, and you don’t want to shell out for it if you don’t have to. If you’re just seeing a little bit of weeping around the boots, you might be able to swap a seal. But if the fluid is spraying or the steering feels loose and “notched,” that’s a sign the internal components are shot. At that point, just replace the whole rack.
